Informed Design for Inventor - specify manufacturing outputs and publish to Informed Design
Learn how to specify the outputs that will be available to be automatically generated by the Informed Design Web Application. Select from Drawings, Bill of Materials (in individual and aggregated formats), and CAD files.
Step-by-step guide
With the source content, parameters, and rules set for the product definition, the next step is to specify outputs and publish the product definition. Several output types can be included with each product to be published. Revit outputs are required, and at least one Revit output must be switched on to publish. All other output types are optional.
To specify the outputs for this staircase assembly example, for the Revit category, use loadable families. Informed Design does not connect to system families, such as stairs or walls.
- Open the Product Definition to the Outputs tab.
Here, you can see the selections for the Revit Family Category, such as Specialty Equipment, as well as the Family Name, such as Staircase Sample.
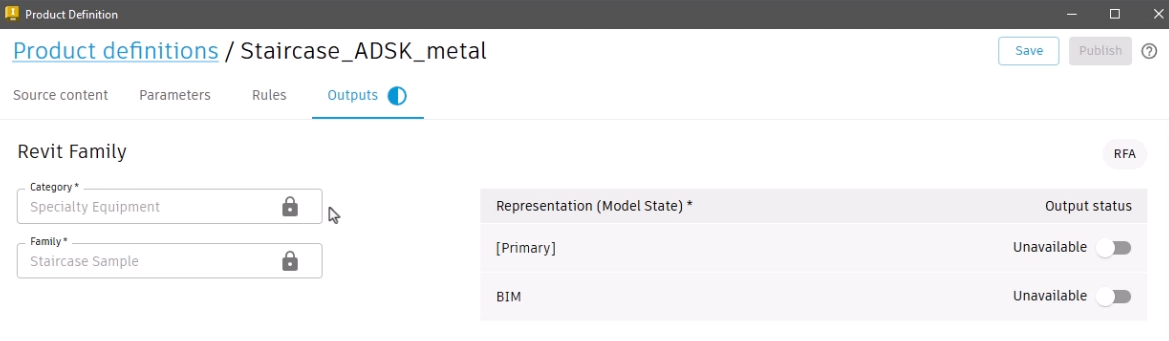
The adjacent Representation table includes each model state that exists in the Inventor model. In this example, two representations have been defined: Primary is the full manufacturing level of detail, and BIM is a simplified level of detail.
- Set the [Primary] and BIM representations to Available.
Notice that the output type for a Revit family is a loadable RFA.
![The Representation options, with the [Primary] and BIM representations set to Available, and the Revit Family output type, RFA, highlighted in red.](https://files.upskill-dev.autodesk.com/public/autodesk-informed-design/build-product-definition/AVRF_M01U05_Prod_def_outpt_pub_002.webp)
For the Model 3D output, the output type is IAM if the active file is an assembly, as in this case, and IPT for a part.
- Set the Model 3D Representation to Available.
Note that Exclude intellectual properties is selected by default; the native Inventor model outputs will not include the iLogic that may exist in the model to safeguard sensitive intellectual property.

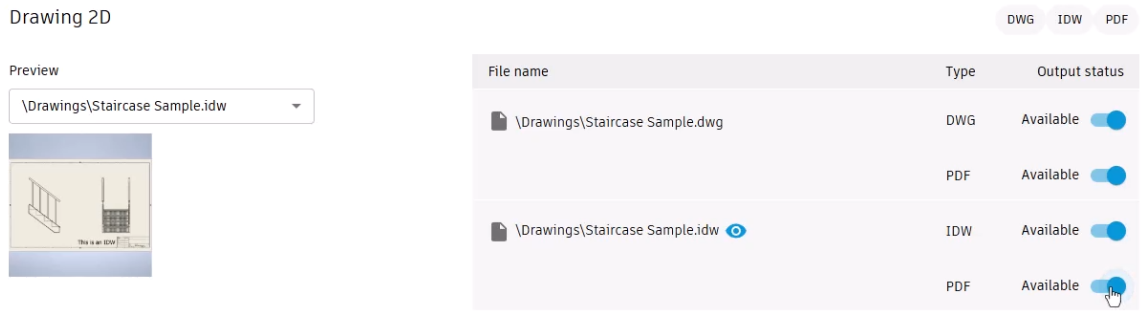
If the drawing template has been included in the product definition, then Drawing 2D outputs can also be selected. These file types vary, depending on the project.
- For this example, for Staircase Sample.dwg, set DWF and PDF to Available.
- For Staircase Sample.idw, set IDW and PDF to Available.
The Bill of materials outputs are based on the Inventor model states, and the output type is a CSV.
- For Bill of Materials, set [Primary] to Available to allow this information to be available as a generated output.
![The Bill of Materials representations, with the [Primary] representation set to Available, and the output type of CSV highlighted in red.](https://files.upskill-dev.autodesk.com/public/autodesk-informed-design/build-product-definition/AVRF_M01U05_Prod_def_outpt_pub_005.webp)
Neutral format outputs are selected based on the Inventor model states in these format types.
- Here, for SAT and GLB, set the BIM representation to Available, and for STEP, set the [Primary] representation to Available.
![The Neutral format representations, with the BIM representation for SAT and GLB set to Available, and the [Primary] representation for STEP set to Available.](https://files.upskill-dev.autodesk.com/public/autodesk-informed-design/build-product-definition/AVRF_M01U05_Prod_def_outpt_pub_006.webp)
- Click Save to save the definition locally.

- Click Publish.
The Product Definition dialog box now shows the Release details and Publish location information.
- For the Publish location, set the Autodesk Forma account and project.
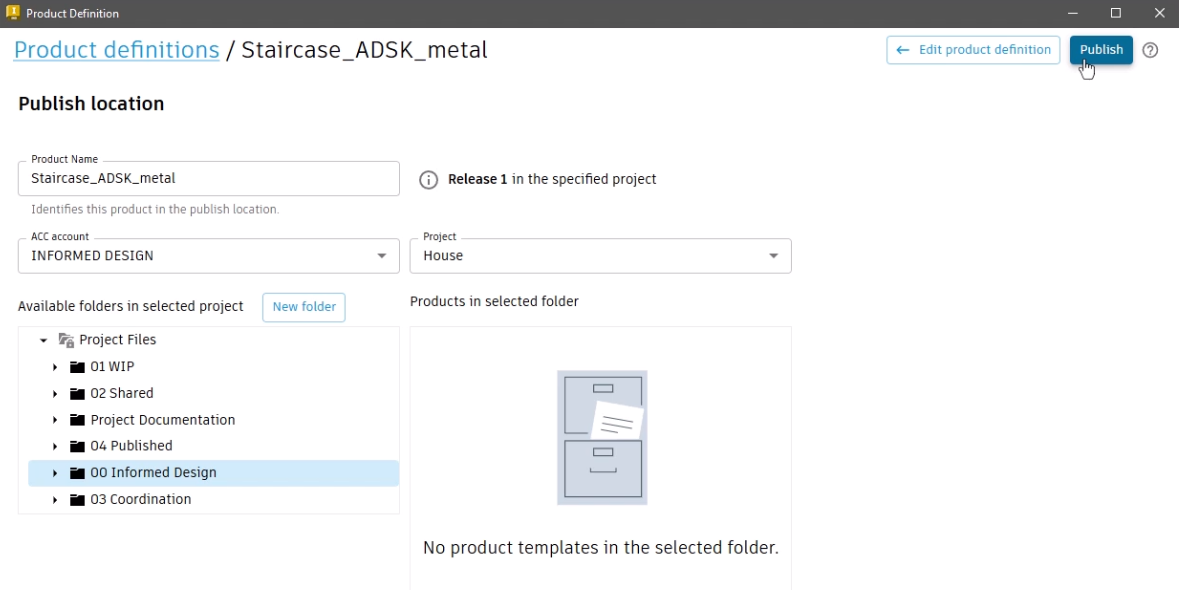
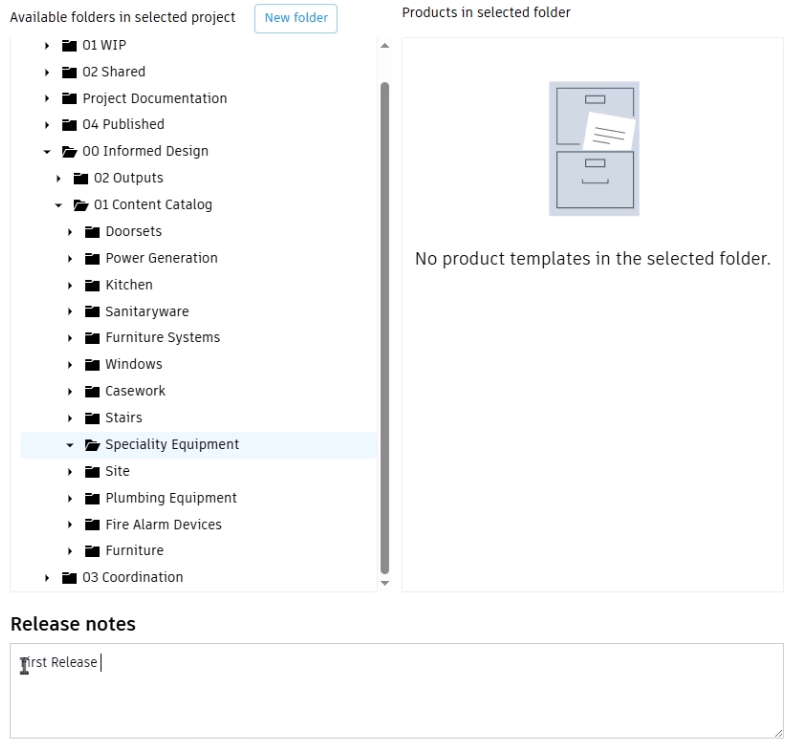
- Under Available folders in selected project, select the specific folder or sub-folder to publish to; in this case, the Specialty Equipment folder. Or, create a New folder in the Forma Data Management project if needed.
- Optionally, add a note in Release notes, such as "First Release".
- Click Publish.

The processing time depends on factors such as file type, level of detail, and internet speed.
- Click Product definitions.
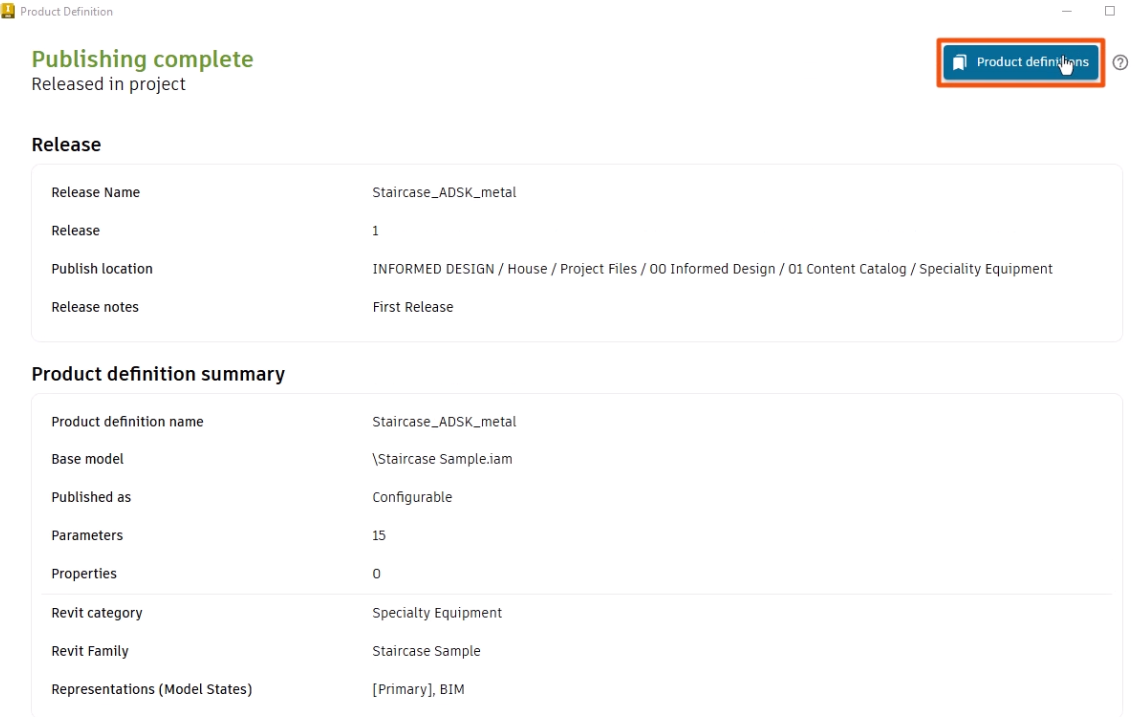
The new Staircase definition is now added to the Product definitions list.
- Use the tools to edit, duplicate, or delete definitions, as needed.
