Informed Design for Inventor - BIM definition overview
Learn how the BIM definition add-in for Inventor is used to set the Revit category and Family Type name as a pre-requisite to create a Product Definition. Discover how the BIM definition add-in can be used to orient the resulting Revit family, add MEP connectors, and include additional information into the Revit loadable family (.rfa).
Step-by-step guide
Revit families store information that can be scheduled in Revit. The BIM Definition toolset in Informed Design helps prepare an Inventor model for use as a loadable Revit family. Before creating a product definition, use the BIM Definition tools to add metadata to the Inventor model. This metadata will then be included in the Revit family generated from the model.
- With the Inventor model open, on the ribbon, navigate to the BIM Definition tab, and then select BIM Properties.

In the BIM Properties panel, the Revit Family Category and Family Name fields are required. The entries for these fields will be carried into the Outputs tab of the product definition and must be selected in the BIM Properties panel, as they are not editable in the Product Definition.

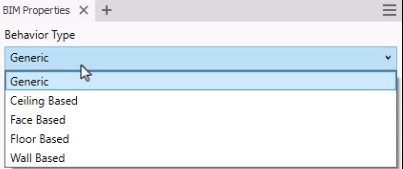
Behavior Type is used with the Family Definition tools and sets the host for the family in Revit. For example, a Wall Based family can only be placed onto walls in the Revit project.
- In this case, for the Behavior Type, leave Generic selected.
The Revit Family Category sets the Revit template for the loadable family that will be generated from the Inventor model.
- In the Revit Family Category drop-down, select Windows.
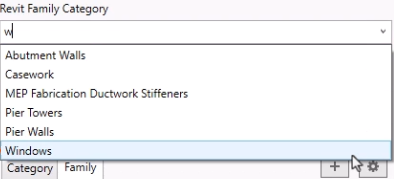
Notice that the list of available Family properties dynamically updates based on this selection to help ensure that the required data is included for use in Revit.
- Here, switch the Revit Family Category back to Specialty Equipment.
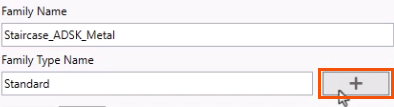
The Family Name field is inherited from the name of the Inventor model, but it is not static, and can be overridden.
- Type a new name to overwrite it if needed.
Family Type Name can be linked to an Inventor iProperty or a parameter. Use a property formula or iLogic to create unique Family Type Names for each variant generated.
- Next to Family Type Name, click Add.
- In the Formula dialog box, expand the drop-down and select User.
- On the Parameters tab, select Type_Name, and then click OK.
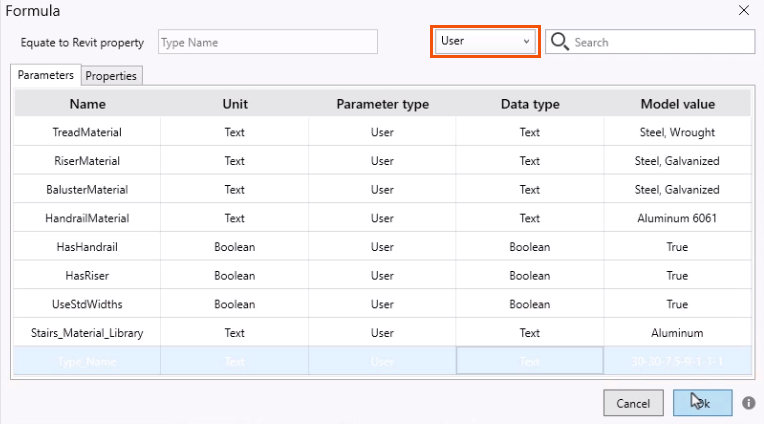
In the Properties panel, the Family Type Name field automatically populates based on this selection.
Individual Family properties can be mapped to Inventor iProperties or parameter values:
- For example, in Family properties, select Description.
- Click Add.
- In the Formula dialog box, Properties tab, select Description.
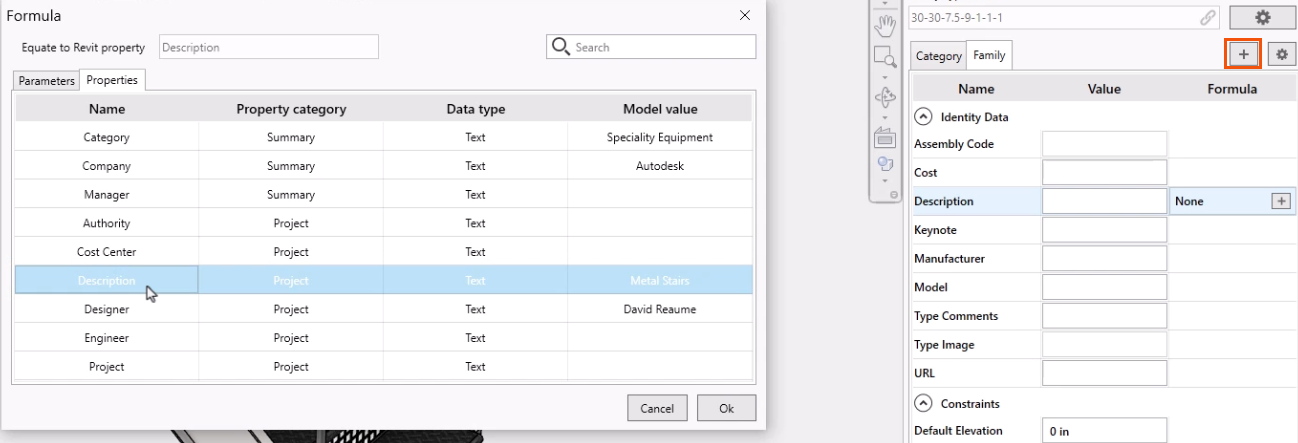
- Click OK.
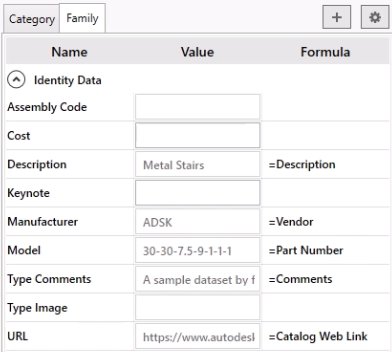
The Family Description is now mapped to the Inventor iProperty Description, with a value of Metal Stairs.
- Use the same process to map Manufacturer to the Vendor iProperty.
- Map Model, Type Comments, and URL to their corresponding iProperty fields.
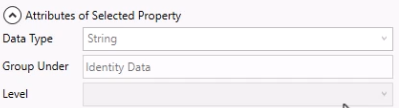
- In the Properties panel, expand Attributes of Selected Property to view the required Data Type for a given property.
To add custom data fields:
- In the Family properties, click Add.
- In the Add to BIM Properties dialog box, Parameters tab, select User.
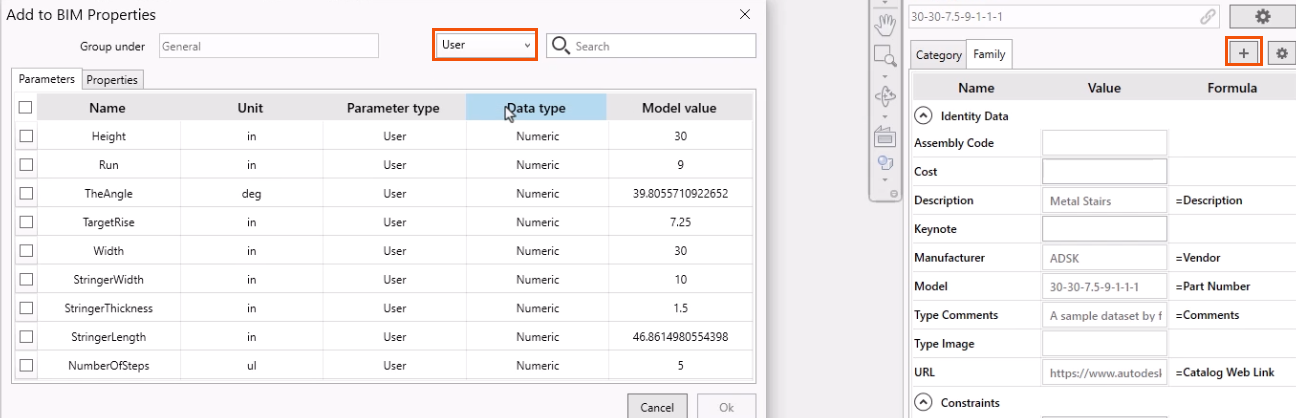
- Select the fields to add, such as Height, Run, and TheAngle.
- Click OK.
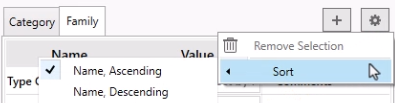
To sort the Category and Family properties:
- Click Settings > Sort and then choose to sort the fields by Name in either Ascending or Descending order.
To remove a custom field:
- Select the field, such as TheAngle.
- Click Settings > Remove Selection.
- To close the BIM Properties panel, click the X on the tab. Or, on the ribbon, click BIM Properties to deselect it.