Informed Design BIM definition workflow - static content
Learn how to use the 'Static content' option in the Informed Design Product Definition to publish Inventor models to Informed Design without configurations.
Step-by-step guide
Static content provides a streamlined workflow for publishing Inventor models to Informed Design that are not required to be configurable in Revit.
Before exporting, prepare the Inventor model:
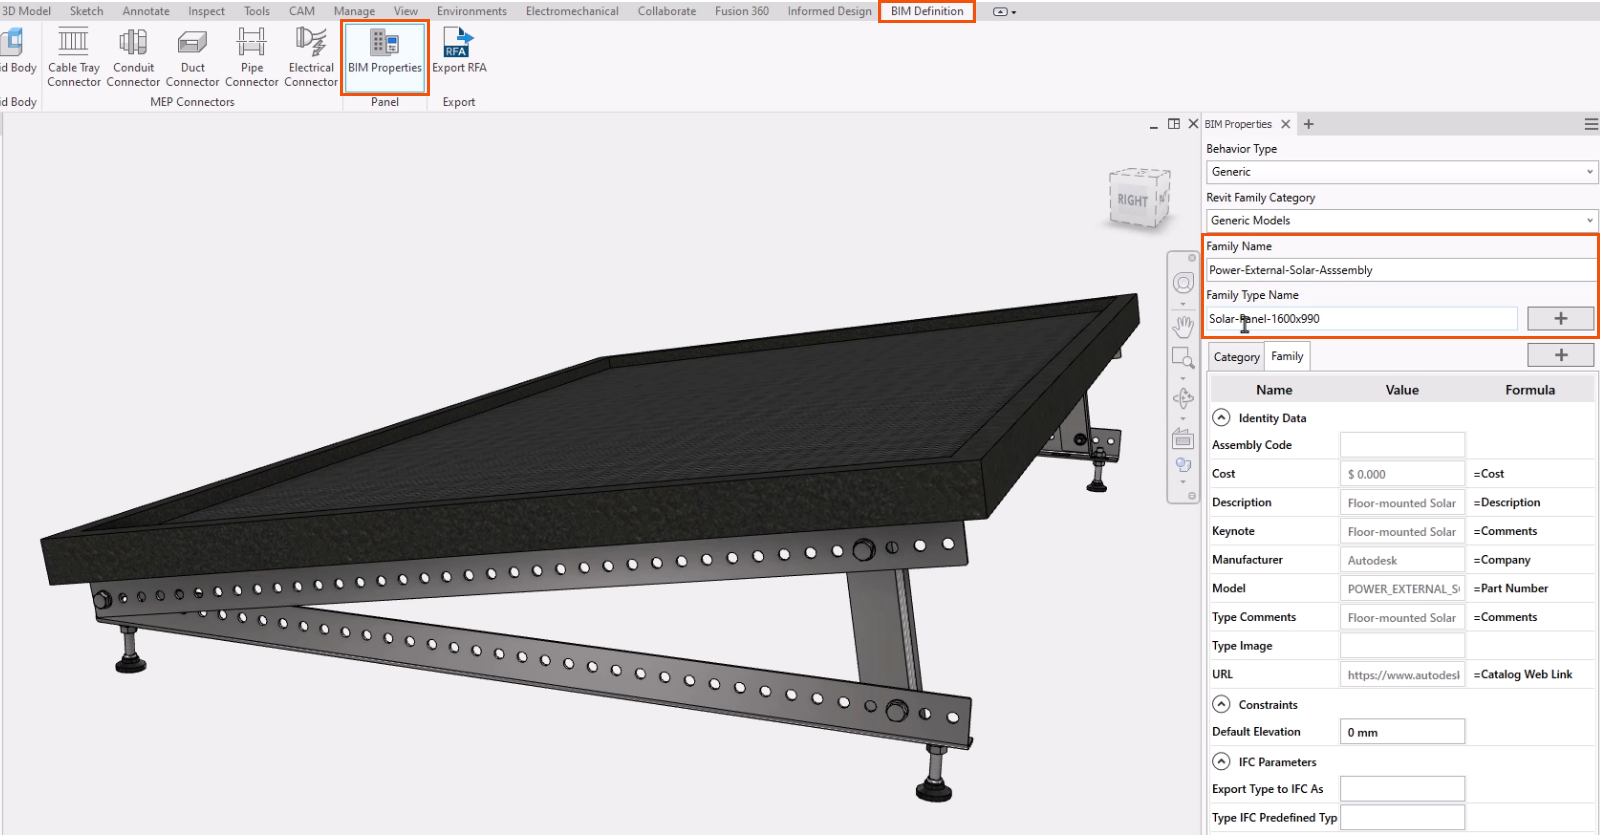
- On the ribbon, click the BIM Definition tab.
- Click BIM Properties to open the BIM Properties panel. A Revit Family Name and a Family Type Name are required. Category and Family Name are required in the product definition > Outputs tab, and can only be added in the BIM properties panel.
Static content supports multiple model states.
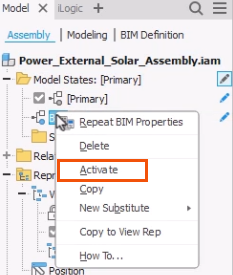
- In the model browser, on the Assembly tab, expand Model States.
- Right-click the BIM model state and select Activate. Model states are used to provide simplified representations of manufacturing models for use in a BIM project. Multiple Model states can be published as part of the Product Definition, and can be accessed by the Revit user.
Now, set up the product definition for static content.
- On the ribbon, Informed Design tab, click Product Definition.
- In the Product definitions dialog box, click New product definition.

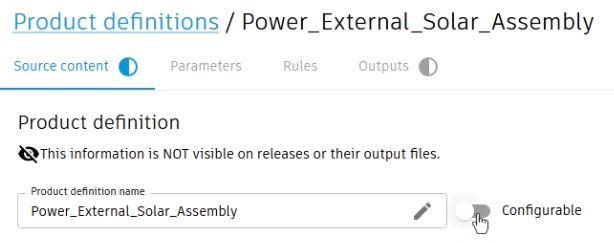
The symbol that appears next to the Source content, Parameters, and Outputs tabs indicates required steps.

- On the Source content tab, toggle Configurable OFF to create static content.
Now, only the Source content and Outputs tabs contain required steps, since static content does not require parameters or rules.
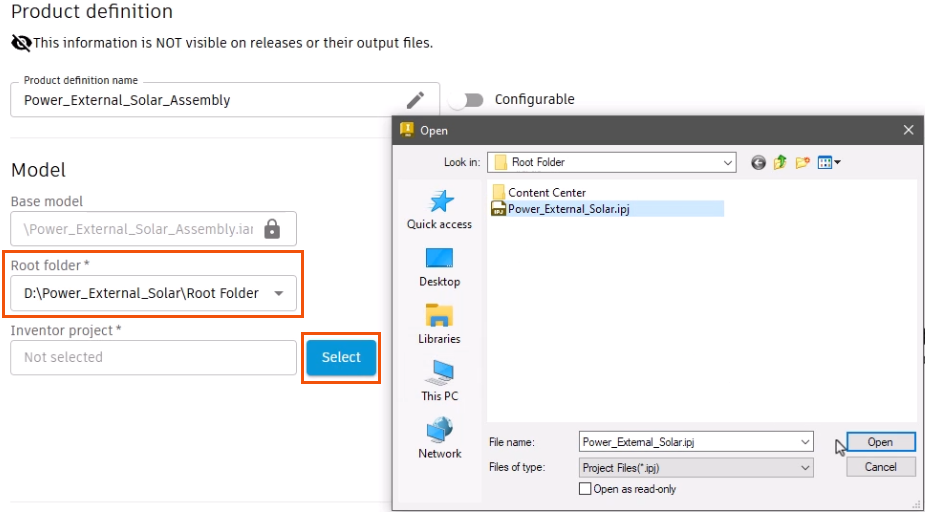
- Select the Root folder where the Inventor model and its components are stored.
- Next to the Inventor project field, click Select.
- In the Open dialog box, navigate to and select the Inventor project file.
- Click Open.
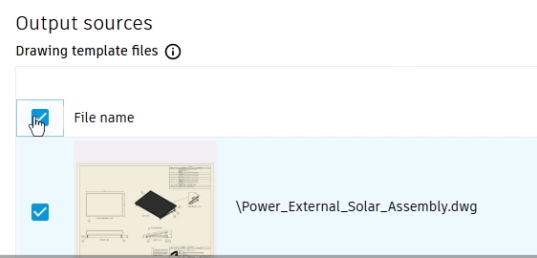
- Under Output sources, select drawings to include with the model or select File name as shown to include all available drawings.
- Edit the Product definition name; in this case, by adding “Static” to the end.

Again, parameters and rules are optional, since static content does not require them.
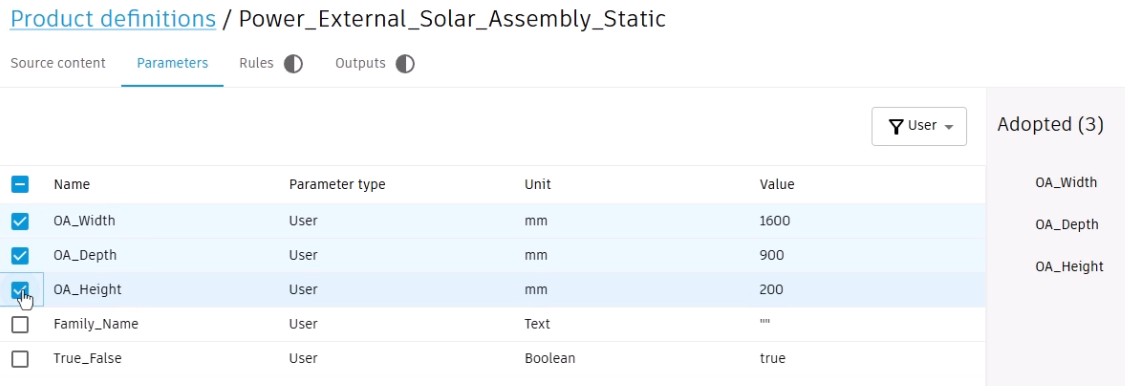
- Optionally, switch to the Parameters tab and select parameters to include for reference only. Here, three parameters are adopted.
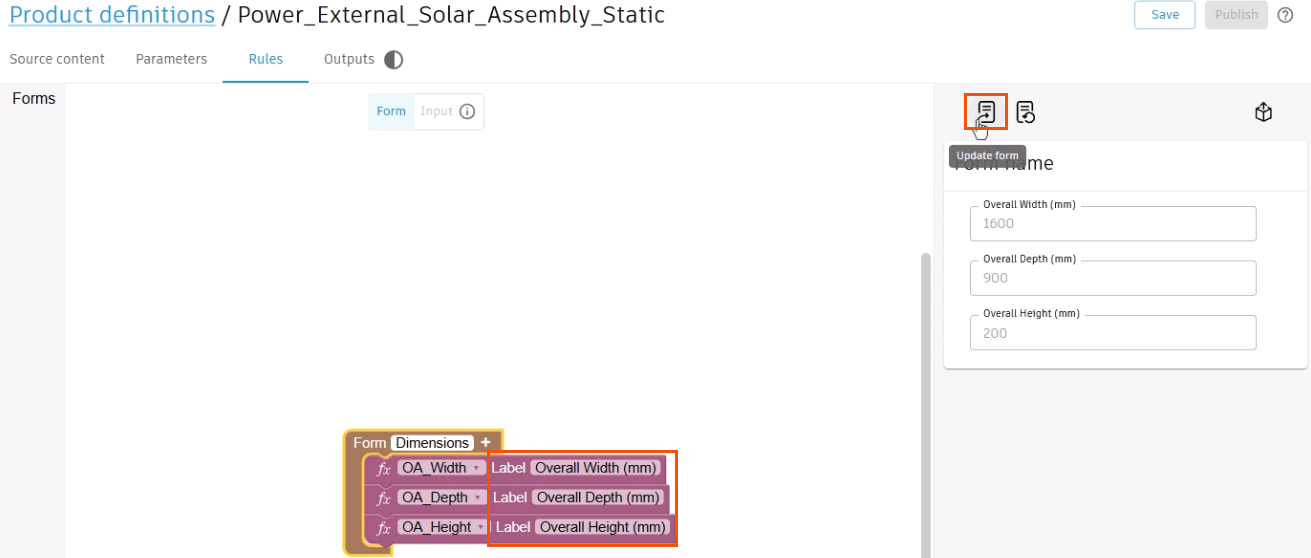
- Optionally, select the Rules tab to make changes. In this example, for each label, “Overall” is spelled out and the underscores are removed.
- Click Update form to apply the updates.
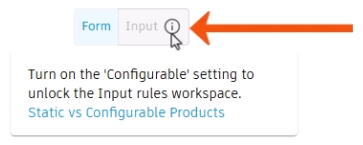
Note that the inputs in the form are automatically read-only, and the Input workspace is locked.
- Next to Input, click the information icon to display more details. This workspace is only accessible when Configurable is toggled ON in the Source content tab.
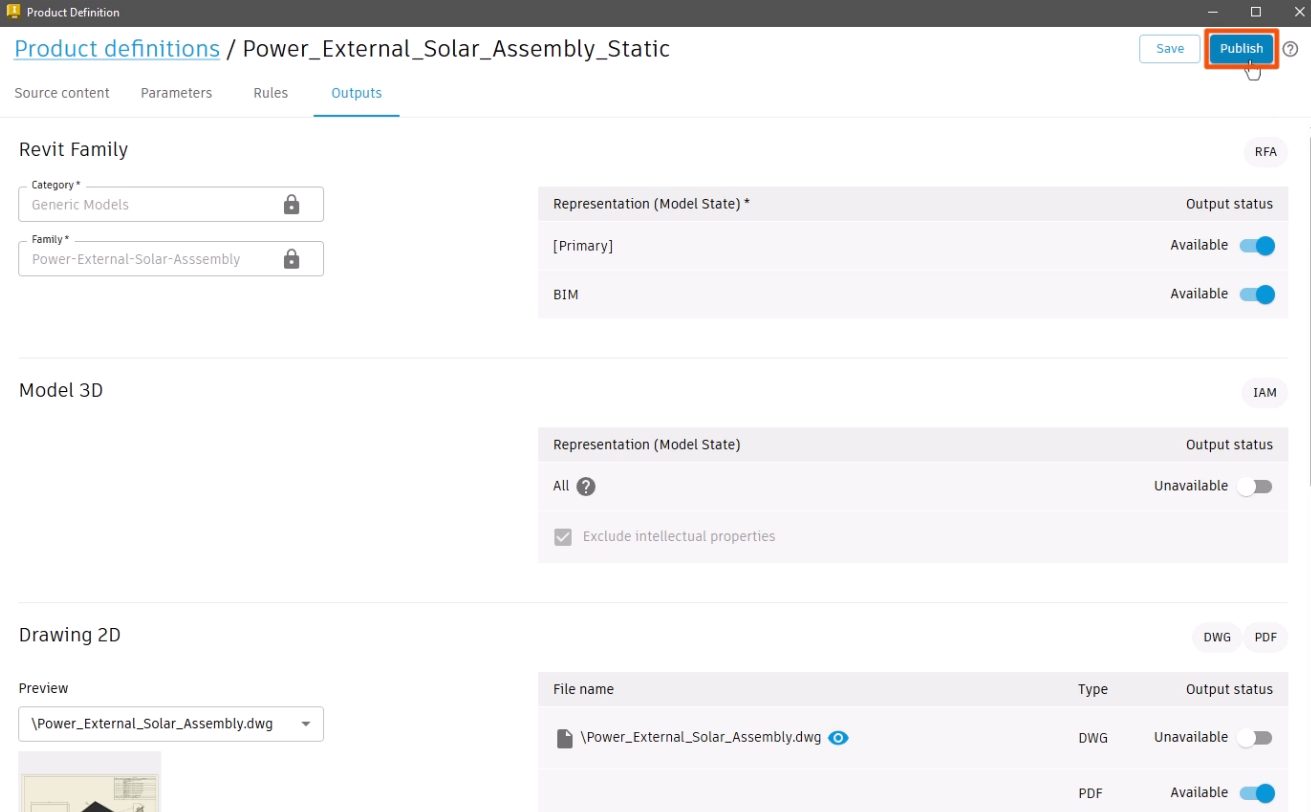
Next, set up the output options for the model:
- Select the Outputs tab.
- Toggle the appropriate representations to Available.
- Click Publish.
- To continue editing the product definition, click Edit product definition, if needed.

To select the publish location:
- Select the ACC account and Project.
- In the Project Files, navigate to and select the appropriate folder.
- Add any Release notes, such as “Static version”. Models published as static can be superseded by a configurable model later.
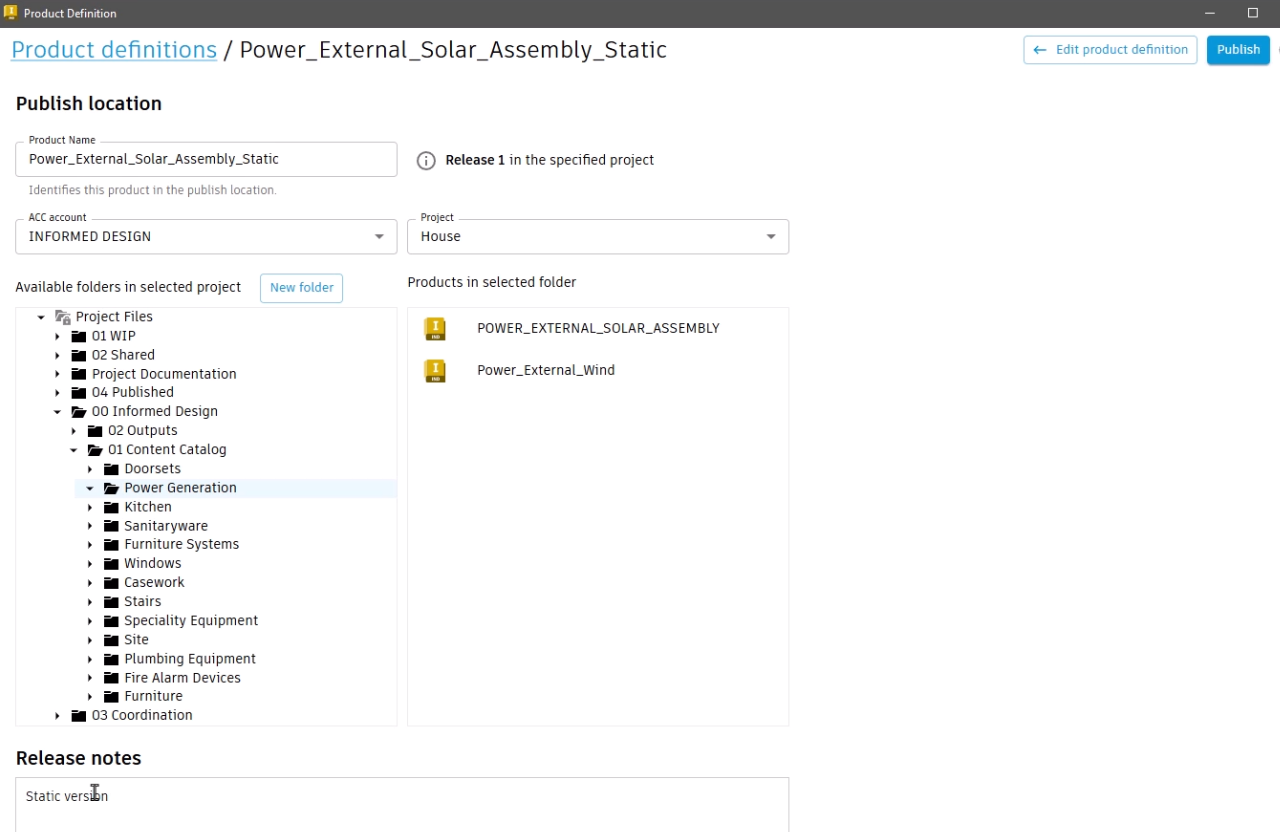
- Click Publish.
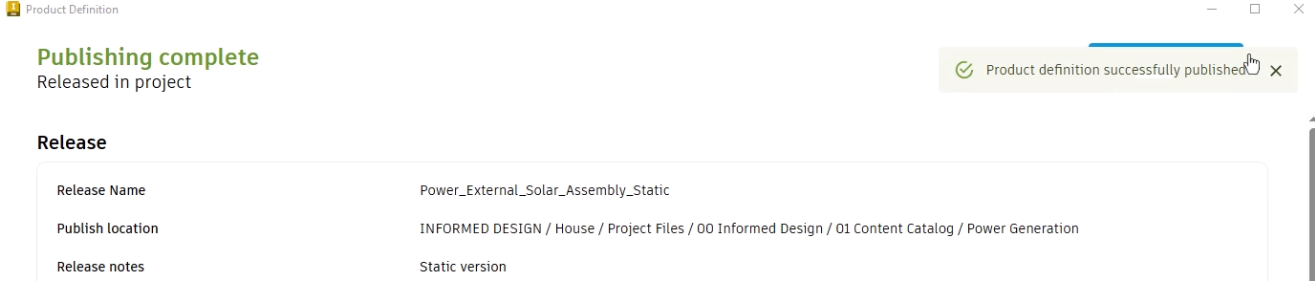
A message confirms that the product definition is published.
To place the static content using the Informed Design add-in for Revit:
- In Revit, on the Informed Design tab of the ribbon, click Product.

- In the Customize and Insert dialog box, navigate to and select the appropriate product.
In this example, the Product information shows that the product is Published as Static.
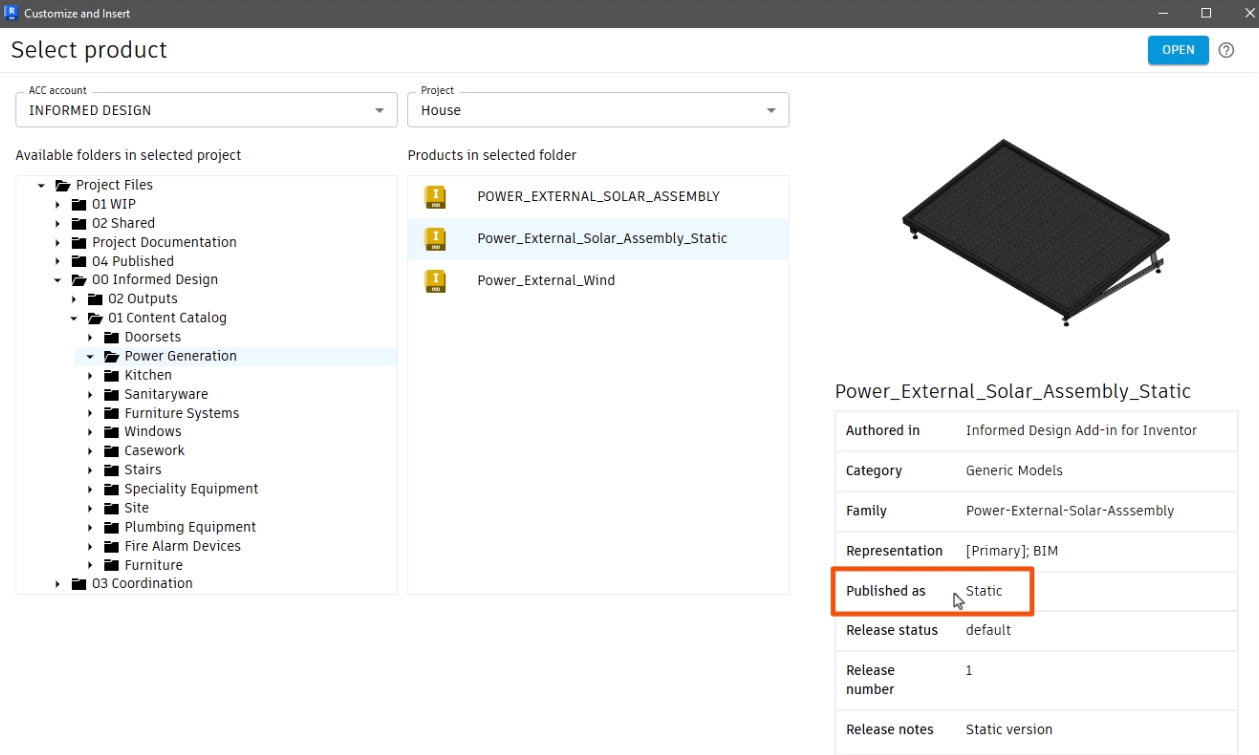
- Click Open to proceed directly to the Select tab. The Configure tab is not applicable to static products.
- Under Variants, select the required representation; in this case, BIM.
- Click Insert.
- In the Revit model, click to place the product.