Wall layouts - create straight and curved walls
Draw straight and curved walls. Create similar walls. Apply alignment constraints to walls.
Tutorial resources
These downloadable resources will be used to complete this tutorial:
Step-by-step guide
Draw straight and curved walls. Create similar walls. Apply alignment constraints to walls.
- In Revit, begin a project using the default.rte template.
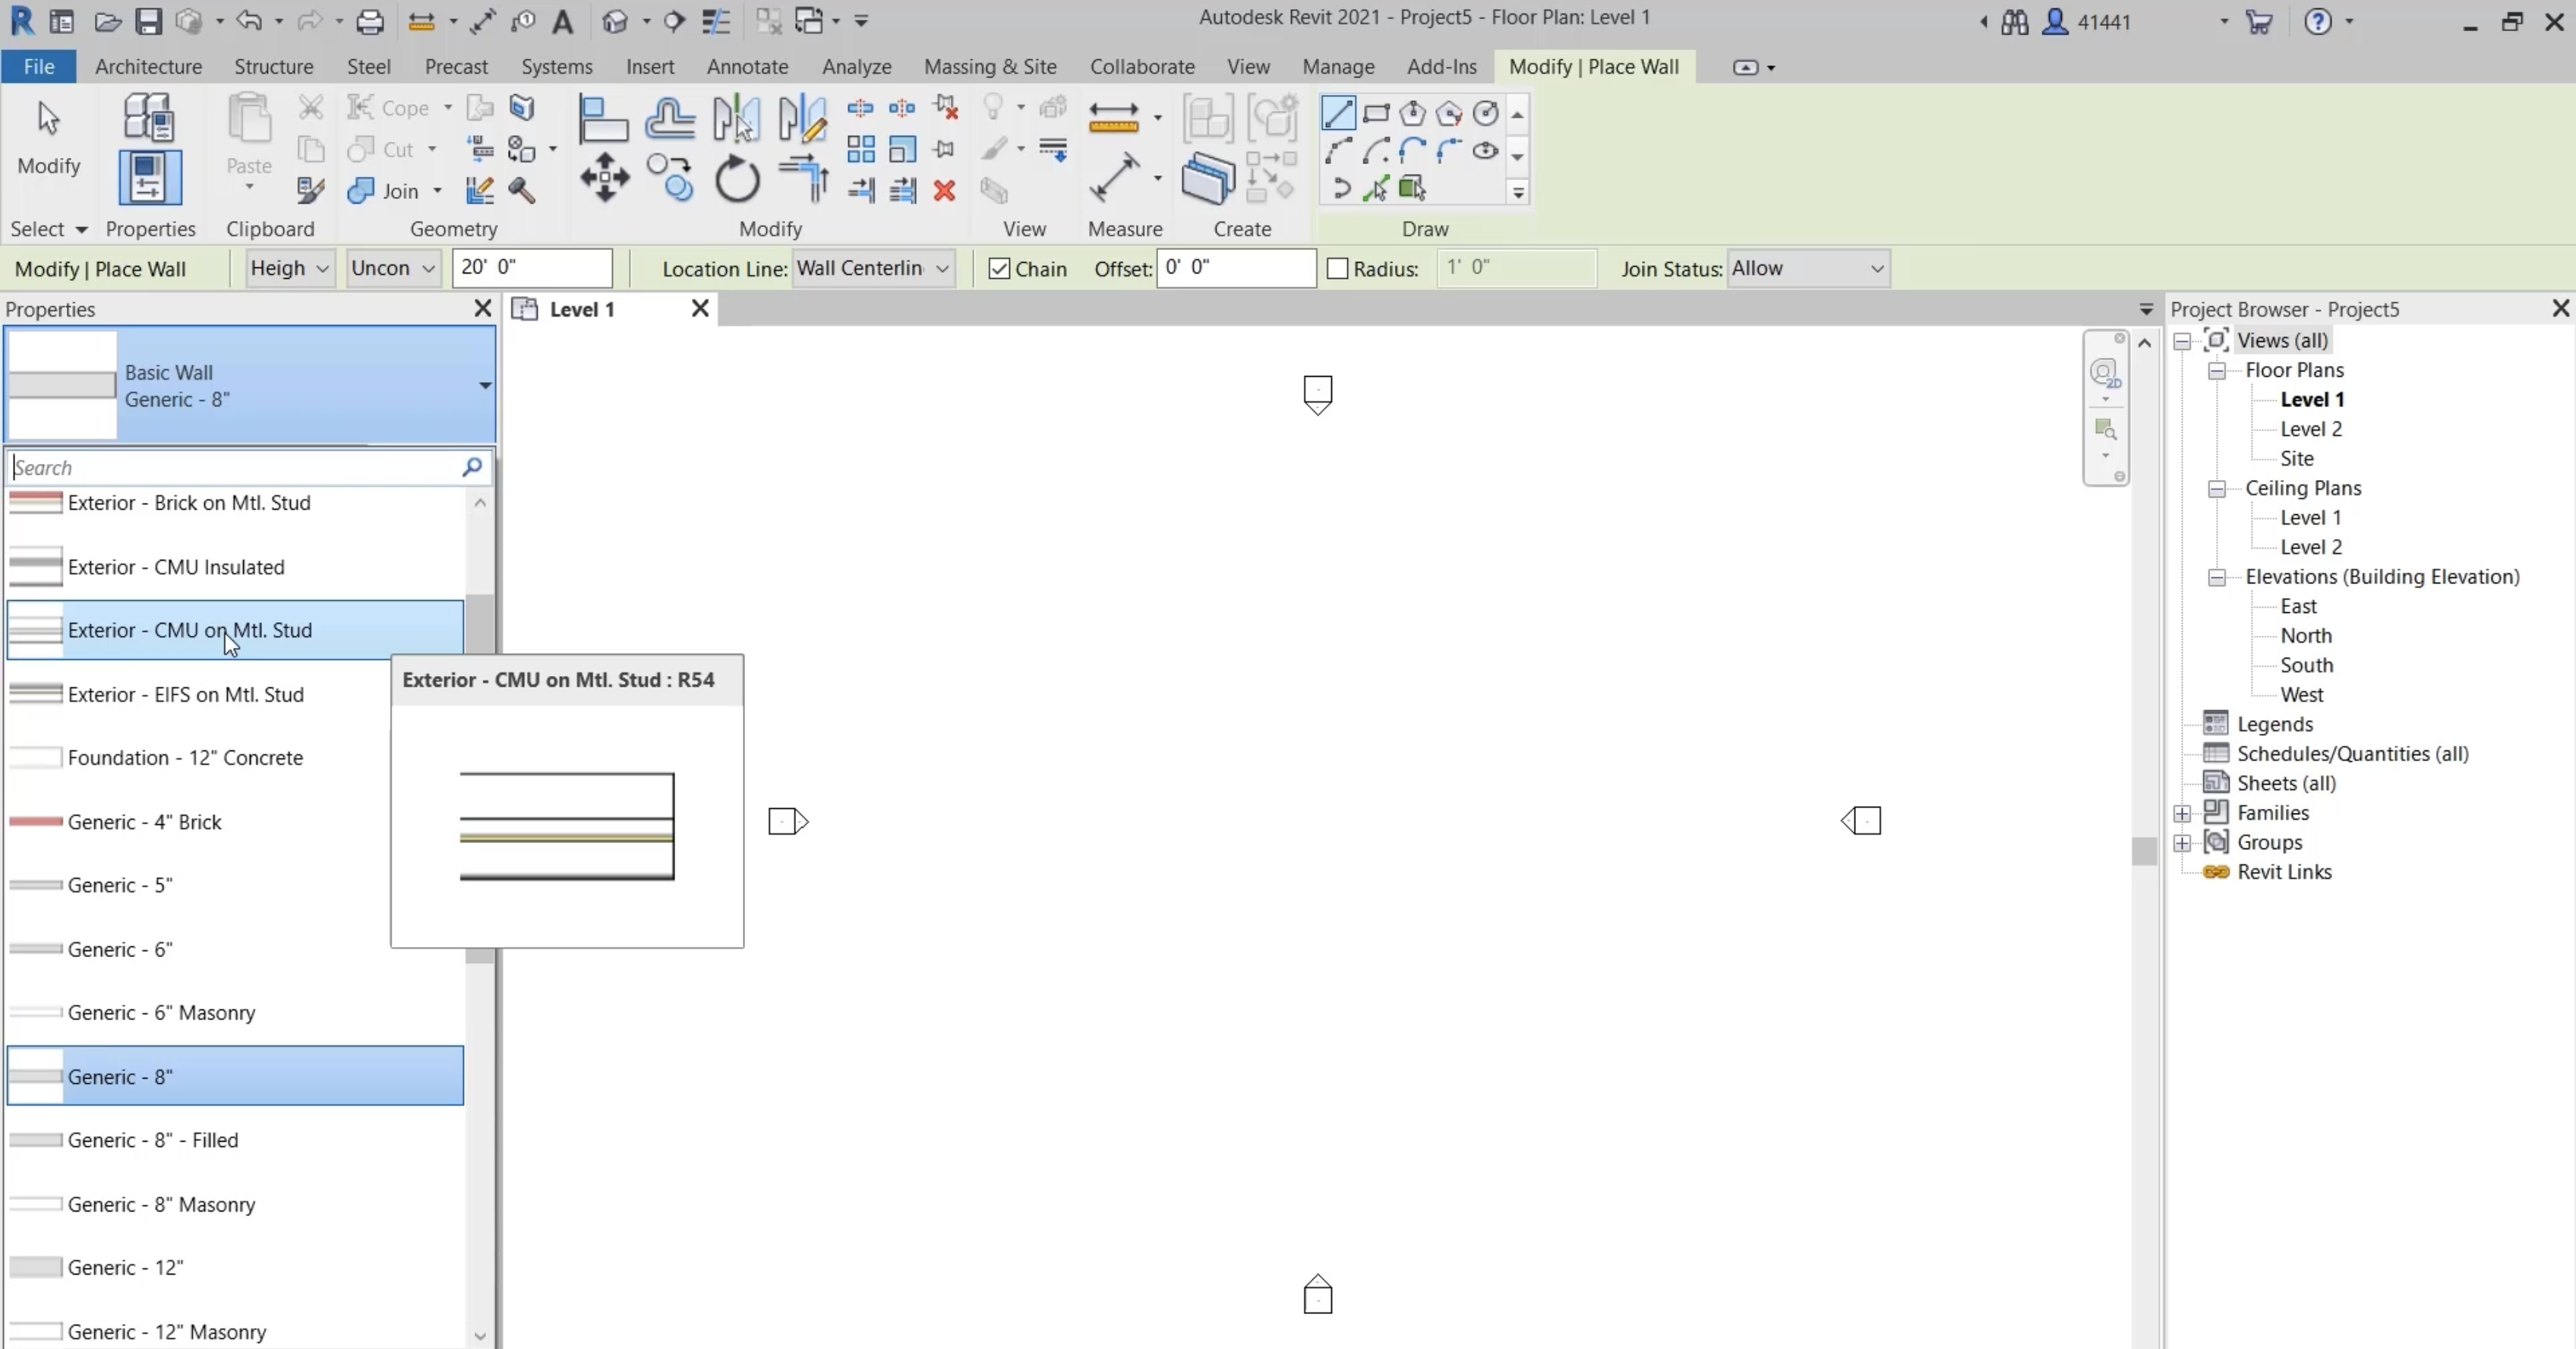
- In the Architecture tab, Build panel, expand Wall and select Wall: Architectural.
- In the Properties palette, Type selector, select Exterior – CMU on Mtl.Stud.
- Pick a point on the screen, drag to draw the wall to the right 10'-0", and click the endpoint to change directions.
- Draw a wall down 7'-0", and back to the right 8'-0".
- Drag up until you see the alignment line and snap, and pick that point.

- Continue drawing walls by typing in the distance 10 feet to the right, and then 20 feet down.
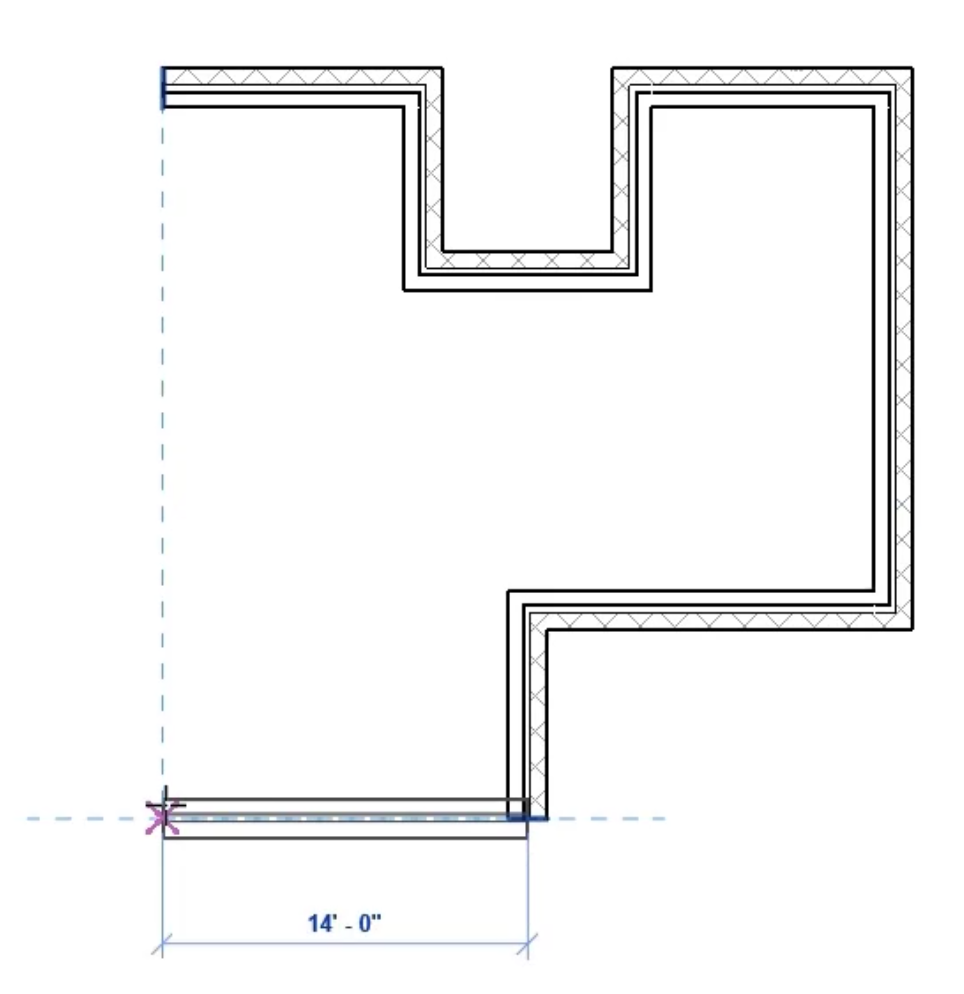
- Draw a few more walls 14'-0" to the left, 8'-0" down, and a final wall of 14'-0" in alignment with the beginning of the first wall.
- Press ESC twice to end the Wall command.
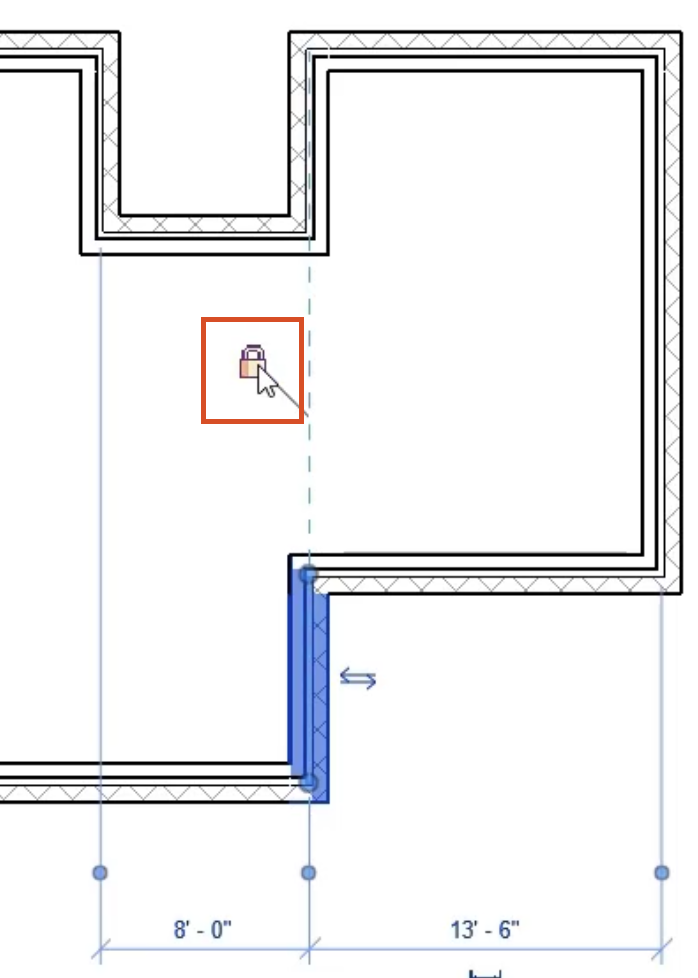
- Select the vertical wall on the right, and drag it out to 13'-6".
- Drag the lower vertical wall to the right until it aligns with the vertical wall above, and click to place it.
- Click the padlock icon to constrain the walls together.
- Drag the other wall to see that the aligned and locked wall moves with it.
- Remove the alignment constraint to move the walls independently again.
To create a curved wall:
- Select one of the walls, then right-click and select Create Similar.
- In the Draw panel, select Start-End-Radius Arc.
- To define the start and end points, click the end of the lower horizontal wall, and the end of the upper horizontal wall.
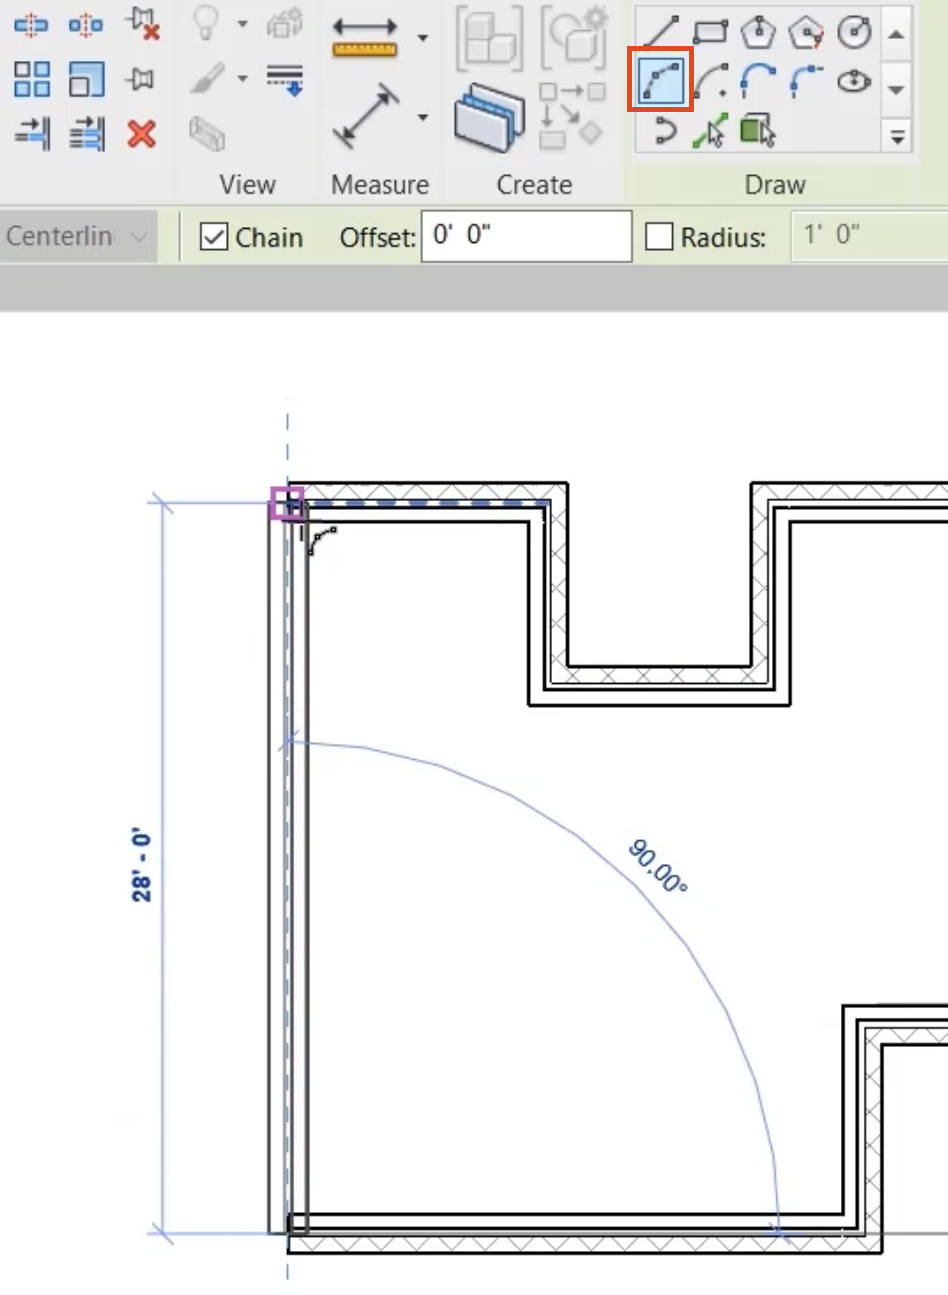
- To create the curve, drag to the left where it shows the tangent alignment.
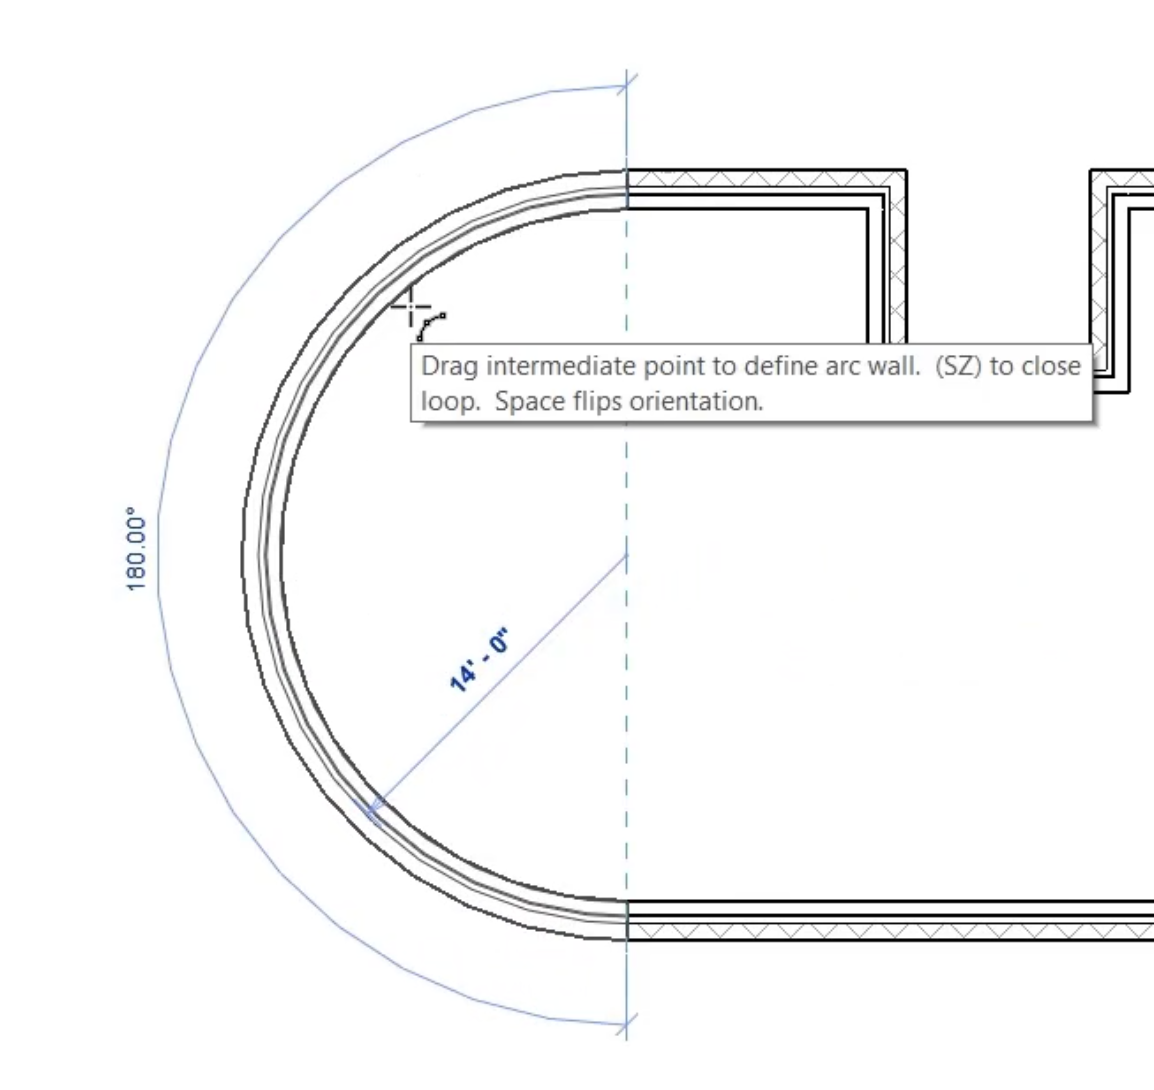
- In the ribbon, click Modify to end the command.