Assigning roughness to all pipes
Assign roughness to all pipes using the DB Editor.
Tutorial resources
These downloadable resources will be used to complete this tutorial:
Step-by-step:
When you import features from the GIS Gateway, some information may not be present and needs to be added manually to the model. For example, you can add pipe roughness to all pipes using the DB Editor.
- Open the appropriate .aprx file in ArcGIS Pro.
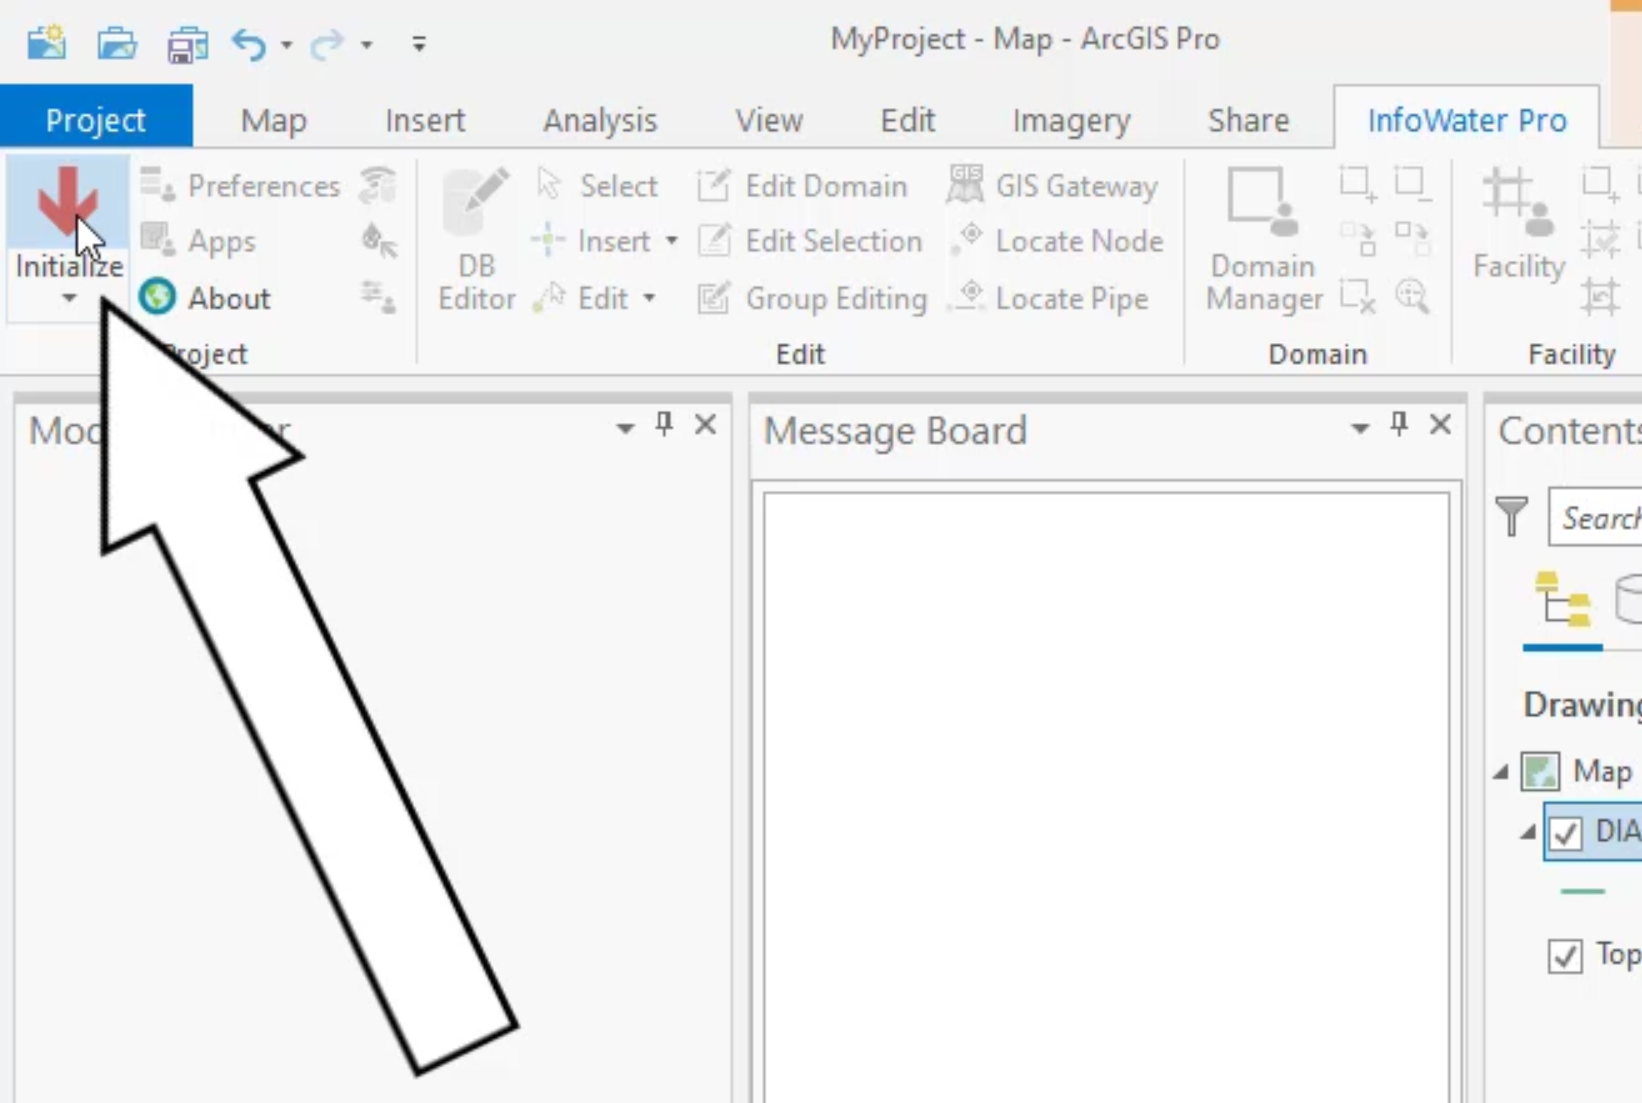
- From the ribbon, InfoWater Pro tab, click Initialize.

In the ribbon, Edit panel, click DB Editor.
In the Element Hydraulic Data dialog box, Data Table, expand the Element Hydraulic Data folder.
- Select Pipe Hydraulic (Modeling) Data.

- Click OK.
- In the DB Editor, select the Roughness column header to select the entire column.
- From the toolbar, select Block Editing.

- In the Block Edit dialog box, expand the Operation drop-down and select Set Equal (=).
- Set Value to 110.
- Click OK.

Notice that the roughness is now assigned a value of 110 for all pipe rows:

- Click a cell to end the selection of the entire column.
- Click Save.
- Close the DB Editor.