Adding modeling data manually
Manually add modeling data to previously added elements.
Tutorial resources
These downloadable resources will be used to complete this tutorial:
Step-by-step:
Once features like pumps and reservoirs have been added and digitized within a model, you can manually add modeling data to them, such as pump characteristic curves and reservoir heads.
- Open the appropriate .aprx file in ArcGIS Pro.
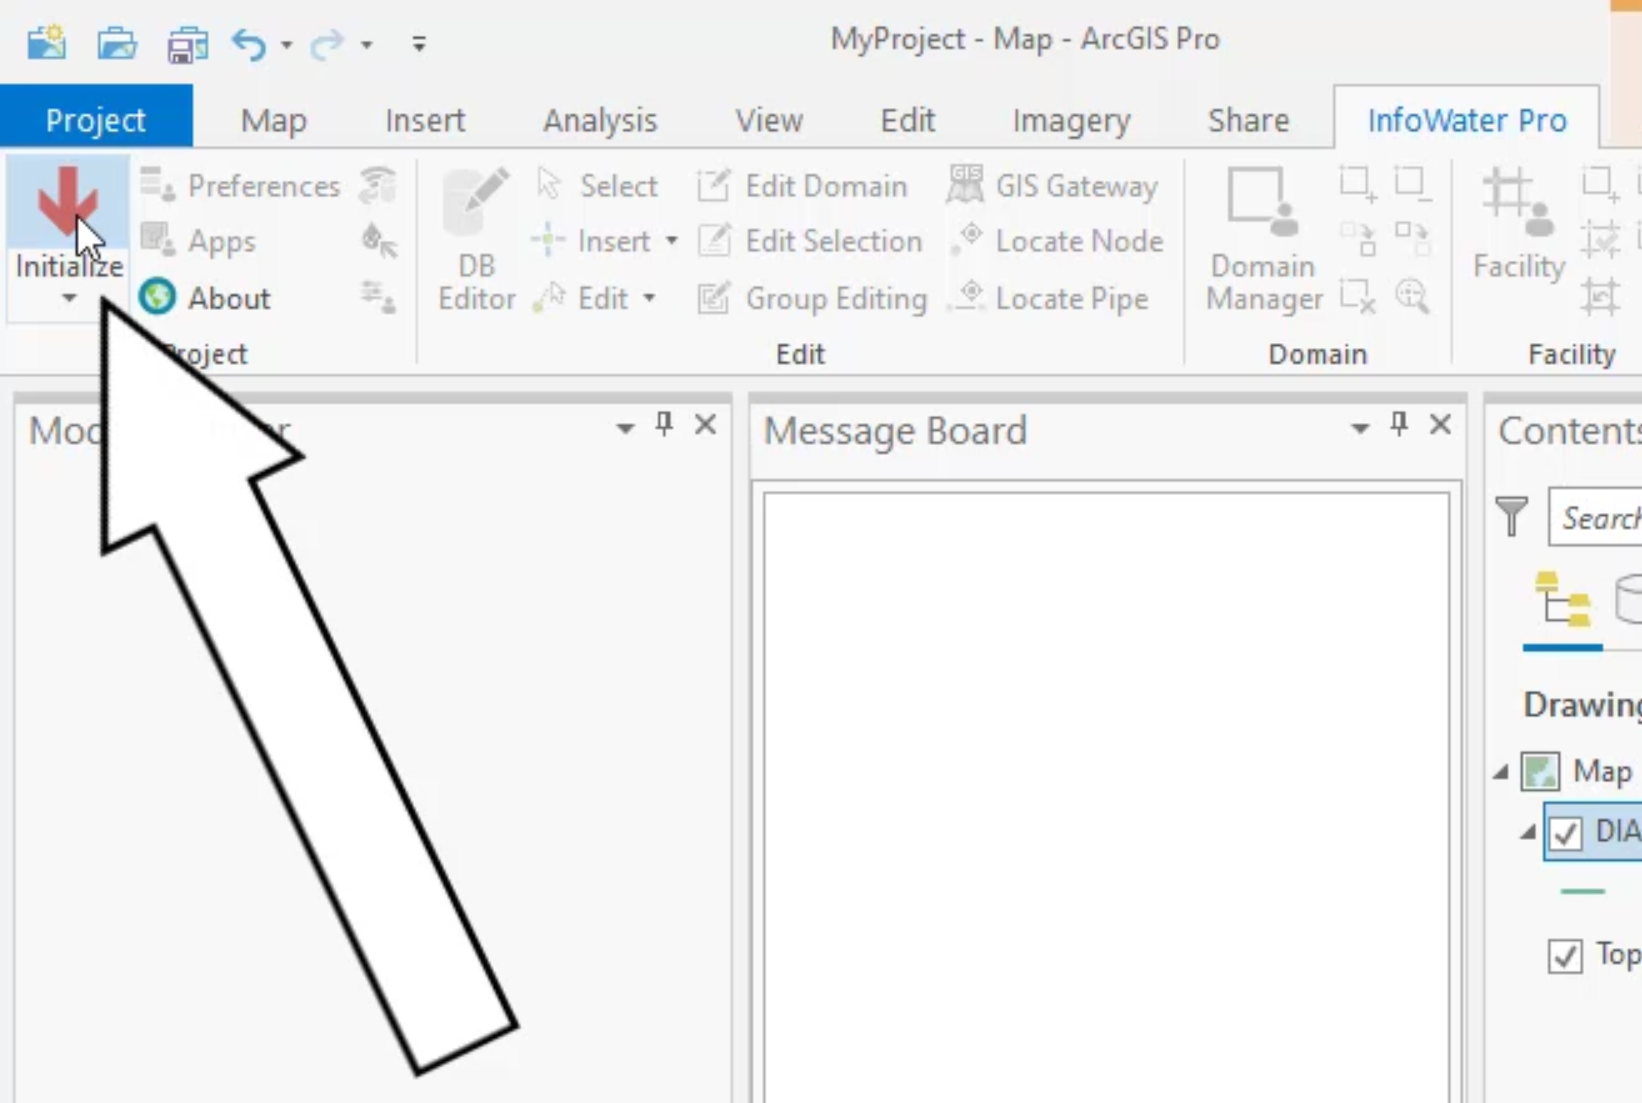
- From the ribbon, InfoWater Pro tab, click Initialize.
- In the InfoWater Pro ribbon, Edit panel, click Select.
- In the model, select the previously digitized pump by drawing a selection window around P-160.

- In the Model Explorer, Attribute tab, set Modeling Elevation to 5800 ft.
- Set the Diameter to 8.00 in.
- Set the Design Head to 60.00 ft.
- Set the Design Flow to 80.00 gpm.

- Select pump P-140.
- In The Model Explorer, Attribute tab, set Elevation to 00.
- Set the Diameter to 10.00 in.
- Set the Design Head to 250.00 ft.
- Set the Design Flow to 800.00 gpm.

- In the model, locate and select pump P-100.
- In the Model Explorer, Attribute tab, set the Elevation to 00 ft.
- Set the Diameter to 5870.00 in.
- Set the Design Head to 275.00 ft.
- Set the Design Flow to 2500.00 gpm.
- Repeat steps 14 – 18, using the same values for pump P-120.

- In the model, locate and select the reservoir WTP100.
- In the Model Explorer, Attribute tab, set the Type to 0: Fixed Head Reservoir.
- In the Head field, enter 5850.00 ft.

The pump characteristic curves and reservoir head are assigned.