Assigning feature attributes from a GIS dataset
Assign pressure zone attributes to all features in the model from a GIS dataset.
Tutorial resources
These downloadable resources will be used to complete this tutorial:
Step-by-step:
Pressure zone information is useful for viewing output data by zone. Assign zone attributes to all features in the model from a GIS dataset.
- Open the appropriate .aprx file in ArcGIS Pro.
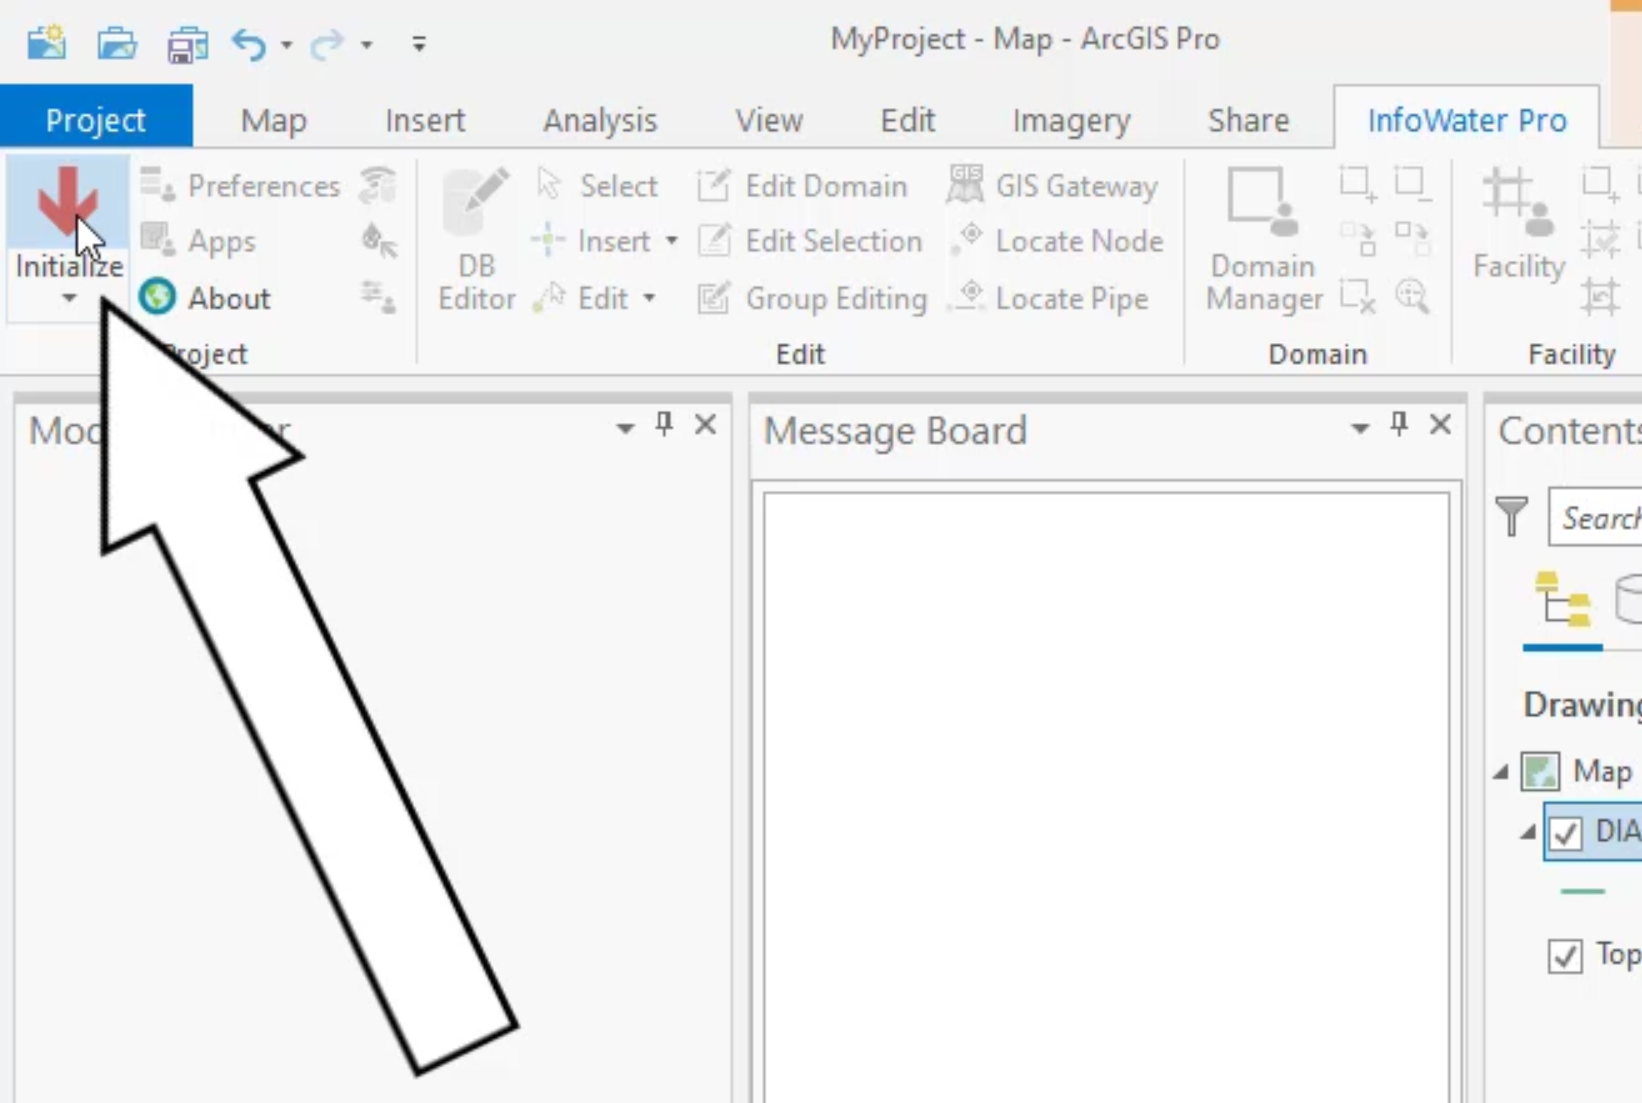
- From the ribbon, InfoWater Pro tab, click Initialize.
On the ArcGIS Pro ribbon, Map tab, Layer panel, click Add Data.

- From the Add Data dialog box, locate and select the file PressureZones.gbd.

- Click OK to open it.
- In the ArcGIS Pro ribbon, Map tab, Selection panel, click Select By Attributes.

- In the Select By Attributes dialog box, set Input Rows to PressureZones.
- Set Selection type to New selection.
- Click +New expression.

- In the Expression Builder that appears, set the fields for Where to ZONE, is equal, 1.
- Click Apply.

- In the ArcGIS Pro ribbon, Selection panel, click Select By Location.
- In the Selection By Location dialog box, set Input Features to Valve.
- Set Relationship to Completely within.
- Set Selecting Features to PressureZones.
- Set Selection type to Add to the current selection.
- Click Apply.

- Close the error message.
- In the Select By Location dialog box, set Input Features to Junction.
- Click Apply.
- Close the error message.
- In the Select By Location dialog box, set the Input Features to Tank.
- Click Apply.
- Close the error message.
- In the Select By Location dialog box, set the Input Features to Reservoir.
- Click Apply.
- Close the error message.
- In the Select By Location dialog box, set the Input Features to Pump.
- Click Apply.
- Close the error message.
- In the Select By Location dialog box, set the Input Features to Pipe.
- Click Apply.
- Close the error message.
Each attribute that you add becomes highlighted in Pressure Zone 1 until all features that are completely within the zone are highlighted.
- Close the Select By Location dialog box.
- From the InfoWater Pro ribbon, Domain panel, click Selection to Domain.

- In the Edit panel, click Edit Domain.

- In the Edit Attribute dialog box, Junction table, select the Zone column header to select the entire column.

- In the toolbar, click Block Editing.
- In the Group Editing dialog box, set Operation to Set Equal.
- Set Value to 1.
- Click OK.

- In the Edit Attribute dialog box, repeat steps 37 - 41 for the Tank tab, Zone column.
- Repeat steps 37 – 41 for the Reservoir tab.
- Repeat steps 37 – 41 for the Pump tab.
- Repeat steps 37 – 41 for the Pipe tab.
- Click Save All Tabs.
- Exit the Domain Editor.

The map now shows all the model objects in Zone 1 highlighted in red, including the junctions, tanks, reservoir, pumps and pipe.
- From the ArcGIS Pro ribbon, Map tab, Selection panel, click Clear.
- From the InfoWater Pro ribbon, Domain panel, click Clear Domain.
- Save the project.