Create coordination spaces
Any referenced datasets can be downloaded from "Module downloads" in the module overview.
Exercise: Create Coordination Spaces
Task 1: Logging On to the Autodesk Construction Cloud (ACC) Project Using Project Admin Permissions
- Go to https://acc.autodesk.com/projects and log in using the Project Admin
- From the project list, select your project.
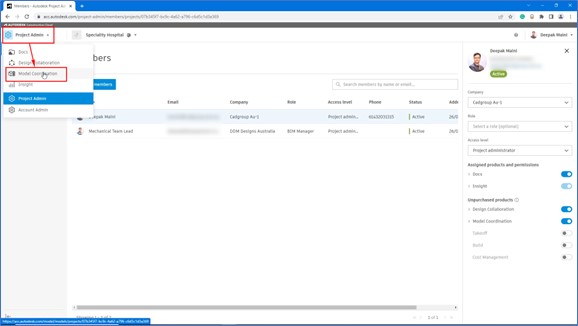
- Click on Product Picker on the top left and then click Project Admin to go to the Project Admin page, as shown below.

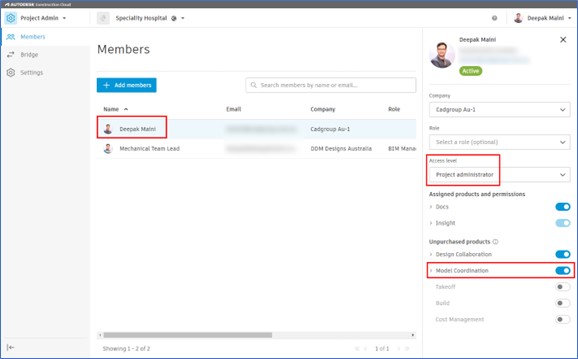
- On the Project Admin > Members page, make sure you have access to Model Coordination, as shown below.
Task 2: Creating Coordination Spaces
- From the Product Picker, select Model Coordination, as shown below.
- From the Settings area, click Create.
- In the Name field, type Shared Files Coordination.
- From the Coordination folder area, expand Project Files and click the Shared folder, as shown in the following figure.
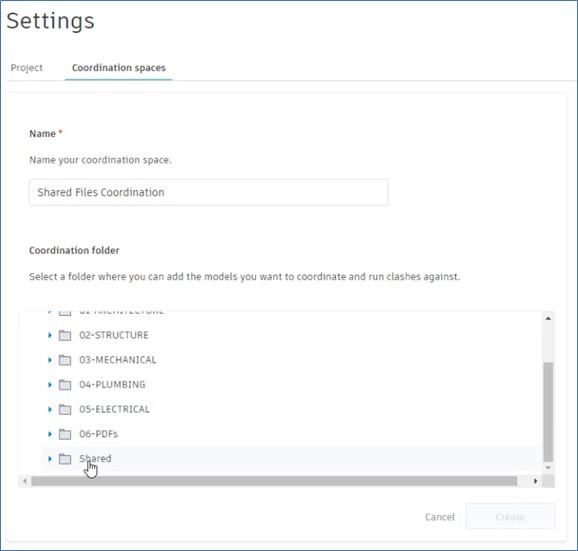
- Click Create; the process of creating the coordination space starts.
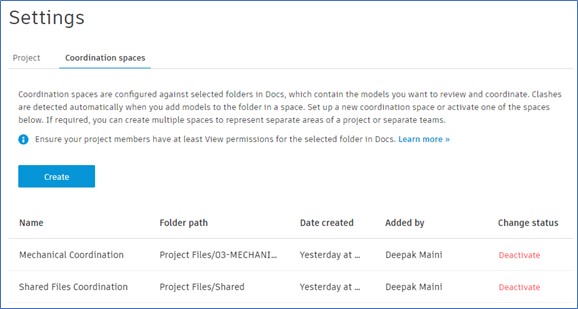
- Similarly, create other coordination spaces. The coordination spaces should appear in the Coordination spaces area, as shown in the following figure.