• InfoWater Pro

Locating and fixing nodes in close proximity

Locate and fix overlapping or accidentally duplicated nodes.


Tutorial resources

These downloadable resources will be used to complete this tutorial:


00:03

The network review fix utilities are a network of tools you can

00:07

use to quickly identify and automatically correct any network topology problems.

00:13

These problems could include disconnected nodes and data

00:16

flaws such as duplicated pipes or nodes.

00:21

The first tool that you would usually try on an

00:23

imported model is locate slash fix nodes in close proximity.

00:29

This tool designates nodes in close proximity. Also known as N

00:33

IC P

00:34

that overlap or are accidentally duplicated.

00:38

You can instantly view every node in close vicinity of another node based

00:42

on any specified distance and automatically merge

00:45

the identified nodes into one where necessary

00:49

to begin.

00:50

Double click the desired project dot APR

00:53

file to open Argi

00:55

pro.

00:57

Once the project starts,

00:58

click the info water pro tab to open the info water pro ribbon

01:03

in the project panel, click initialize

01:07

from the command center tab in the model explorer,

01:10

expand the utilities network review slash fix folders and then double click,

01:15

locate slash fix nodes in close proximity.

01:19

For this example, set the searching distance to one

01:22

and make sure that add to domain is selected.

01:26

Click OK.

01:28

All candidate locations are added to the domain.

01:31

In this example. One location with two nodes is found

01:36

to zoom in on the location

01:38

on the info water pro ribbon

01:39

domain panel. Click the zoom to domain tool.

01:44

When you examine the network configuration,

01:47

notice that one of these nodes appears to serve no purpose

01:51

on the map. Tab in the inquiry panel

01:54

use the measure tool to estimate the distance between these nodes.

01:58

The separation is so small that these nodes must be duplicates.

02:03

Return to the command center and reopen utilities network review slash fix,

02:09

locate slash fix nodes in close proximity,

02:13

select joint nodes in close proximity and apply to domain only

02:19

click. OK.

02:21

One note is deleted

02:22

and the geometry is updated

02:26

generally. This tool is most efficiently used with a growing searching distance,

02:32

check the minimum pipe length in the network and use

02:34

half of this as an initial starting search distance value.

02:39

It may be worthwhile to increase the search distance

02:42

until all locations found upon review represent elements that

02:45

clearly should be distinct nodes and therefore are not

02:48

true N IC P issues that need to be resolved

02:52

if you do have multiple locations identified as issues,

02:56

examine and resolve each by measuring and rerunning the tool.

Video transcript

00:03

The network review fix utilities are a network of tools you can

00:07

use to quickly identify and automatically correct any network topology problems.

00:13

These problems could include disconnected nodes and data

00:16

flaws such as duplicated pipes or nodes.

00:21

The first tool that you would usually try on an

00:23

imported model is locate slash fix nodes in close proximity.

00:29

This tool designates nodes in close proximity. Also known as N

00:33

IC P

00:34

that overlap or are accidentally duplicated.

00:38

You can instantly view every node in close vicinity of another node based

00:42

on any specified distance and automatically merge

00:45

the identified nodes into one where necessary

00:49

to begin.

00:50

Double click the desired project dot APR

00:53

file to open Argi

00:55

pro.

00:57

Once the project starts,

00:58

click the info water pro tab to open the info water pro ribbon

01:03

in the project panel, click initialize

01:07

from the command center tab in the model explorer,

01:10

expand the utilities network review slash fix folders and then double click,

01:15

locate slash fix nodes in close proximity.

01:19

For this example, set the searching distance to one

01:22

and make sure that add to domain is selected.

01:26

Click OK.

01:28

All candidate locations are added to the domain.

01:31

In this example. One location with two nodes is found

01:36

to zoom in on the location

01:38

on the info water pro ribbon

01:39

domain panel. Click the zoom to domain tool.

01:44

When you examine the network configuration,

01:47

notice that one of these nodes appears to serve no purpose

01:51

on the map. Tab in the inquiry panel

01:54

use the measure tool to estimate the distance between these nodes.

01:58

The separation is so small that these nodes must be duplicates.

02:03

Return to the command center and reopen utilities network review slash fix,

02:09

locate slash fix nodes in close proximity,

02:13

select joint nodes in close proximity and apply to domain only

02:19

click. OK.

02:21

One note is deleted

02:22

and the geometry is updated

02:26

generally. This tool is most efficiently used with a growing searching distance,

02:32

check the minimum pipe length in the network and use

02:34

half of this as an initial starting search distance value.

02:39

It may be worthwhile to increase the search distance

02:42

until all locations found upon review represent elements that

02:45

clearly should be distinct nodes and therefore are not

02:48

true N IC P issues that need to be resolved

02:52

if you do have multiple locations identified as issues,

02:56

examine and resolve each by measuring and rerunning the tool.

Step-by-step:

The Network Review/Fix utilities are a network of tools used to identify and automatically correct any network topology problems, including disconnected nodes and data flaws, such as duplicated pipes or nodes.

The first tool that you would usually try on an imported model is Locate/Fix Nodes in Close Proximity. This tool designates nodes in close proximity (also known as NICP) that overlap or are accidentally duplicated. You can instantly view every node in close vicinity of another node (based on any specified distance) and automatically merge the identified nodes into one, where necessary.

  1. Open the appropriate .aprx file in ArcGIS Pro.
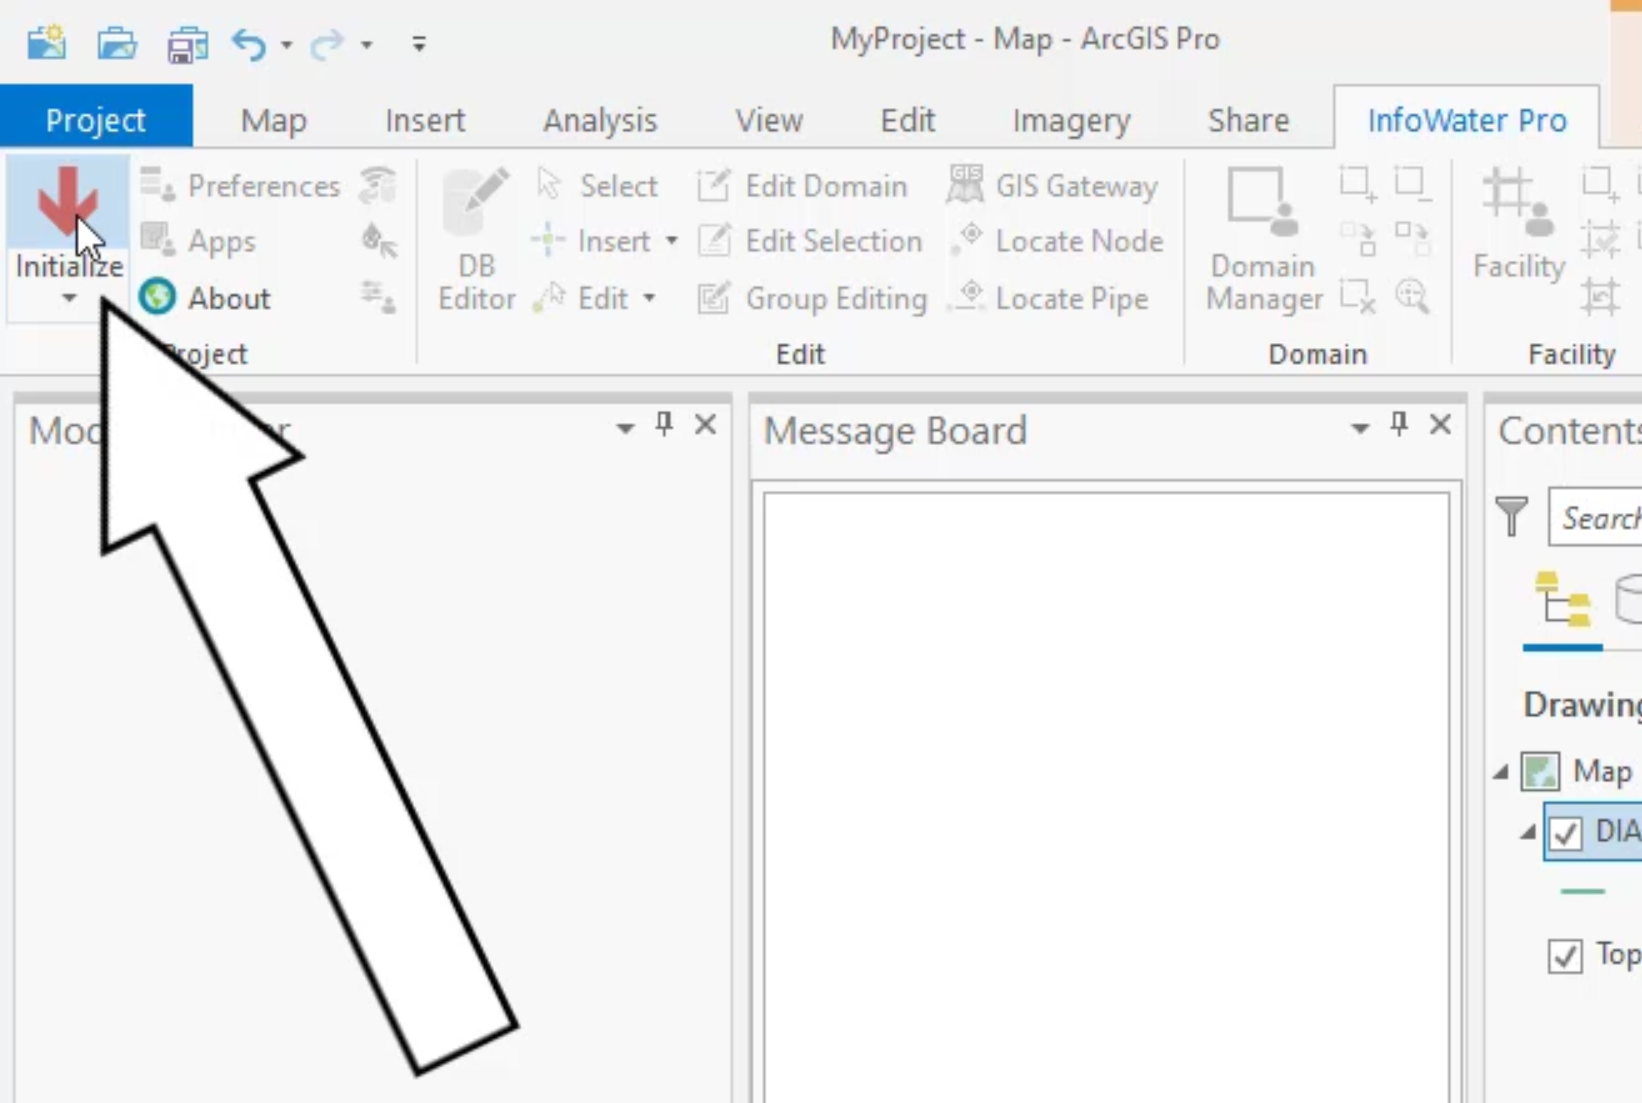
  2. From the ribbon, InfoWater Pro tab, click Initialize.
    The InfoWater Pro tab of the ribbon with Initialize called out as being selected
  3. From the Model Explorer, Command Center tab, expand Utilities > Network Review/Fix.
  4. Double-click Locate/Fix Nodes in Close Proximity.
    The Model Explorer, Command Center tab, Network Review/Fix folder, with Locate/Fix Node in Close Proximity highlighted
  5. In the Locate Nodes in Close Proximity dialog box, set the Searching Distance to 1.
  6. Ensure that Add to Domain is selected.
    The Locate Nodes in Close Proximity dialog box, with Searching Distance set to 1 and Add to Domain enabled
  7. Click OK.

All candidate locations are added to the domain. The Message Board reports that one location with two nodes is found.

  • The Message Board showing the results of the Locate Nodes in Close Proximity operation, that 2 close nodes were found
  1. To zoom in on the location, on the InfoWater Pro ribbon, Domain panel, click the Zoom to Domain tool.
    The InfoWater Pro ribbon, Domain panel, with the Zoom to Domain tool highlighted
  1. Examine the network configuration. Notice that one of these nodes appears to serve no purpose.
    The Network map showing the 2 nodes in close proximity, one of which serves no purpose
  1. On the ribbon, Map tab, Inquiry panel, click the Measure tool.
    The ARCGIS Pro ribbon, Map tab, Inquiry panel, with the Measure tool highlighted


  1. In the map, measure the distance between the two nodes.
    Network map showing the result of measuring the distance between the two nodes

The separation is so small that these nodes must be duplicates.

  1. In the Command Center, open Utilities > Network Review/Fix > Locate/Fix Nodes in Close Proximity.
  2. Enable Join Nodes in Close Proximity.
  3. Enable Apply to Domain Only.
    The Locate Nodes in Close Proximity dialog box
  4. Click OK.

One node is deleted, and the geometry is updated.

      • The updated geometry in the network map after one node is deleted


TIP: This tool is most efficiently used with a growing Searching Distance. Check the minimum pipe length in the network and use half of this as an initial starting search distance value.

TIP: Increase the search distance until all the locations that are found represent elements that clearly should be distinct nodes and therefore are not true NICP issues that need to be resolved. If you do have multiple locations identified as issues, examine and resolve each by measuring and re-running the tool.

Was this information helpful?