Commit changes and use scenarios to save network variations
Commit network changes and create scenarios to model variations of your network.
Commit changes and use scenarios to save network variations
Step-by-step guide
Changes made to a version-controlled database object are continually and automatically saved locally in the working folder until they are committed. When changes are ready to be saved or shared, commit them to upload the changes to the database and merge them with changes from other users as a new version.
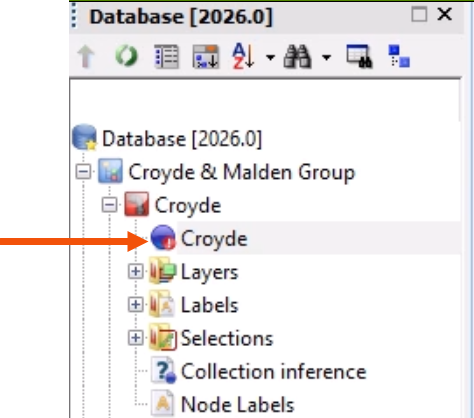
An uncommitted network has a red circle at the bottom of the network icon and needs to be committed before changes can be used in a model.
Best practice is to commit changes after any major editing or updating of the network, even when working alone.
To commit changes:
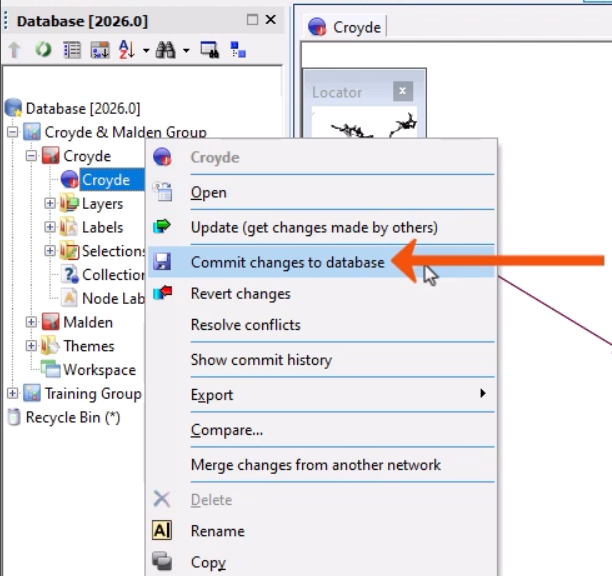
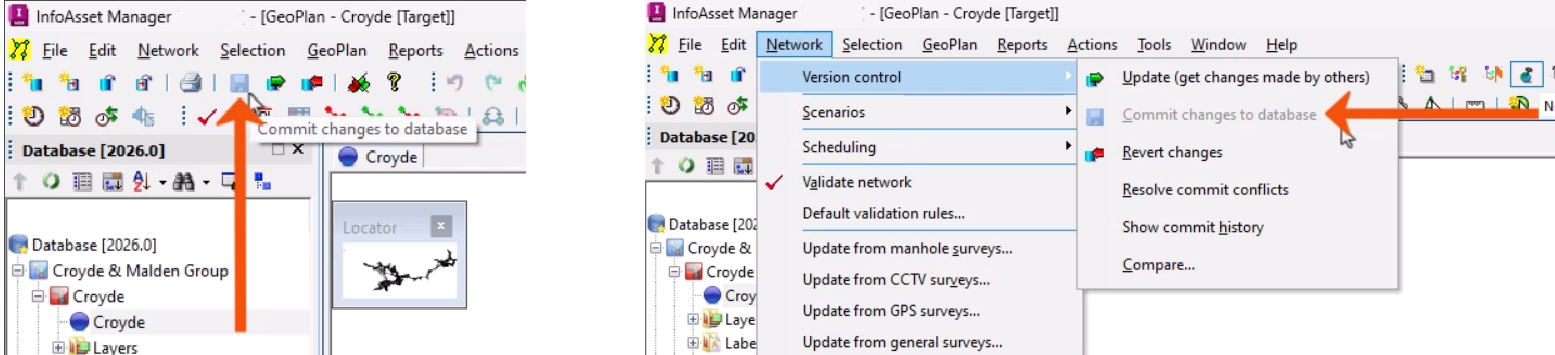
- In the Explorer window, right-click the network and select Commit changes to database.
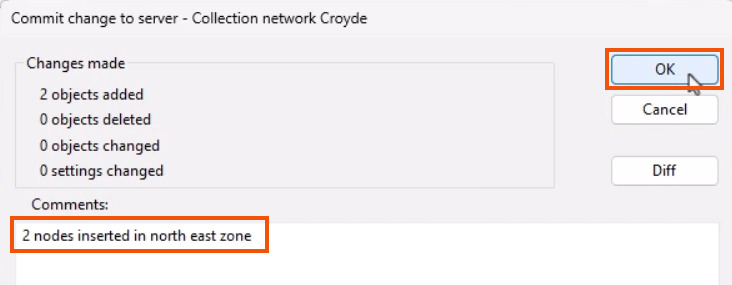
The Commit change to server dialog includes a summary of the changes being committed.
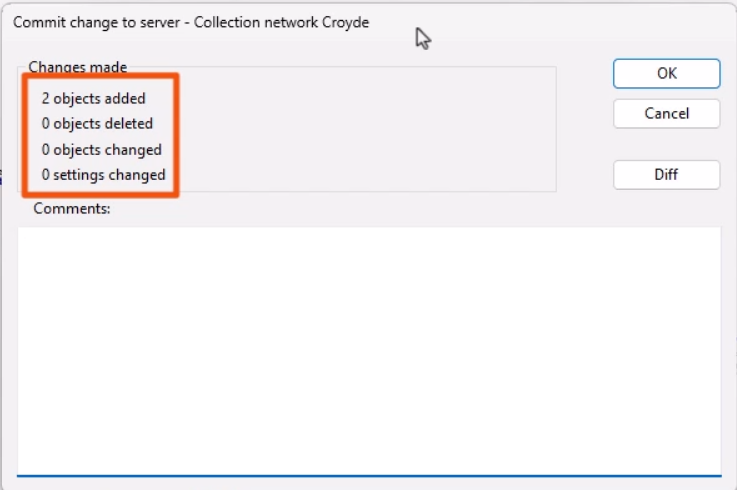
- In the Comments section, add a comment about the changes, such as “2 nodes inserted in north east zone”.
- Click OK.
- Alternatively, on the File toolbar, click Save or use the Network > Version control menu to commit changes.
While committing changes is an easy way to save data, scenarios can be used for several reasons, such as:
- Modeling variations of a network simultaneously, without the need to create separate branch networks.
- Investigating the impact of different parameters, such as increasing pipe sizes.
- Performing quality assurance, allowing multiple users to work independently in their own scenario until the work has been checked and reviewed.
Once work has been reviewed and signed off, scenarios can be integrated into the Base network, making changes available to all users.
Because scenarios are derived from a Base network, they do not appear in the Explorer window as separate entities. Instead, they are saved within the Base network.
To view a scenario:
- Open the Base network.
- From the Scenarios toolbar, select the scenario.

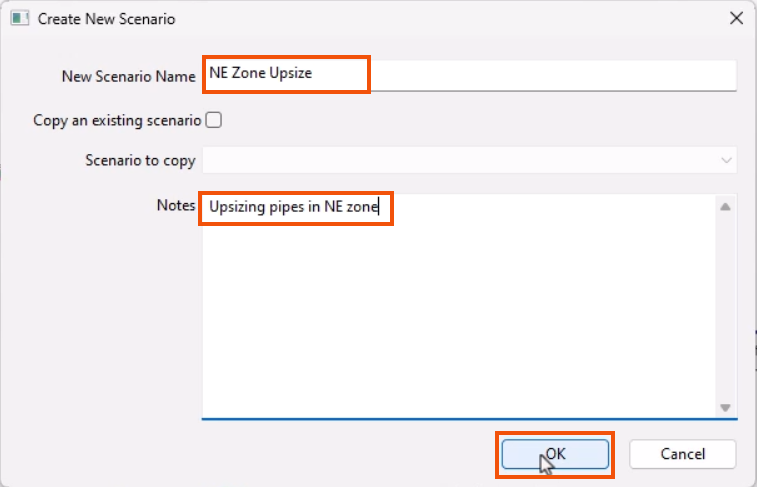
To create a scenario:
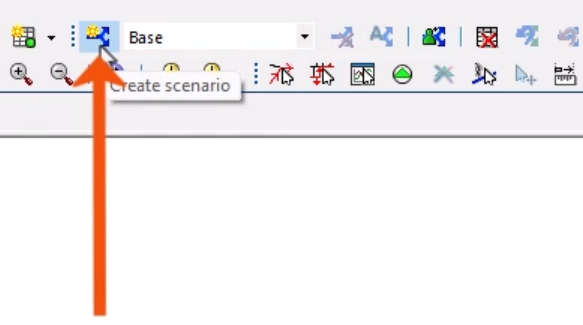
- On the Scenarios toolbar, click Create scenario.
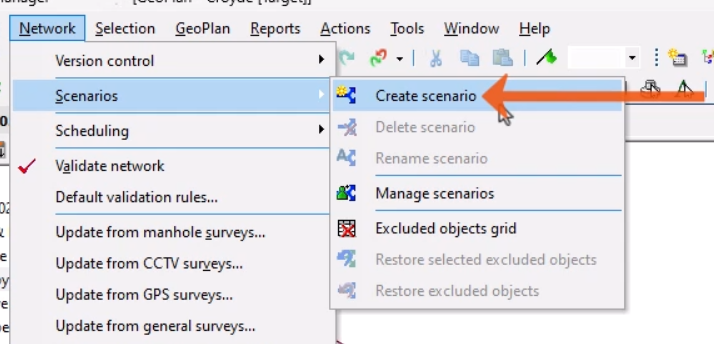
- Alternatively, in the Network menu, select Scenarios > Create scenario.
- In the Create new scenario dialog, add a New Scenario Name, such as “NE Zone Update”.
- Add any meaningful Notes, such as “Upsizing pipes in NE zone”.
- Click OK to save the scenario.
Changes can be made to the elements in the scenario without affecting the Base network.
Each scenario is a copy of the Base network, unless a scenario is created as a copy of another. All changes made to a scenario are independent. Scenarios can be made to construct unique situations, which can then be analyzed and compared.
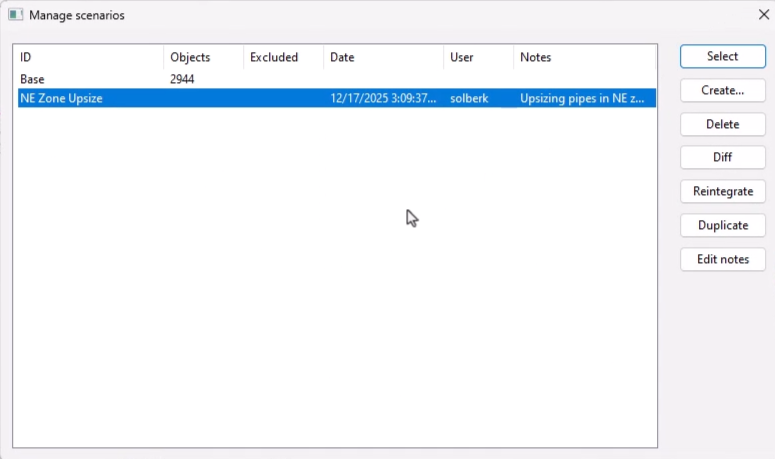
- To Delete, Rename, or Manage scenarios, use the corresponding tools in the Scenarios toolbar.

- Select Manage scenarios to open the Manage scenarios dialog and access additional tools, such as a tool to compare scenarios.