Edit data in grid windows in InfoAsset Manager
Edit multiple object data and properties using grid views.
Edit data in grid windows in InfoAsset Manager
Step-by-step guide
When working with an open network in InfoAsset Manager, in addition to modifying individual objects through their property sheets, the properties of multiple network objects can be viewed and edited at once using grid views. Grids are spreadsheet-style tables that display network objects organized into groups. Each group contains grids for a specific object class and its related sub-objects.
There are several methods to open a grid view for the nodes in a network.
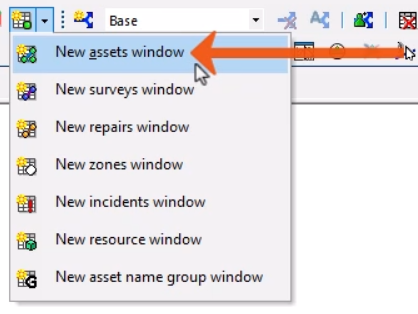
- From the Windows toolbar, expand the Grid windows drop-down.
The list of object classes appears at the top of the menu and includes assets, surveys, repairs, and zones.
- To view all assets from the network in a spreadsheet-style grid window, select New assets window.
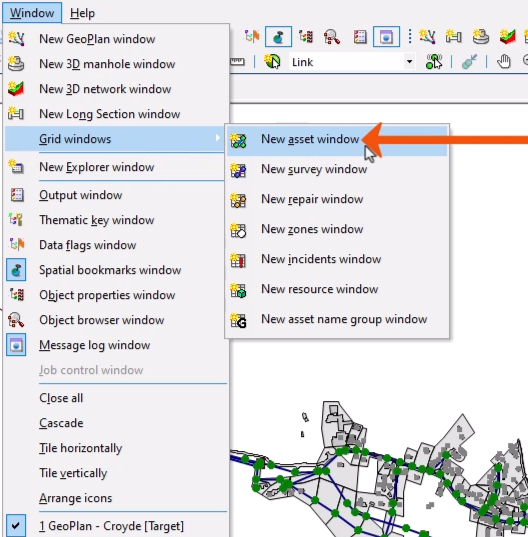
Grids can also be opened from the main menu.
- Select Window > Grid windows.
- Select the type, New asset window.
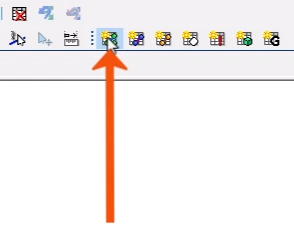
- Alternatively, from the Modelling Grid Windows toolbar, click New asset window.
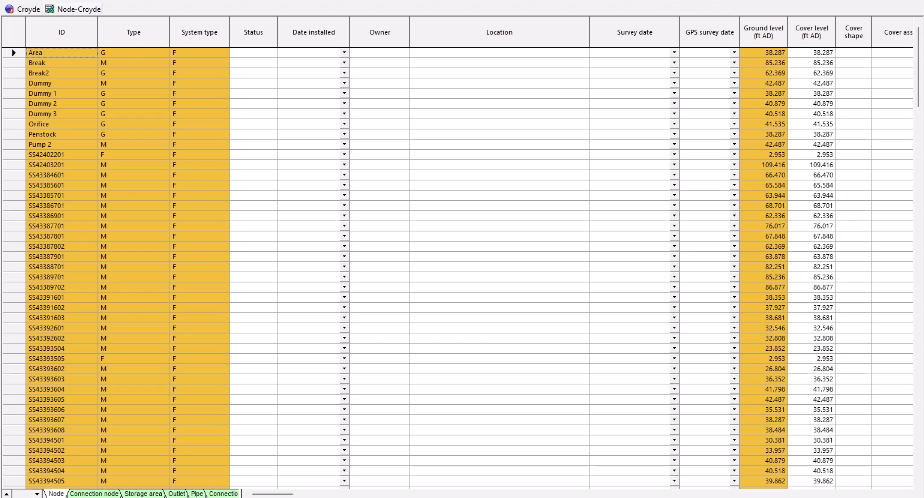
Each of these opening methods results in the same grid.
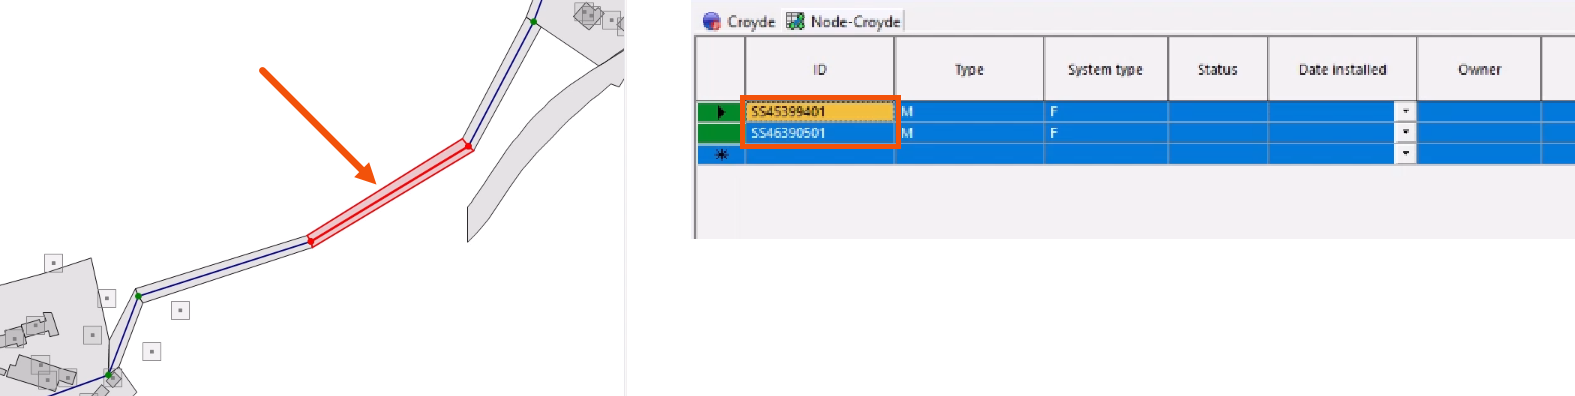
To include only specific objects:
- In the GeoPlan, select the objects.
- Press and hold Ctrl while opening the relevant object grid window.
Opening a grid window activates the Grid menu, which contains additional features.
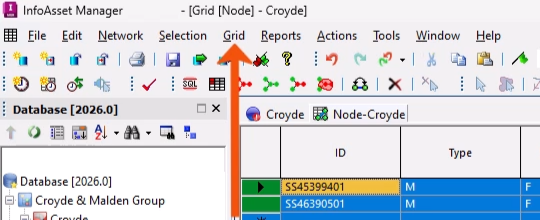
- Reopen the asset grid window for all objects in the network.
In the grid, columns can be reordered, and whole columns or sections of data can be cut, copied, or pasted. Values can be modified individually or in bulk.
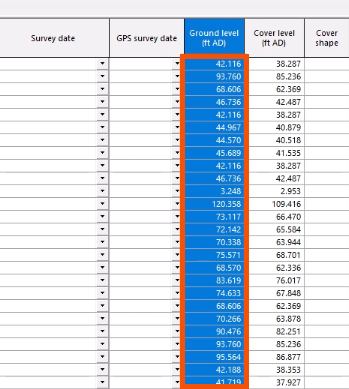
In this example, increase all values in the Ground level column by 10%.
- Click the Ground level column header to select the entire column.
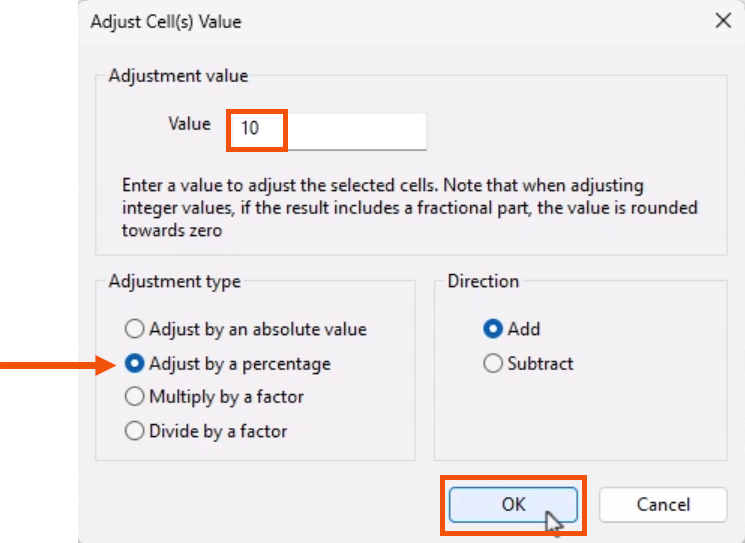
- Right-click anywhere in the column and select Current Cell(s) Value > Adjust current value(s) for cell(s).

- In the Adjust cell(s) value dialog, enter a Value of 10.
- Select an Adjustment type of Adjust by a percentage.
- Click OK.
In the grid, the values adjust accordingly.
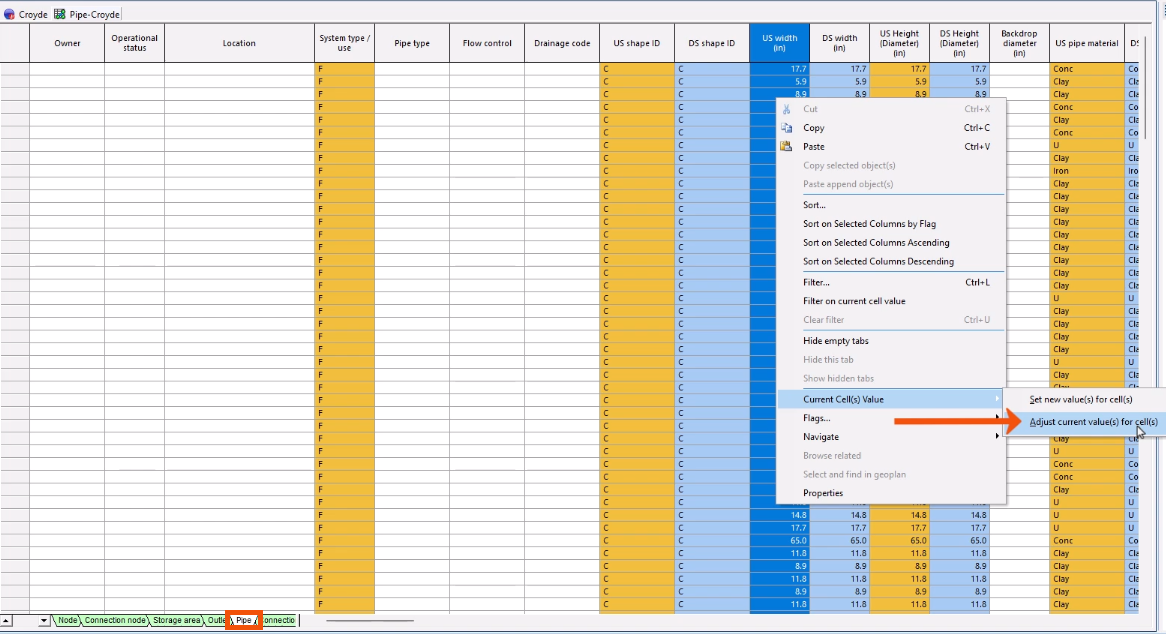
Now, increase the pipe width by 150mm.
- Select the Pipe tab.
- Select the US width column.
- Right-click and select Current Cell(s) value > Adjust current value(s) for cell(s).
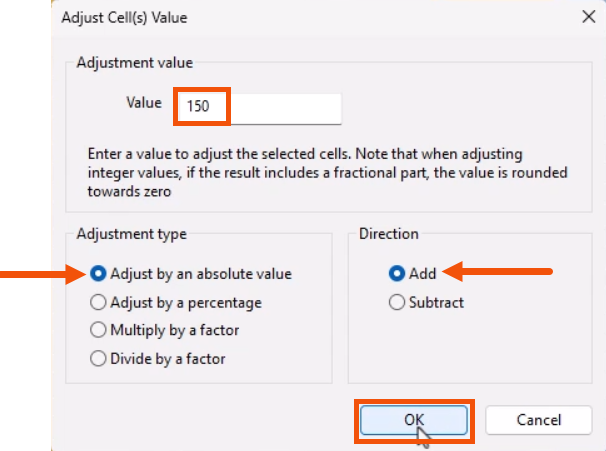
- Enter a Value of 150.
- Select Adjust by an absolute value.
- Select the Direction to Add.
- Click OK.
This can be useful to quickly test the impact of upsizing pipes.
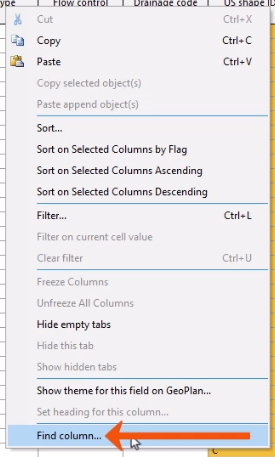
In large grids, the Find tool makes it easier to locate specific columns.
- Still on the Pipe tab, right-click any column header and select Find column.
- In the Find column in grid dialog, in the Columns drop-down, select DS pipe material.
- Click OK to locate the column.

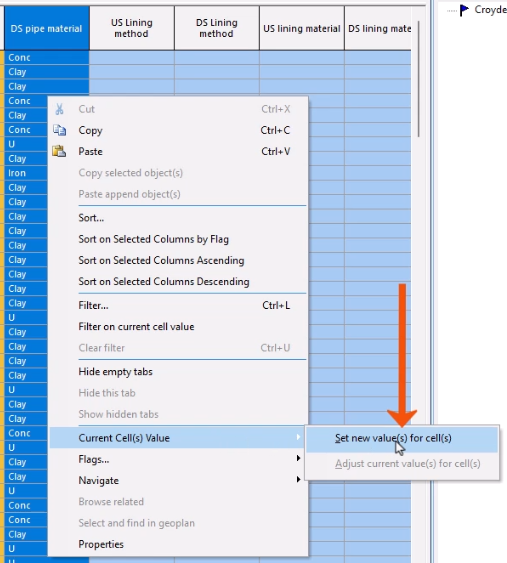
To adjust all entries in this column to a specific value:
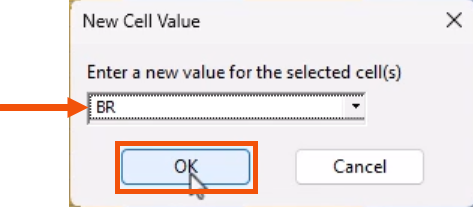
- Right-click and select Current Cell(s) value > Set New Value(s) for Cell(s).
- In the New Cell Value dialog, select BR (Brick).
- Click OK to update all values.
These functions can be carried out on the entire column, a selection, or an individual field.
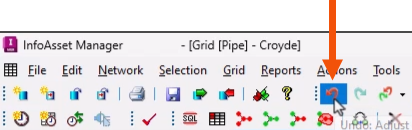
- To revert changes that have been made, from the toolbar, click Undo.
- To remove all changes since the last commit, in the Explorer window, right-click the network and select Revert changes.

Changes cannot be recovered once this option has been selected.