Create levels and views
Any referenced datasets can be downloaded from "Module downloads" in the module overview.
Create views and levels - Exercise
- Click File > Open and navigate to the Structural Analysis-Medical Center.rte template file.
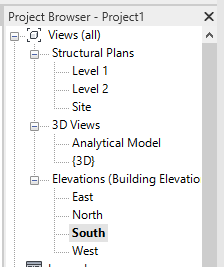
- Navigate to the south elevation view.
- Rename Level 1 to Ground Floor. When asked to rename corresponding views, select Yes. Rename Level 2 to Second Floor, setting the elevation of the second floor to 13'4".

- Right-click on the newly renamed Ground Floor in the project browser and select Duplicate View > Duplicate.
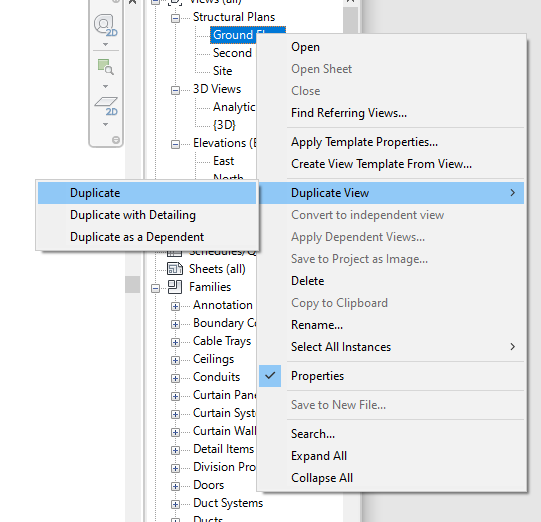
- Rename the duplicated view Ground Floor – Analytical. Repeat for Second Floor.

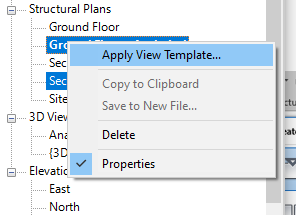
- Using the Control key, select both Ground Floor – Analytical and First Floor – Analytical. Right-click and select Apply View Template.
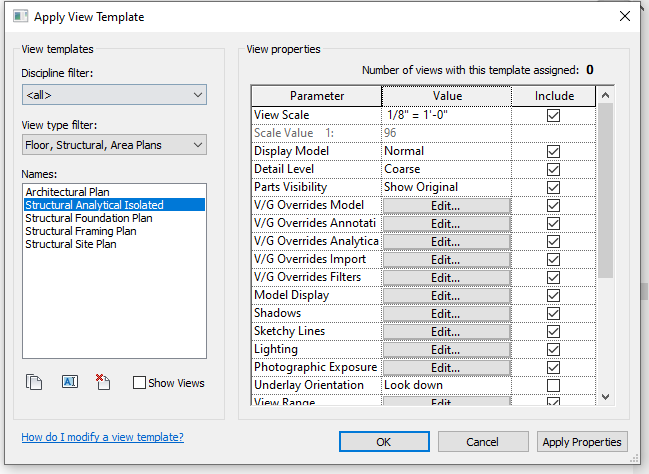
- Select the Structural Analytical Isolated template.
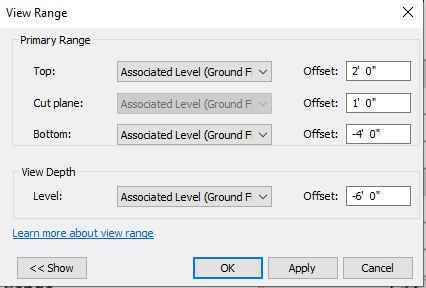
- Double-click on the Ground Floor2 structural plan to open it. Click on the Edit button in the properties panel, next to View Range.

- Verify that the view range settings are correct.
- Click File > Save.