Preparing to create lighting fixture families
Any referenced datasets can be downloaded from "Module downloads" in the module overview.
Preparing to create lighting fixture families in Revit - Exercise
- Open Sample Lighting Fixtures.rvt. This file includes several lighting fixture families that come with Revit.
- Select the surface mounted fixture. In the Modify \ Lighting Fixtures tab > Mode panel, click Edit Family.
- Review the family in 3D, as shown below, and in the Front elevation view.

- You can see that the family looks like it is upside down – a feature of working with face-based lighting fixtures. The extrusion symbolizes the face. This element does not display when you place the fixture, but it needs to remain in the family file.
- There is also a connector element and the light source as well as the model elements that make up the fixture itself.
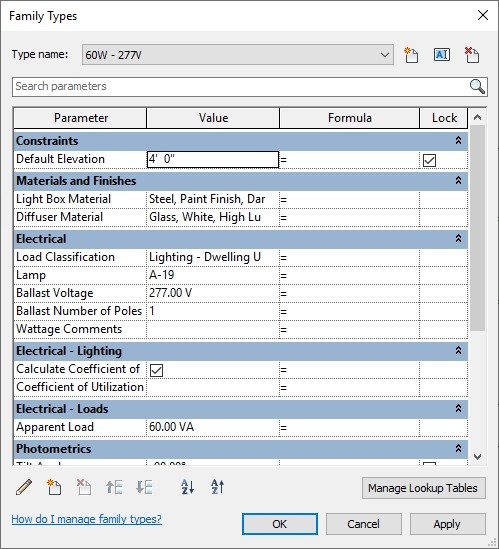
- In the Properties panel, click Family Types. A variety of parameters have been added to this fixture, as shown below.
- Select the Lamp parameter and click Edit. This parameter is built into the lighting fixture template. Click Cancel.
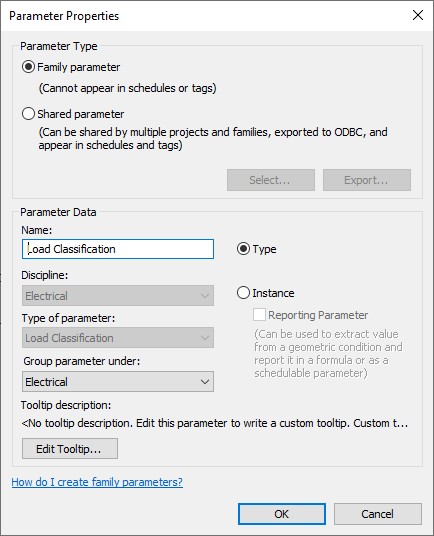
- Select the Load Classification parameter and click Edit. This parameter has been added as a family parameter as shown below. Click Cancel.
- Switch back to Front Section view of the Sample Lighting Fixtures.rvt project.
Notes
If you are going to be making new lighting fixture families, there are several things that can make the process simpler.
- Create a base file – kind of like a template file – for each of the typical styles of fixtures. For example: Surface, Recessed, and Suspended.
- This template base file should be face-based and include the electrical connector and a generic light source.
- Add parameters to the template base file. The example used family parameters, but it is much better to use shared parameters. This way, you can have the same parameters in multiple models and they can be used in schedules and tags.
- Have a separate family for the lighting fixture geometry.
- Use the face-based template that includes the light source and electrical connector as the base to compile a new lighting fixture with a nested model for the fixture geometry. And, if you need them, you can also nest in custom annotation symbols.
- To finish off your custom light fixture, assign the correct location for the light source and update it with the correct photometric IES file.