Defining loads
Any referenced datasets can be downloaded from "Module downloads" in the module overview.
Define loads - Exercise
In this practice, you will step through the process of defining loads.
- Open the project Small Medical Center – Define Loads.rvt.
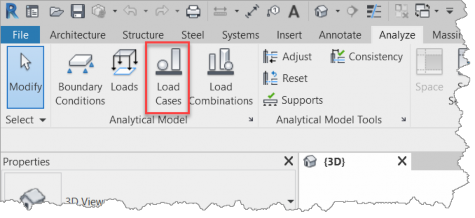
- To see the list of already defined load cases, select Load cases from the Analytical Model panel on the Analyze ribbon.
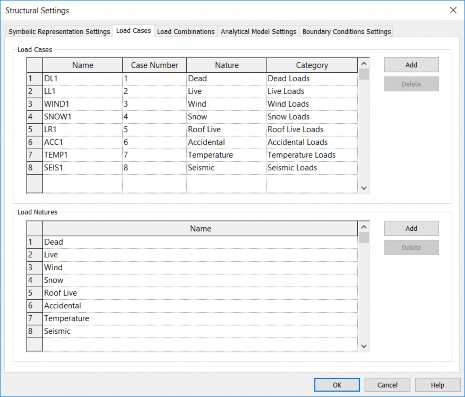
- It will result in displaying the Structural Settings dialog box with the Load Cases tab active. The load cases may be pre-defined in the structural template or defined here. It is also possible to define/modify the name and the case number and to assign the nature from the pre-defined list.
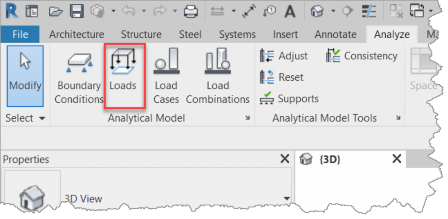
- Close the Structural Settings dialog box and select Loads from the Analytical Model panel on the Analyze ribbon.
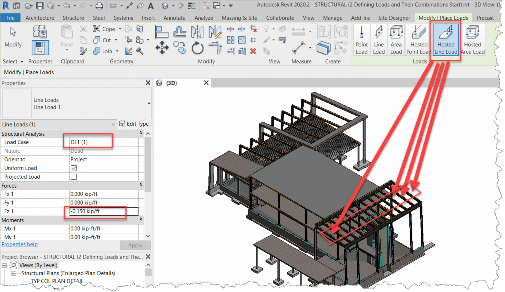
- Select Hosted Line Loads, make sure that the active load case is DL1 (1), specify the value of load Fz 1 = -0.15 ft/kip, and apply it to all rafter beams marked here.
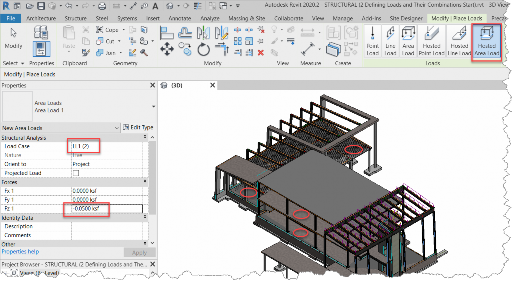
- Select Hosted Area Loads, change the active load case to LL1 (2), specify the value of load Fz 1 = -0.05 ksf, and apply it to 4 slabs marked here.
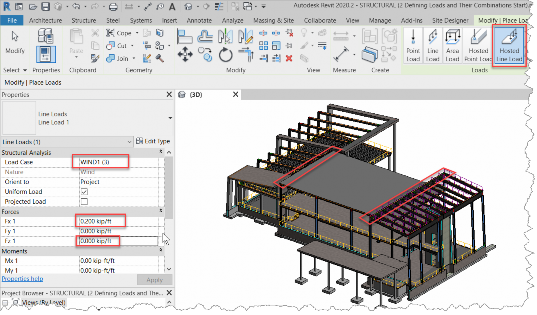
- Select Hosted Line Loads, change the active load case to WIND1 (3), specify the value of load Fx 1 = 0.200 kip/ft (remember about setting Fz 1 to zero), and apply it to beams and slab edges marked here.
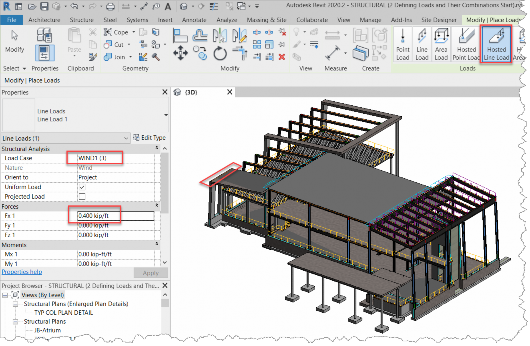
- Change the value of load Fx 1 to 0.400 kip/ft and apply it the slab edge marked here.
- Save the model with a new name.