Review BIM data
Any referenced datasets can be downloaded from "Module downloads" in the module overview.
Review BIM data using the BIM 360 Mobile App - Exercise
Task 1: Navigating around the PDF files
- Navigate to the Plans > PDF Files folder.
- Tap on the PDF file folder.
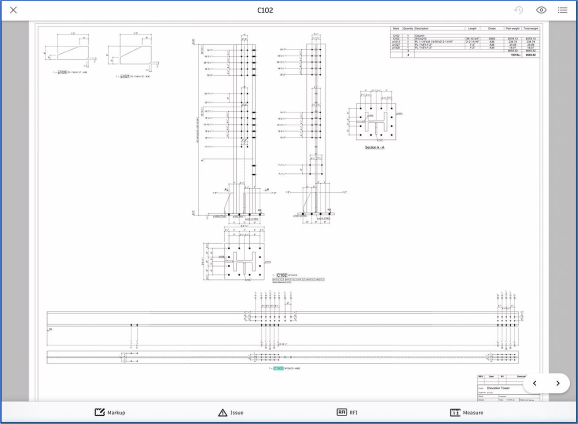
- Tap on the C102 sheet to open it, as shown in the following figure.
- Spread two fingers apart to zoom in an area of the PDF file, refer to the video.
- Pinch to zoom out.
- Tap down two fingers and pan.
Task 2: Navigating around the 2D Revit view
- Navigate to the Plans > Revit Uploads folder.
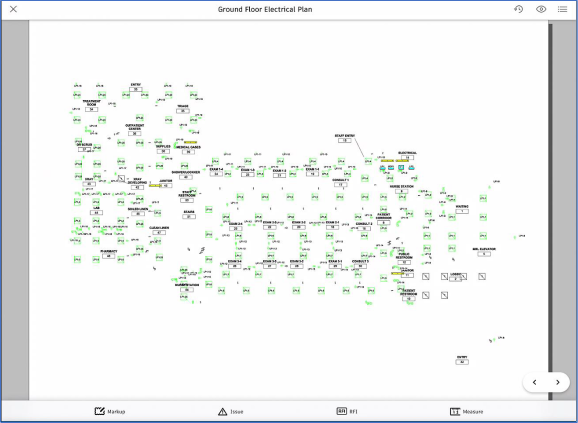
- Tap on the Ground Floor Electrical Plan view to open it, as shown in the following figure.
- Tap down and spread two fingers to zoom in.
- Pinch two fingers to zoom out.
- Tap down and drag two fingers to pan.
- Tap on the X on the top left to close this view.
Task 3: Navigating around the Revit model
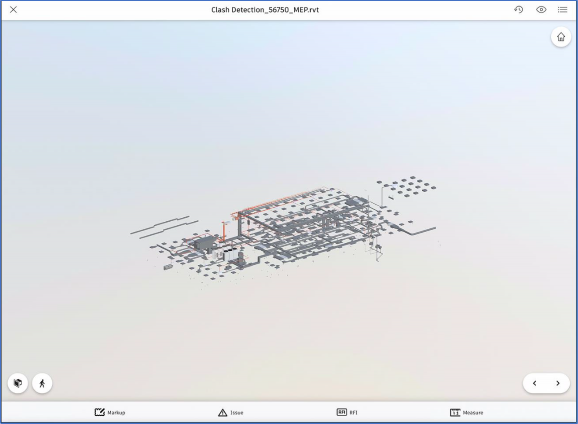
- From the Revit Uploads folder, tap on the Clash Detection 3D view to open it, as shown in the following figure.
- Tap down a single finger and drag to orbit the model.
- Similarly, zoom in and out using the same method discussed for 2D views.
Task 4: Interacting with the 3D elements
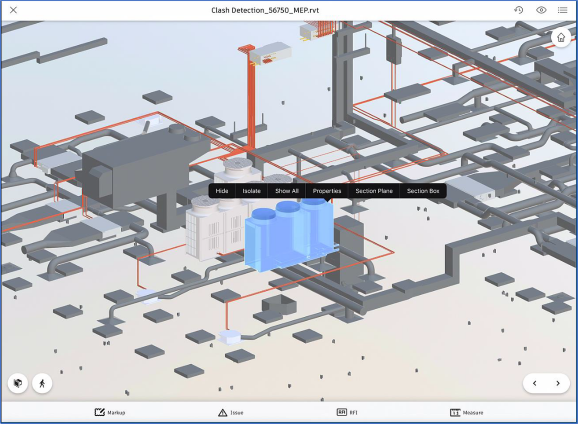
- Tap on any element in the 3D model. A menu is displayed, as shown in the following figure.
- Tap on the Hide option; the selected element is hidden.
- Tap in the blank area and tap Show All to redisplay the hidden element.
- Tap on the same element and then tap Isolate to isolate that element.
- Tap in the blank area and tap Show All to redisplay the hidden elements.
- Tap on the same element and then tap Properties; the properties of the selected element are displayed in the Properties panel, as shown in the following figure.
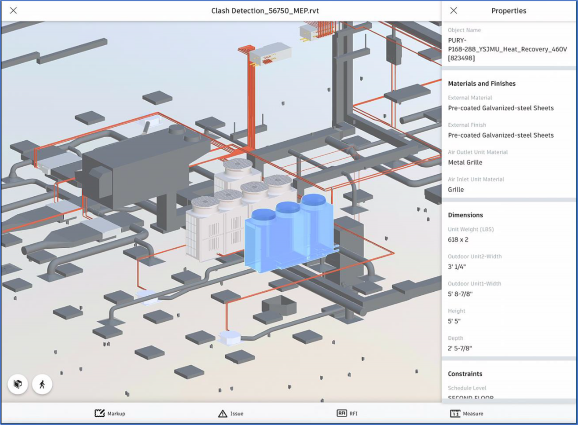
- Review the properties of the selected element.
- Tap on the X on the top left of the Properties panel to hide it.
Task 5: Reviewing the model browser
- Tap on the
 icon on the top right to display the menu, as shown in the following figure.
- Tap on Model Browser to display the Model Browser, as shown in the following figure.
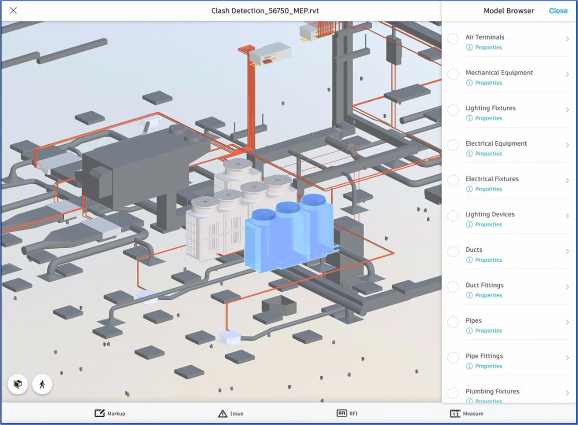
- Tap on any of the element categories to highlight those elements.
- On the top right of the Model Browser, tap Close to close it.
Task 6: Accessing the levels in the model
- Tap on the
 icon on the top right to display the menu.
 - Tap on Levels to display the levels in the model, as shown in the following figure.
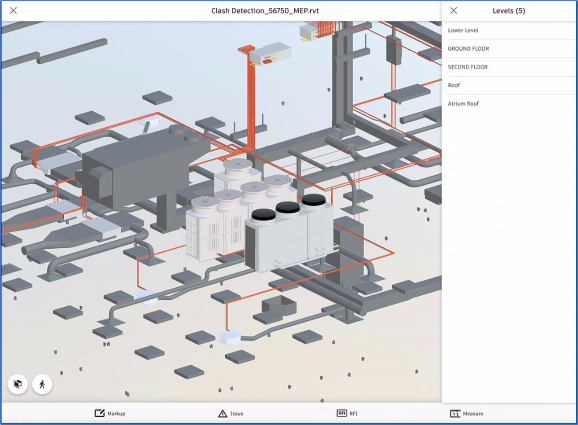
- Tap on any of the levels to display the model on that level only.
- Navigate around the model and review the model.
- Similarly, tap on that level again to redisplay the entire model.
- Tap on the X on the top left to close the model.
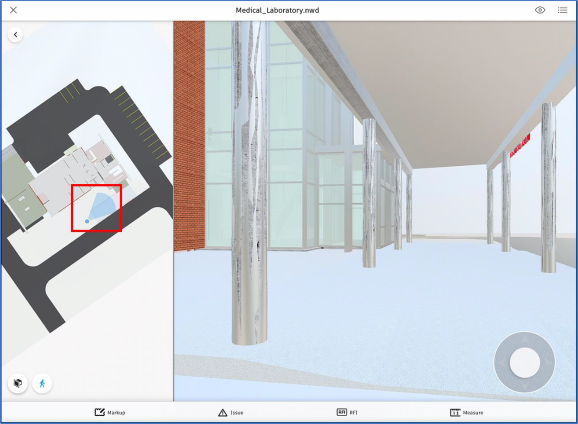
Task 7: Navigating around the Navisworks model
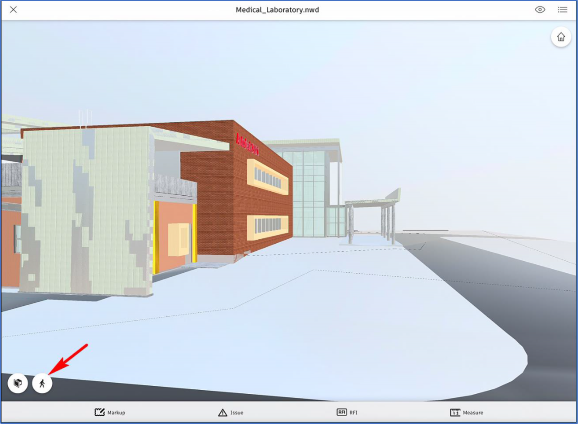
- From the Project Files > Navisworks folder, tap on the Medical_Laboratory.nwd file to open it, as shown in the following figure.

- Tap on the
 icon on the top right and tap on Model Browser to review the three NWC files that were used to create the federated model.
 - Tap on the Walk option on the lower left, as shown in the following figure.
- On the left side view, drag the location close to the entrance of the building, as shown in the following figure.
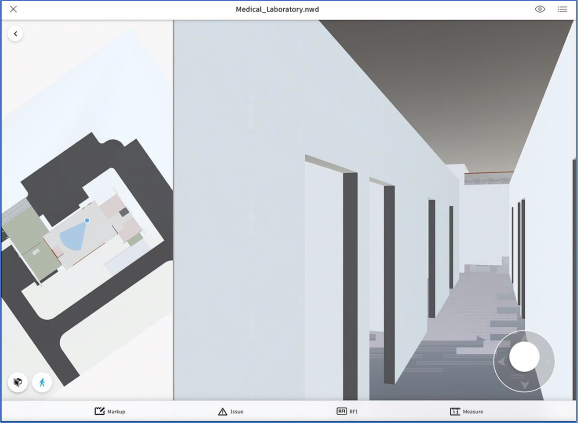
- Tap and hold down the right-hand thumb inside the Walk circle in the right side view and drag it to walk around the building, as shown in the following figure.
- Tap on the Walk option on the lower left again to turn off the first person walk.
- Tap on the Home icon on the top right to return to the home view.