Establish Levels
Any referenced datasets can be downloaded from "Module downloads" in the module overview.
Establish levels
This activity will focus on setting up the levels to the project and begin to identify the area of the building plot to be developed.

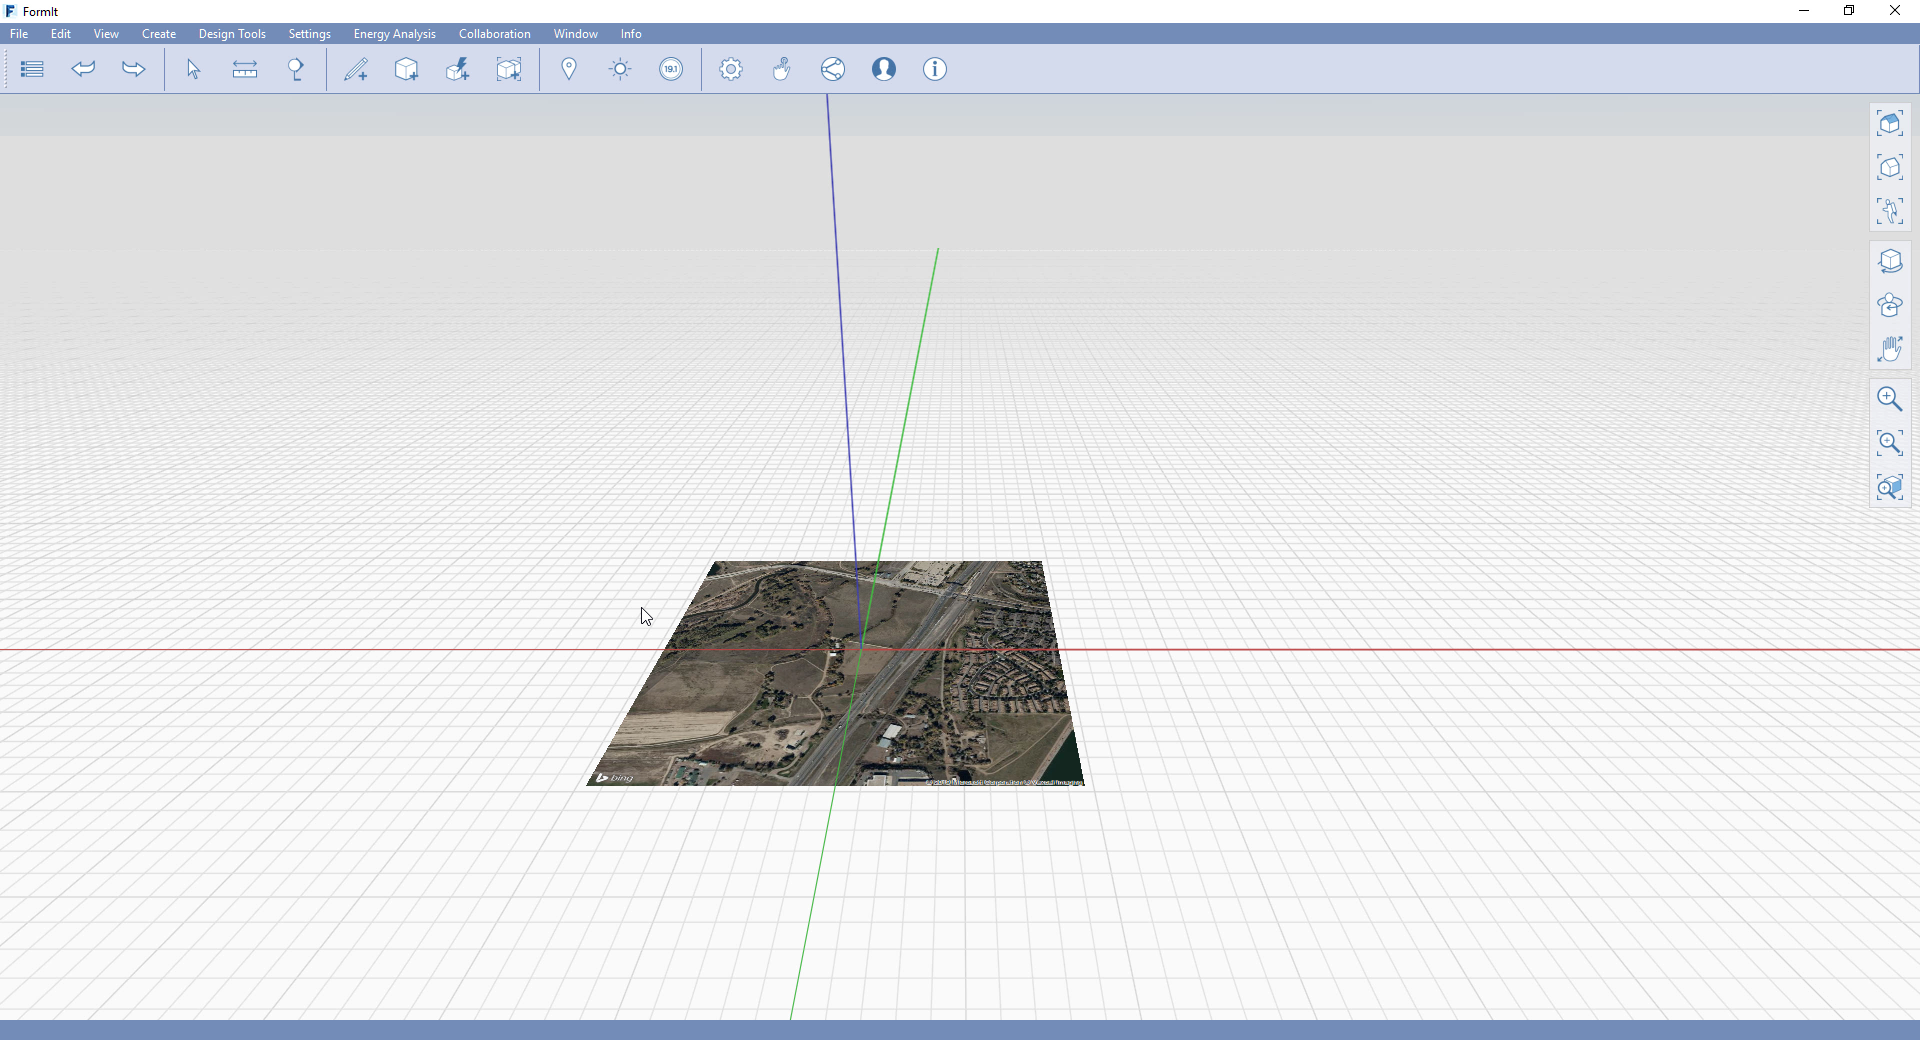
Before

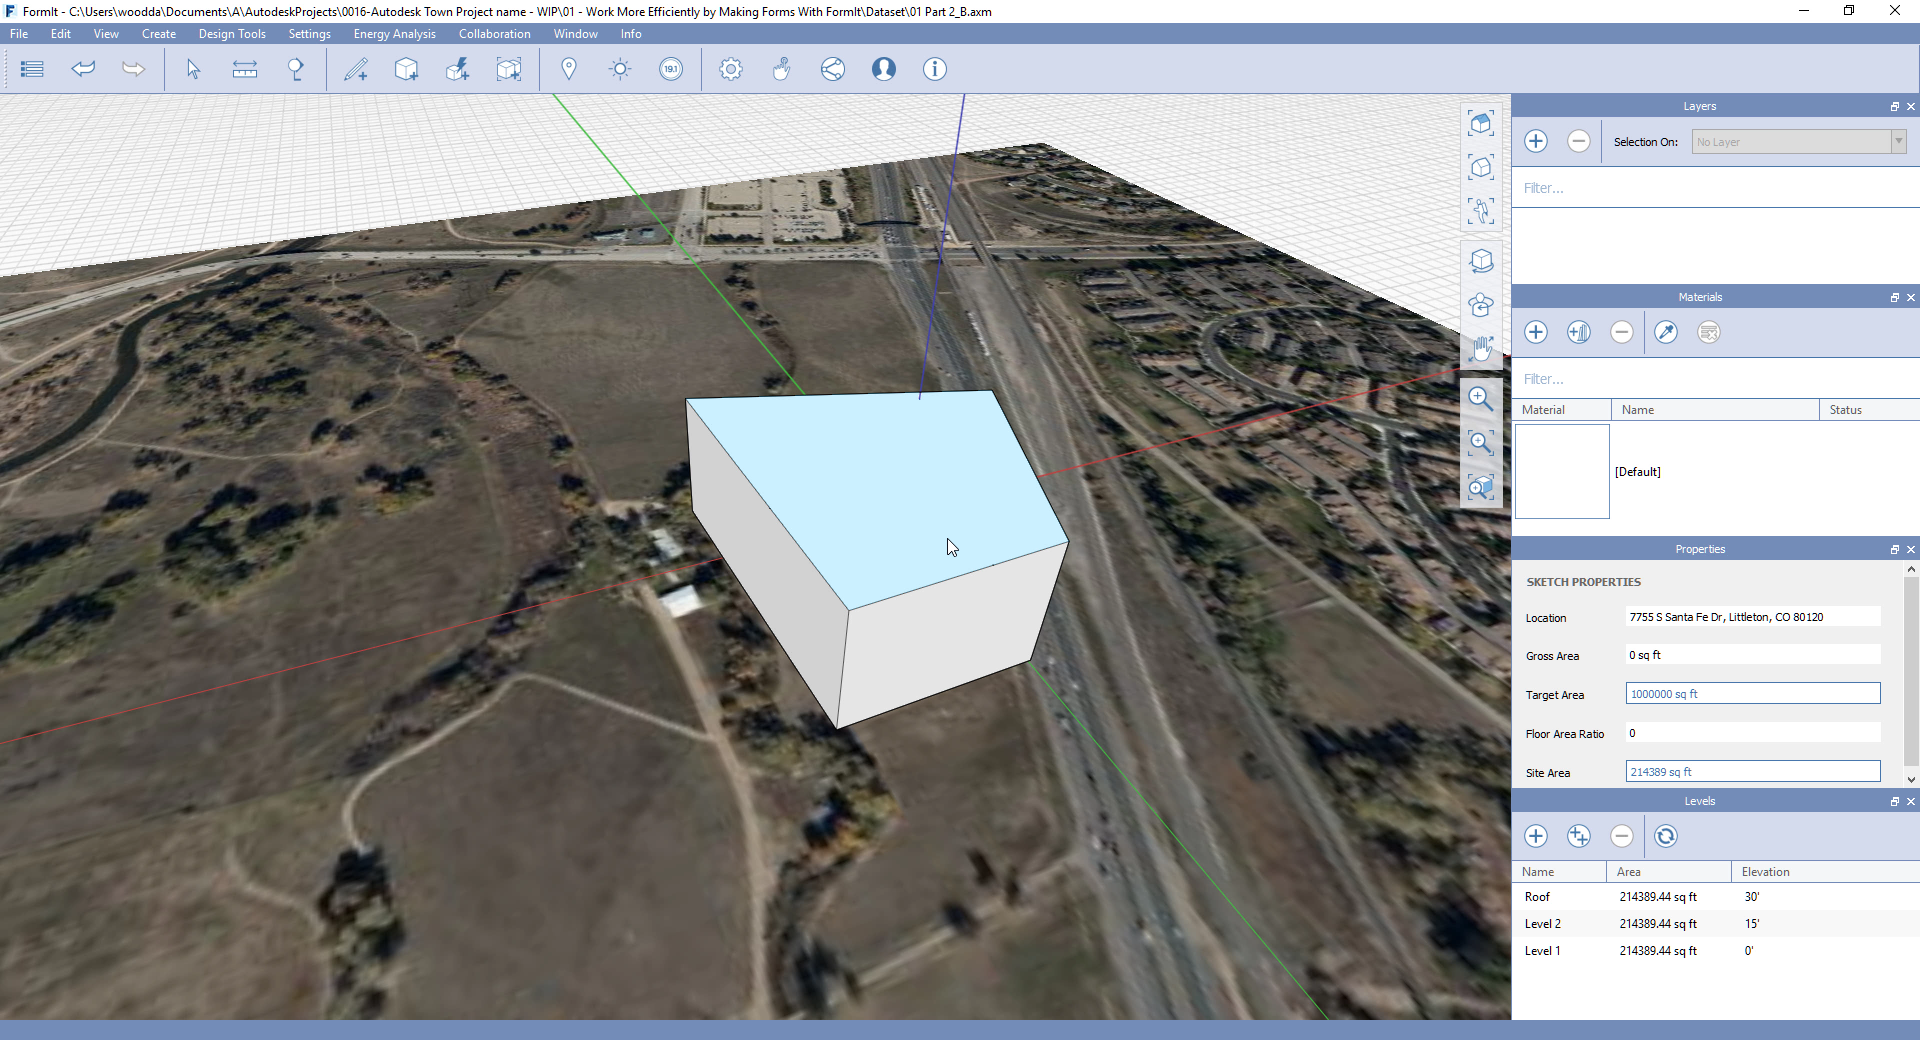
After
Steps:
1. Open file ‘01 Part 2_B’
a. Go to the Ribbon Panel and select Window drop down list.
b. Select: Levels, Layers, Properties and Materials.
c. Adjust the dialog boxes to fit the screen.
2. Add levels.
a. Locate the Levels dialog box and select the plus symbol for adding a level.
b. To add multiple levels select the symbol with two pluses contained.
c. Rename the levels: Level 0, Level 1 & Roof.
d. Adjust the levels to: 0’, 15’ & 30’.
3. Create boundary of site area.
a. Select 3D sketching tools.
b. Draw with the rectangle tool for identifying the gross areas.
c. Modify the corner by selecting joint of the two lines required to be moved.
d. Simply by pulling or pushing in the x or y axis to adjust.
e. Select the surface of the area created this will now provide an area value.
f. Within the properties dialog box includes: Gross Area, Target Area, Site Areas and Floor Area Ratio.
4. Select the surface and pull within the Z axis to extrude the profile.
a. Add a name to the object properties.
b. Click Save
Summary
This activity provided a guide to how to create levels and start to create basic geometry within the environment and start to get feedback from the values the mass object can provide for insights into the capacity of the site for areas and volumes.