Identify Project Location
Any referenced datasets can be downloaded from "Module downloads" in the module overview.
In order to complete the exercise files in this module, you will need to download the data set.
Modeling the conceptual design in FormIt helps you work more efficiently within the Autodesk ecosystem. Learn how to use 3D modeling in FormIt to be able to work more efficiently. This tutorial covers the basic to help designers create geometry within a 3D context.

Identify project location
Before we begin, we need to get familiar with the interface and learn how to set up the location of the project. We will then get familiar with the FormIt environment to then import an aerial image of the project location.

Steps:
1. Launch Autodesk FormIt to begin.
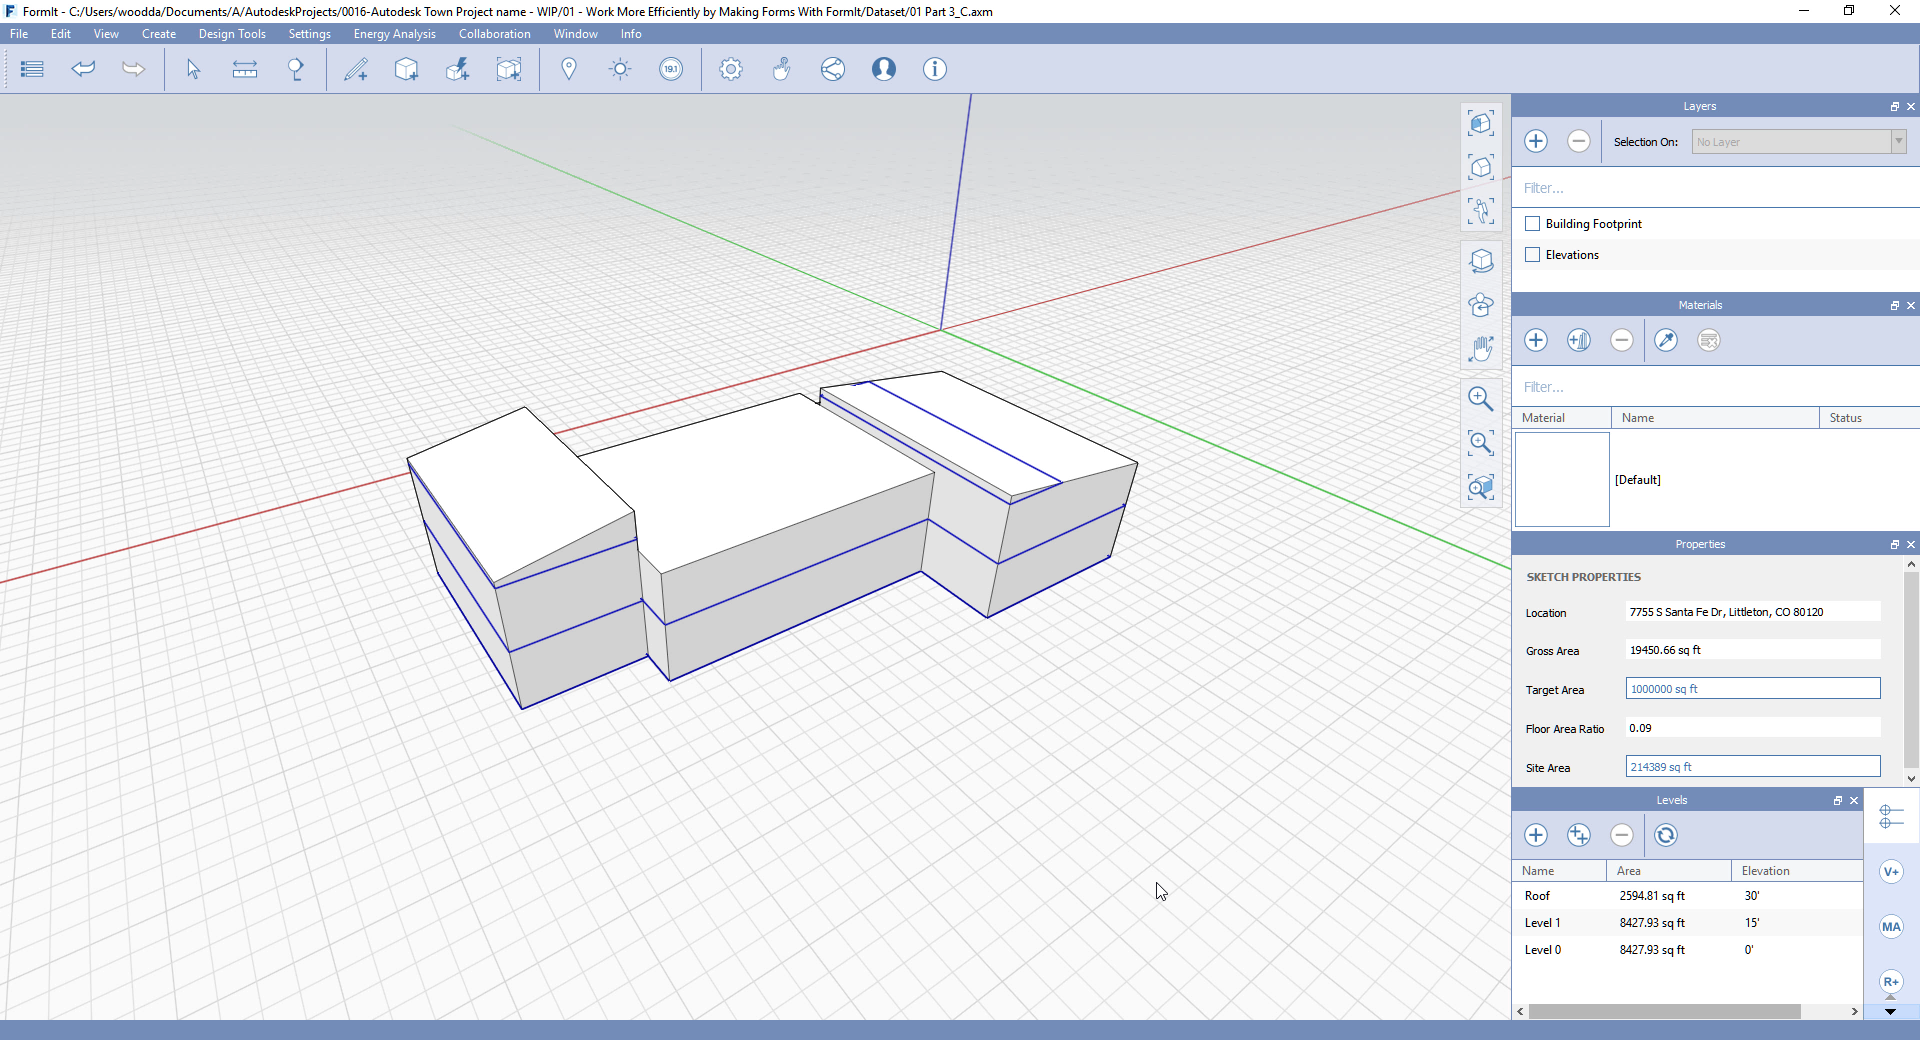
2. Open file ‘01 Part 1_B’
a. Review the Application Panel Interface (API).
b. By Right-Clicking the Context Menu will display.
c. On the far right, the Navigation Bar menu is displayed.
3. Click on Set the Location
a. Input the coordinates of the project location.
39.577117714, -105.029282286
b. Zoom in to the location of the pin within the map.
c. Change the view graphic to either: Road, Aerial or Ordnance Survey.
d. Select Aerial.
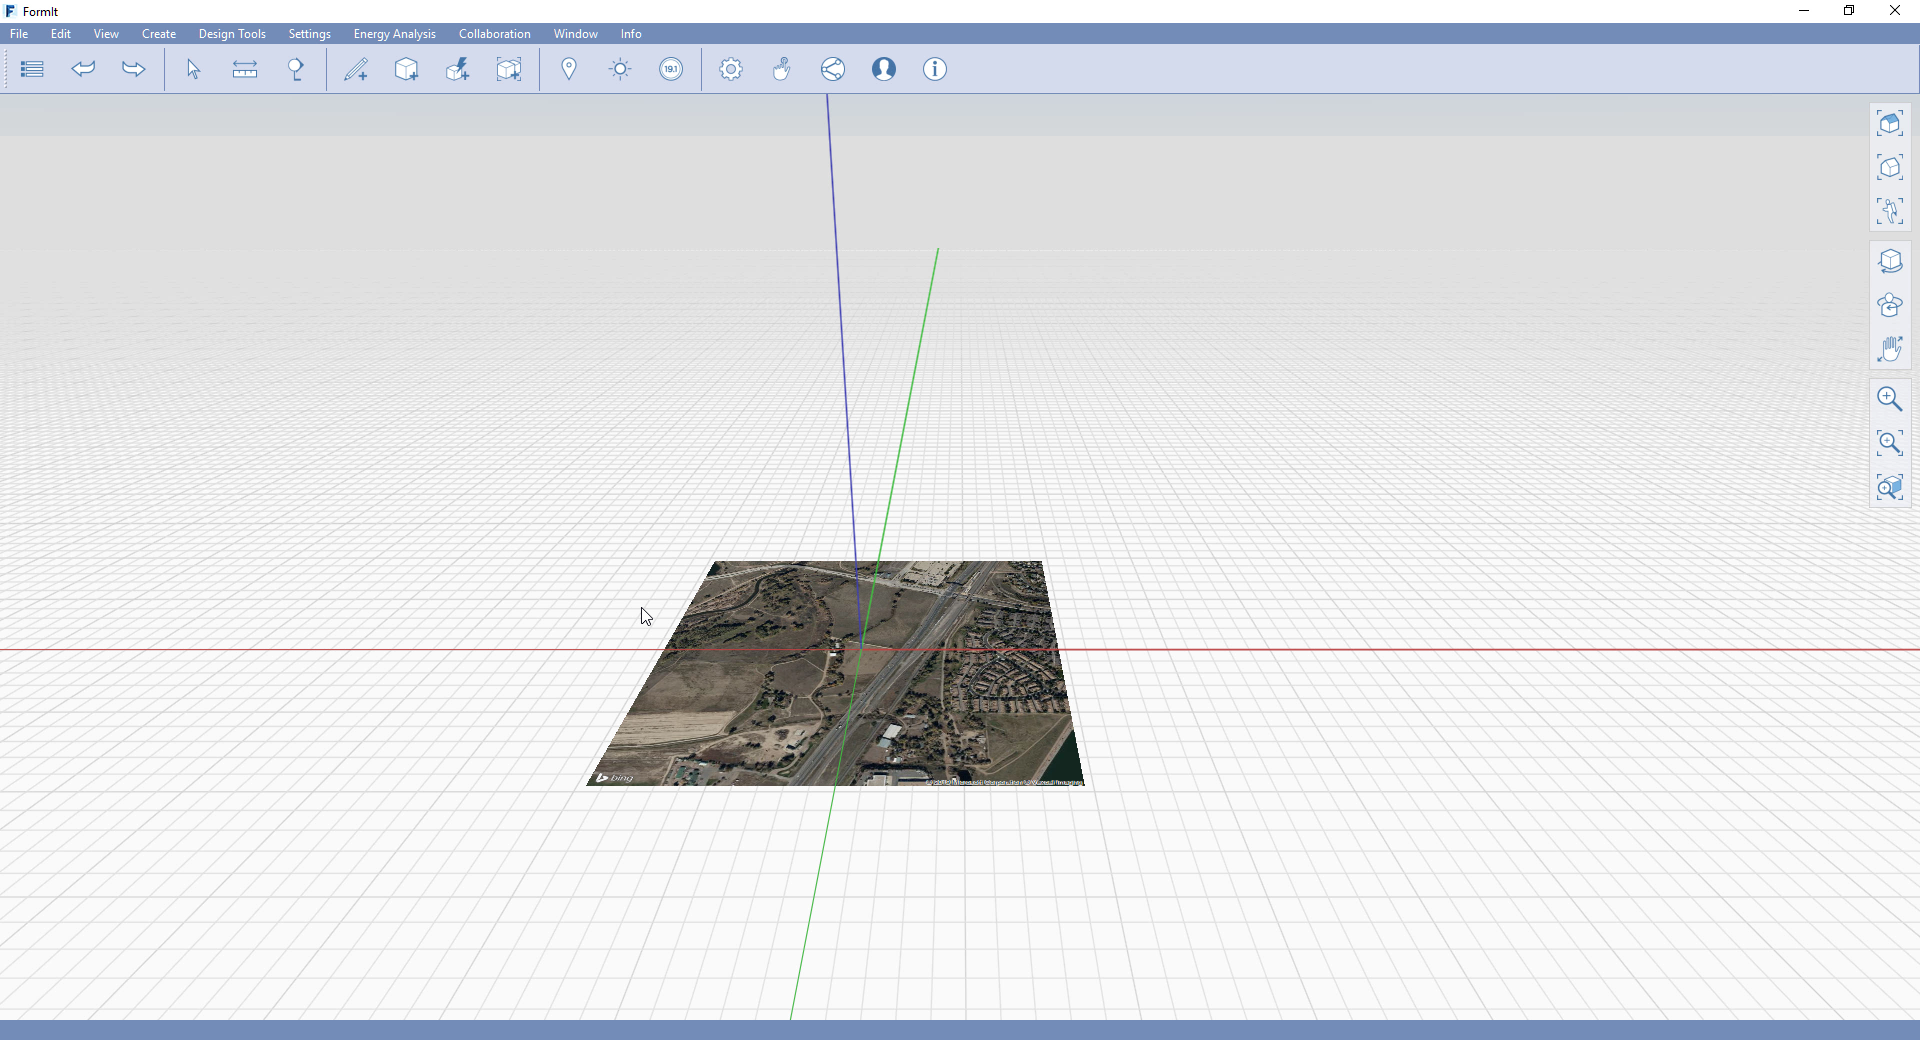
e. Import Satellite Image.
f. Getting familiar with the axes within the 3D environment.
g. Click Save.
Summary
This activity has provided an introduction to the interface and covered how to set the location for the project and import an image overlay for your site area.