Set up and configure a new ReCap project
This unit will teach you how to set up a new project and configure project options in preparation for importing laser scan files.
Any referenced datasets can be downloaded from "Module downloads" in the module overview.
Start a ReCap project - Exercise
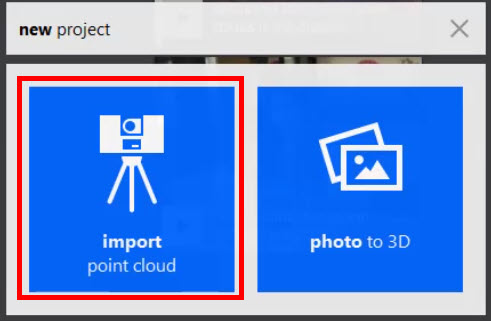
- On the main menu of ReCap Pro, click new project.
- Select import point cloud.
- In the Create new project dialog box, enter ReCap Pro Practice for the project name.
- For the place to save your files, click on the file path and a Browse for Folder dialog box displays. Navigate to your C:\Temp folder and click Select Folder.

- Click proceed.
- Click select files to import.
- In the Import Point Clouds dialog box, navigate to the Lee Dataset>Lee Set Support folder (from the supplied dataset).
- Select Lee_Lg_10.rcs, Lee_Lg_11.rcs, Lee_Lg_12.rcs, and Lee_Lg_13.rcs, then click Open.
- In the upper-right corner, click on the home icon to suspend the project.

- In the suspend project dialog box, click suspend.