Customize the InfoAsset Manager interface
Any referenced datasets can be downloaded from "Module downloads" in the module overview.
Step-by-step guide
InfoAsset Manager offers a flexible interface, with multiple options for customization. You can easily configure toolbars, default settings, and display options to meet your work needs.
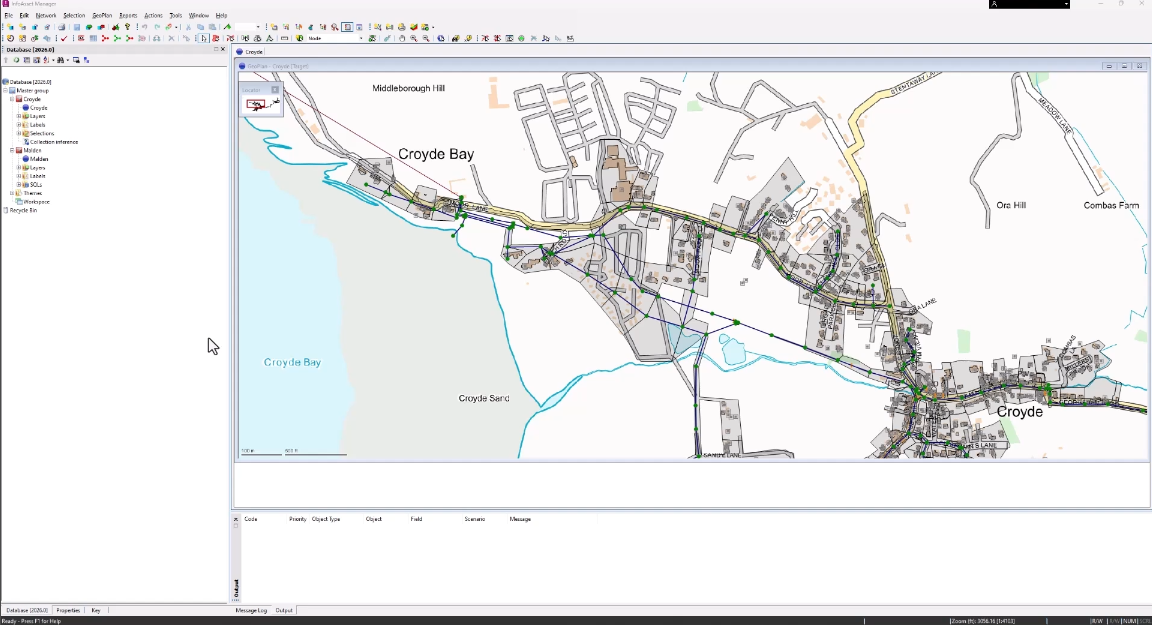
By default, commonly used toolbars are displayed and anchored at the top of the main window.

Based on the commands used most, change which toolbars are visible, rearrange their locations, and change their content, or create a user-defined toolbar with the most-used tools.
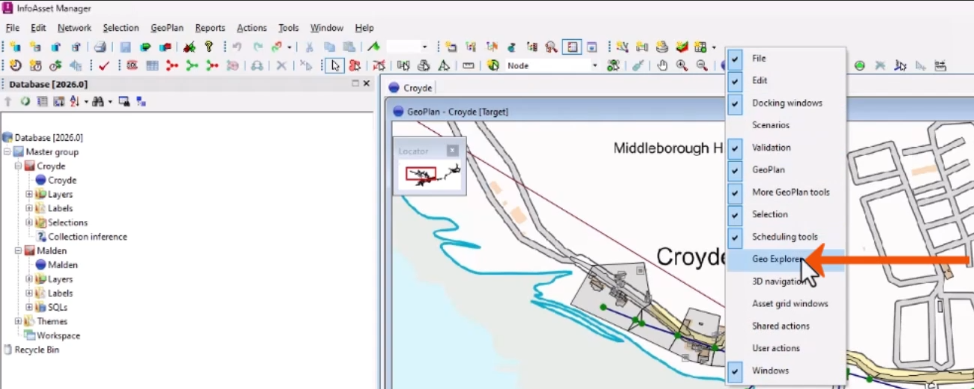
- To quickly enable or disable a toolbar, right-click anywhere on the toolbar and select the toolbar name, such as Geo Explorer.
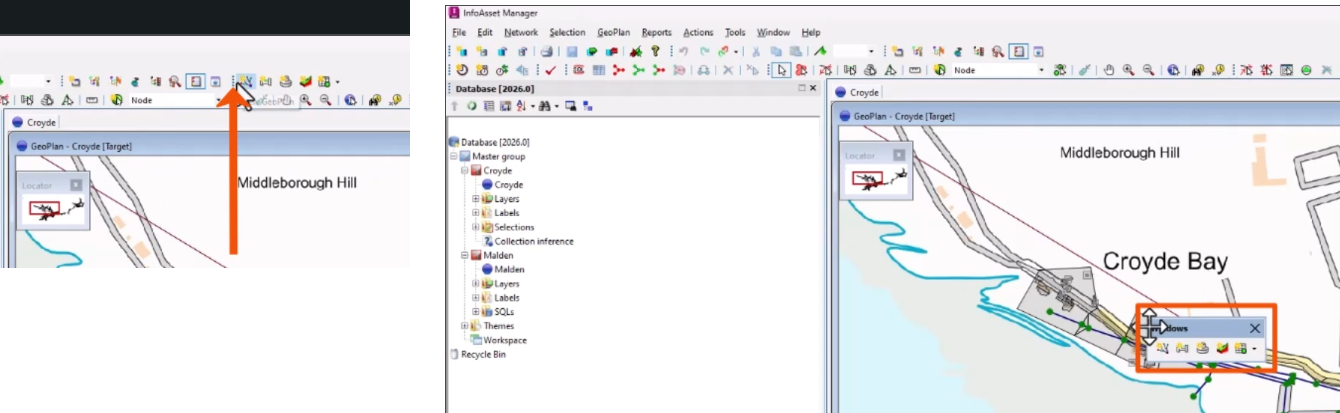
- To reposition a toolbar, click its gripper bar (the four dots on the left edge) and drag the toolbar to a new position.
Dragging the toolbar to the center of the main window creates a floating toolbar, while dragging it to the side, bottom, or top of the window docks it there.
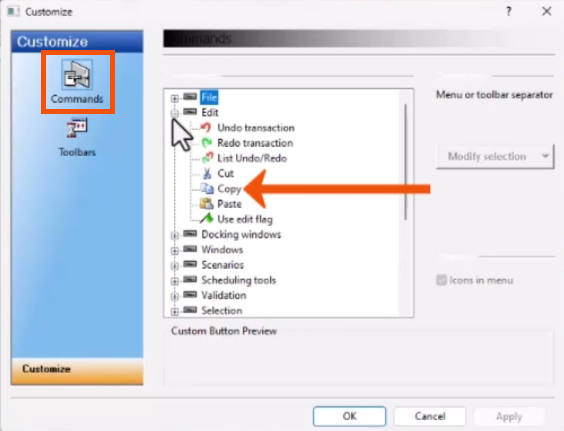
To add a command to a toolbar:
- From the Tools menu, select Customize toolbars.

- In the Customize dialog, select the Commands page.
- Expand a toolbar group, such as Edit.
- Locate and select a button, such as Copy.
- Drag the button out of the Customize dialog to the desired location on the toolbar.
To remove a toolbar button:
- Reopen the Customize dialog.
- Select the unwanted button on the toolbar, such as Copy.
- In the Customize dialog, click Modify Selection, then select Delete.

- Click OK.
To restore all toolbars to their default settings:
- From the Tools menu, select Reset toolbar buttons.
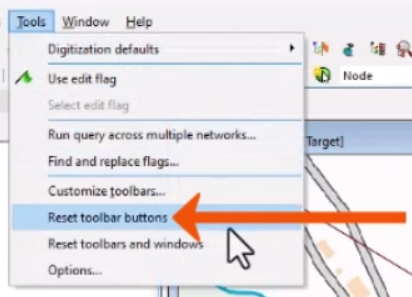
The application must be restarted for changes to take effect.
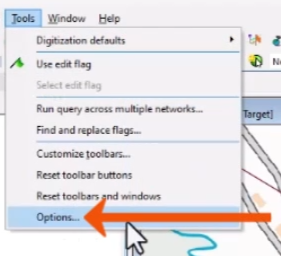
Use the Options dialog to change interface features and data display settings.
- From the Tools menu, select Options.
- Click the Units tab to configure measurement units.
- Click General to configure general application settings.
- Click GeoPlan to configure map display and GIS options.
- Click Local Folders to set locations for local data storage.
- Click Apply or OK to apply changes.
