| |
Prerequisites: Completion of the Project Manager Lesson.
| |
Objective: In this exercise, you create a new project and add project description information.
|
| |
1: If the Project Manager is not displayed, on the Project tab, Project Tools panel, click Manager.

|
| |
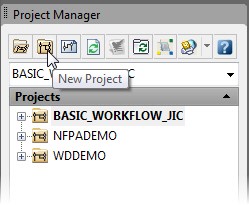
2: In the Project Manager, click New Project.
|
| |
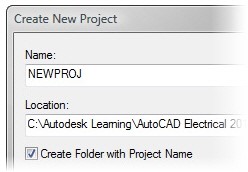
3: In the Create New Project dialog box, for Name, type NEWPROJ
|
| |
4: For Location:
> Click Browse.
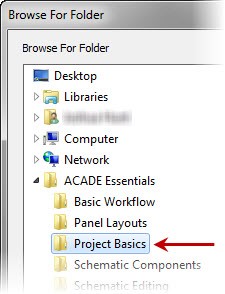
> In the Browse for Folder dialog box, browse to where you installed the exercise files.
> Select the Project Basics folder.
> Click OK.
|
| |
5: Select the Create Folder with Project Name check box to create a new folder with the same name as the project.
|
| |
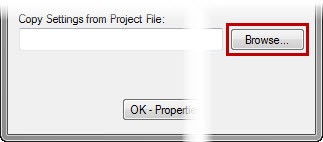
6: For Copy Settings from Project File:
> Click Browse.
> In the Open dialog box, browse to where you installed the exercises files.
> In the Project Basics folder, select Project_Basics_NFPA.wdp.
> Click Open.
|
| |
7: In the Create New Project dialog box, click Descriptions.
|
| |
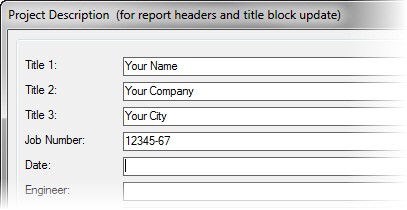
8: In the Project Description dialog box:
> For Title 1, type your name. Select the in reports check box.
> For Title 2, type your company name. Select the in reports check box.
> For Title 3, type your city. Select the in reports check box.
> For Job Number, type 12345-67 then select the in reports check box.
|
| |
9: Click OK to save your changes.
|
| |
10: In the Create New Project dialog box, click OK.
|
| |
11: In the Project Manager, select NEWPROJ.
|
| |
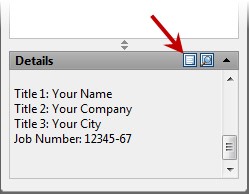
12: Click Details. Under Details, notice that the project information you entered for the first four lines is displayed.
This completes the project.
|
|