| |
| |
Completion Time: 10 minutes
|
Completion of the Managing Projects Lesson
| |
Objective: In this exercise, you copy the existing project and drawings, creating a new project and copies of the selected drawings.
|
| |
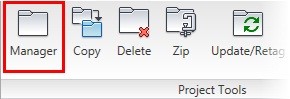
1: If the Project Manager is not displayed, on the Project tab, Project Tools panel, click Manager.
|
| |
2: If Project_Basics_NFPA is the active project, skip to step 5. If it is open but not active in the Project Manager:
> Right-click Project_Basics_NFPA.
> Click Activate.
> Skip to step 5.
|
| |
3: In the Project Manager, click Open Project.
|
| |
4: Browse to where you installed the project exercise files. Select Project_Basics_NFPA.wdp. Click Open.
|
| |
5: In the Project Manager, click the expansion node next to Project_Basics_NFPA to expand the drawing list.
|
| |
6: On the Quick Access toolbar, click New.

|
| |
7: In the Select Template dialog box, select acad.dwt as the template. Click Open.
Note: This step is only to ensure that your active drawing is not included in the project to be copied.
|
| |
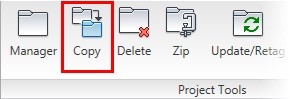
8: On the Project tab, Project Tools panel, click Copy.
|
| |
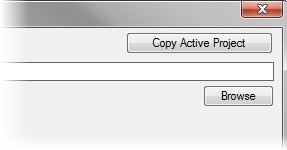
9: In the Copy Project: Step 1 dialog box, click Copy Active Project. Click OK.
|
| |
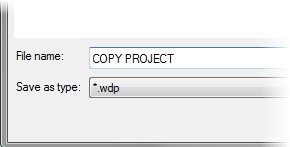
10: In the Copy Project: Step 2 dialog box:
> Create a new folder named COPY PROJECT
> Open the new folder.
> For File Name, type COPY PROJECT
> Click Save.
|
| |
11: In the Select Drawings to Process dialog box, click Do All. Click OK.
|
| |
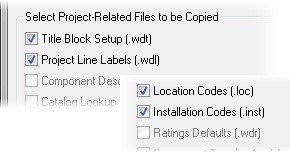
12: In the Copy Project: Step 4 dialog box, notice that all available project-related files are also selected for copying.
|
| |
13: Click OK to accept the same directory path for the new project drawings that is used for the current project drawings.
|
| |
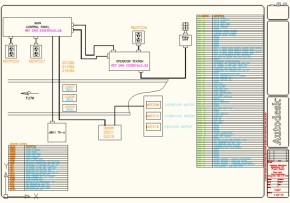
14: In the Copy Project: Step 5 dialog box, notice that the original named drawings are listed.
|
| |
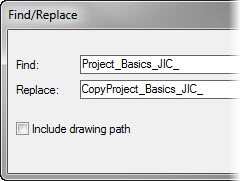
16: In the Find/Replace dialog box, for Find, type Project_Basics_NFPA
Note: Be sure to type the underscore character "_"; otherwise, the folder location name changes.
|
| |
17: For Replace, type CopyProject_Basics_NFPA
|
| |
18: Click OK. The original files are renamed as shown.
|
| |
19: In the Copy Project: Step 5 dialog box, click OK.
AutoCAD Electrical activates the copied project and opens the first drawing for editing.
|
|