Fillet walls
Apply a fillet to two adjacent wall segments. Set a fillet radius during and prior to construction.
Tutorial resources
These downloadable resources will be used to complete this tutorial:
Step-by-step guide
Apply a fillet to two adjacent wall segments, and set a fillet radius during and prior to construction.
- Open the project W-Arch_Fillet_Walls-RVT2021.rvt. It opens in the Level 1 plan view.
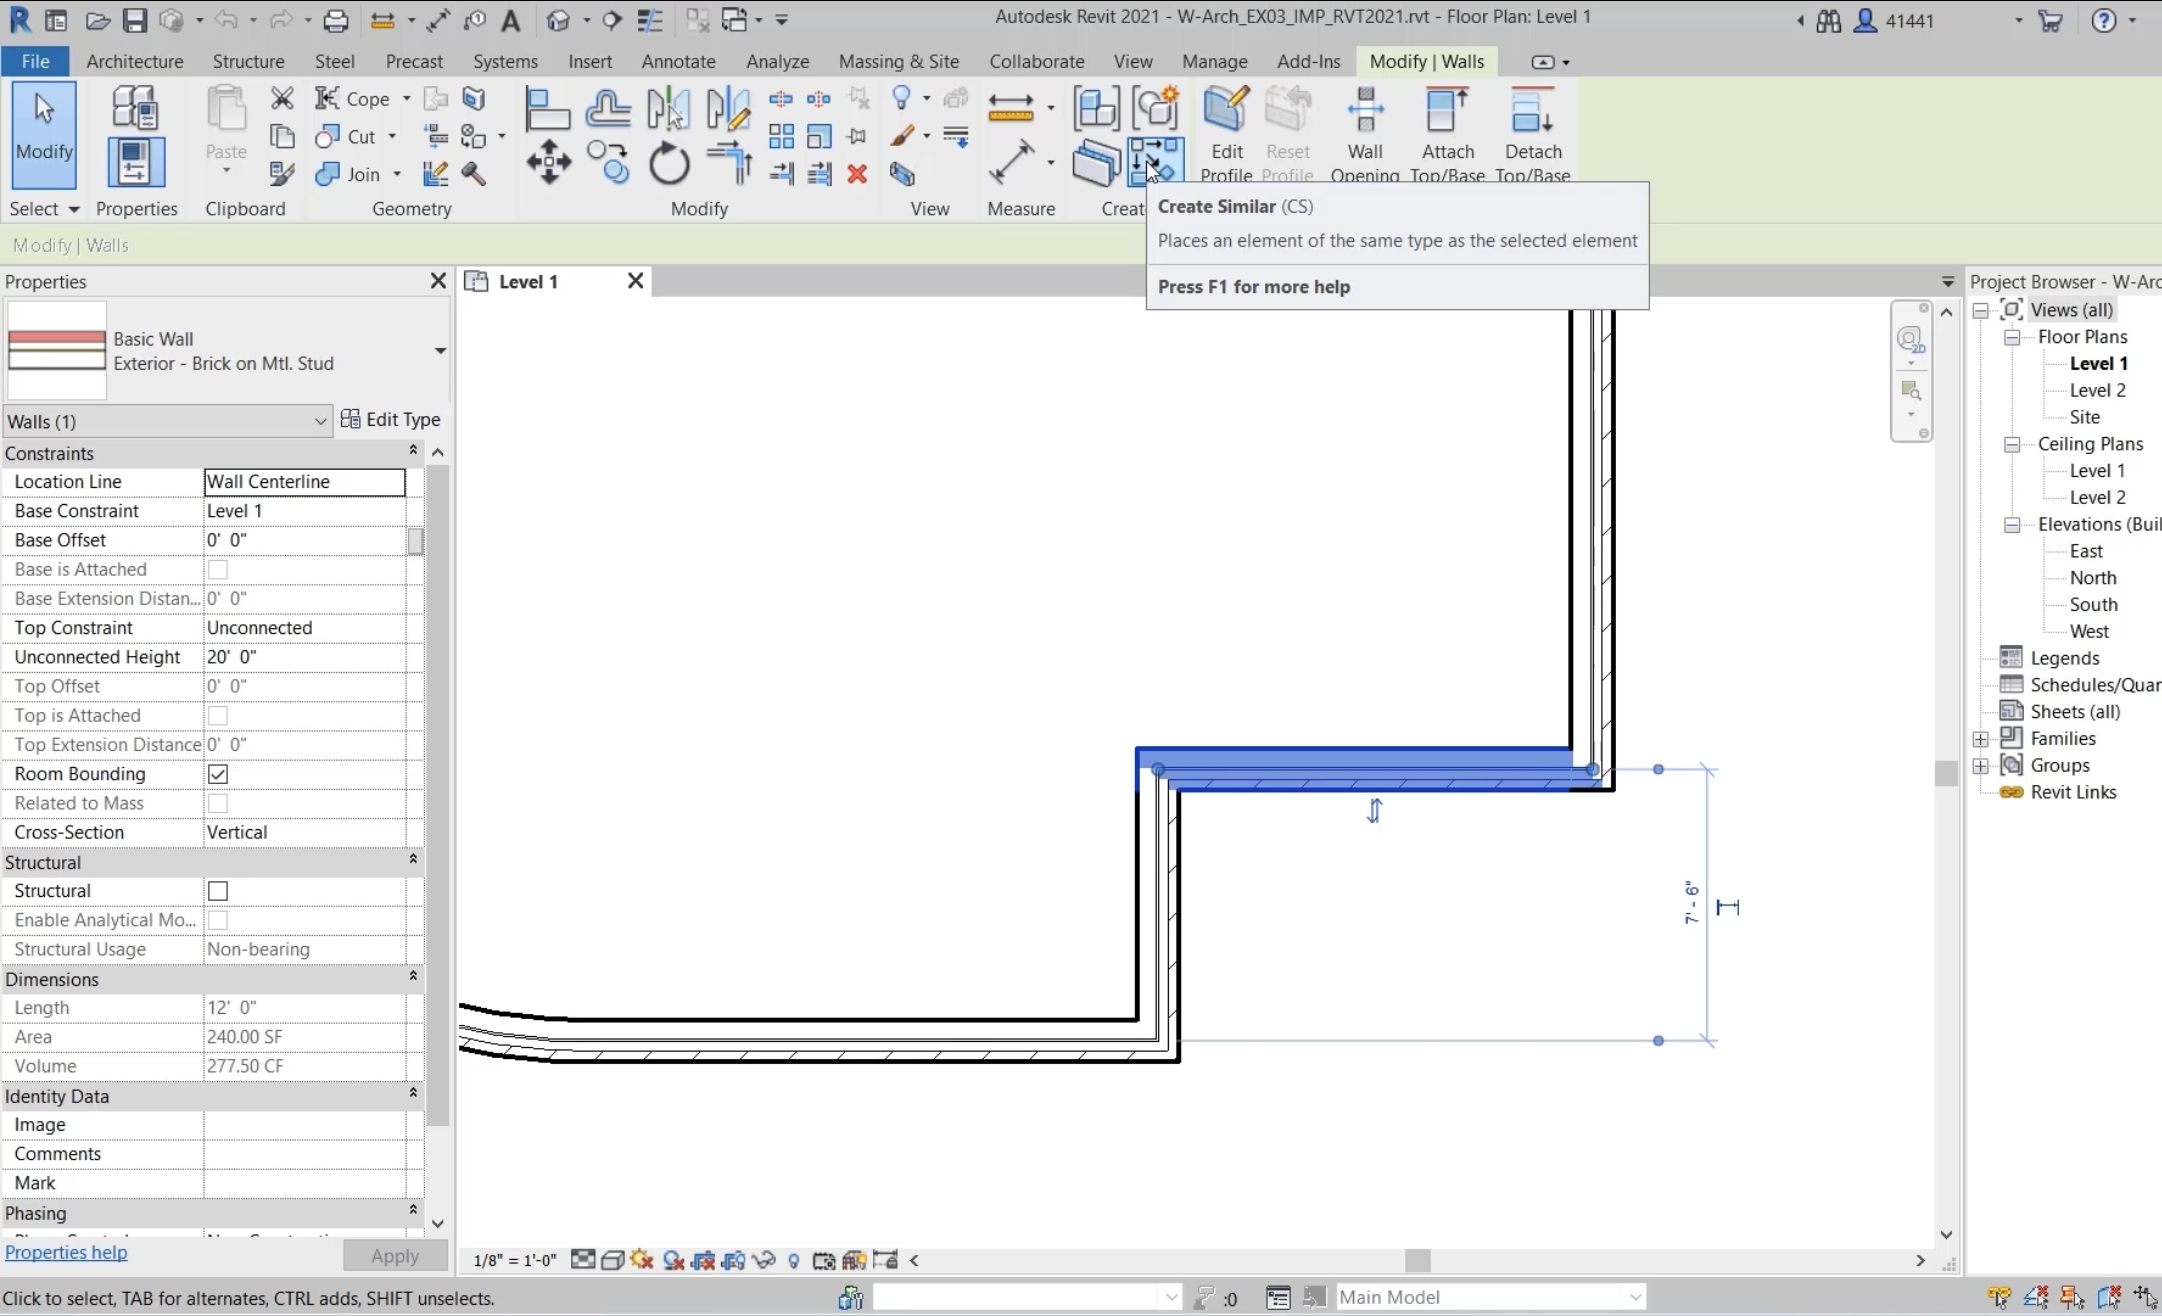
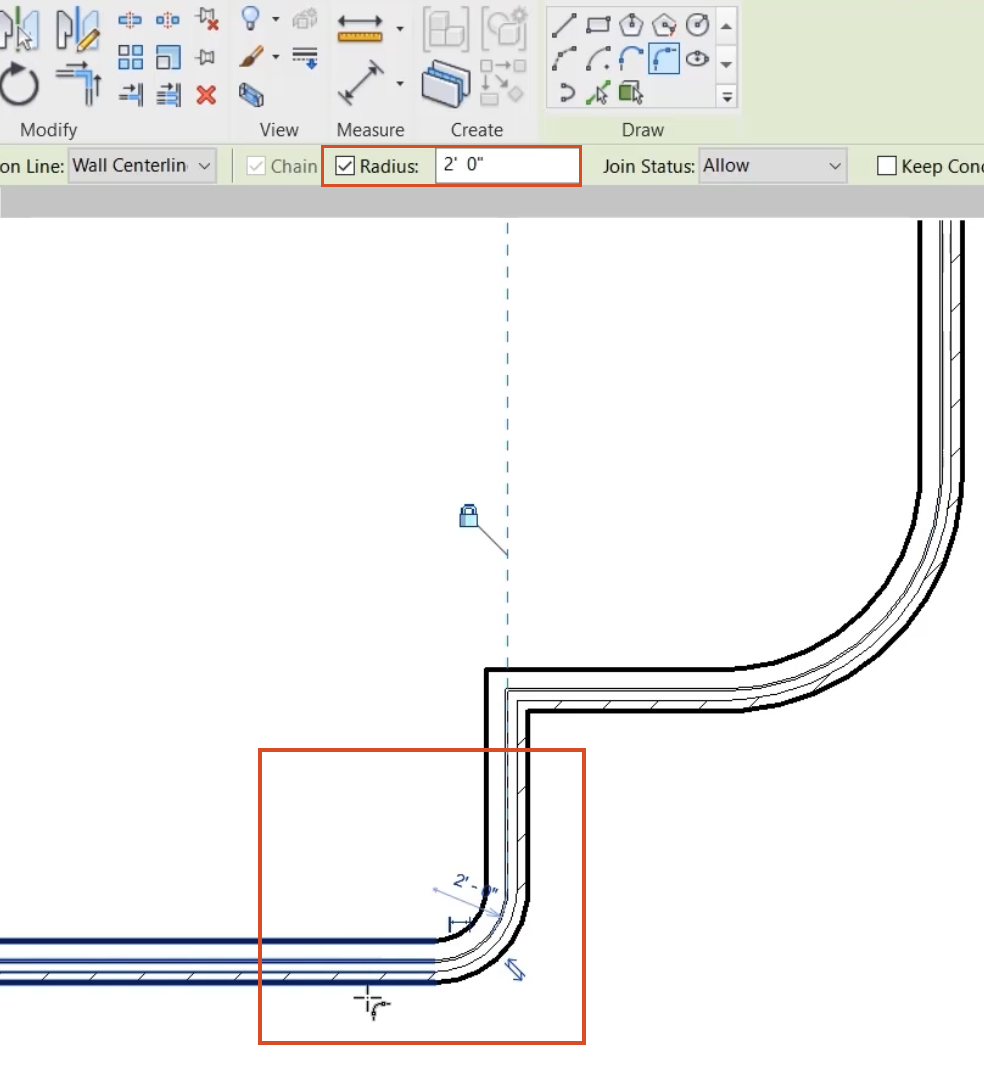
- Zoom in on the lower-right corner of the building and select the wall.
- In the Modify | Walls contextual tab > Create panel, click Create Similar.
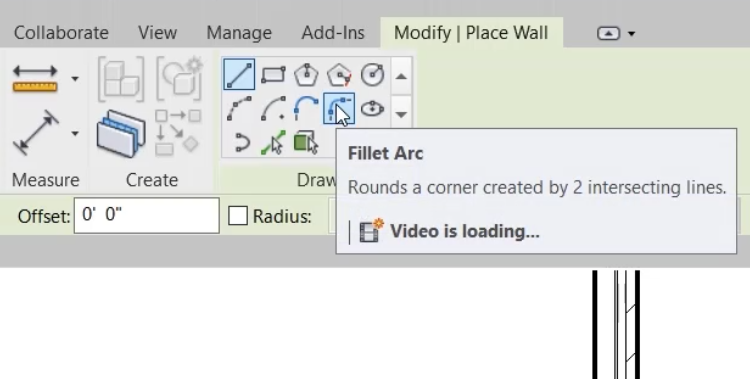
- From the Draw panel, click Fillet Arc.
- Select the vertical wall.
- Select the horizontal wall.
- Move the cursor to see the potential arcs.
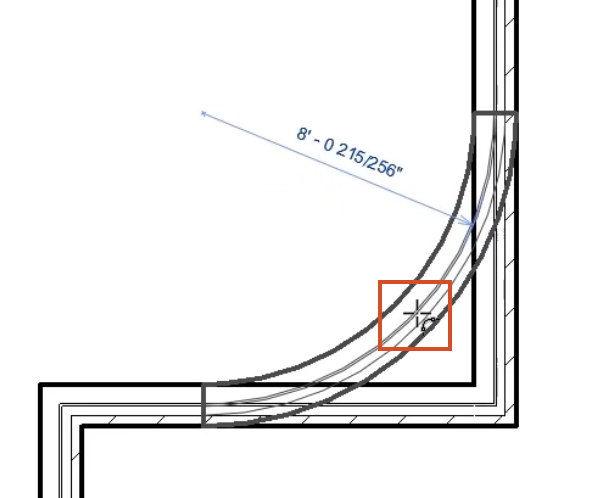
- Click to place the arc.
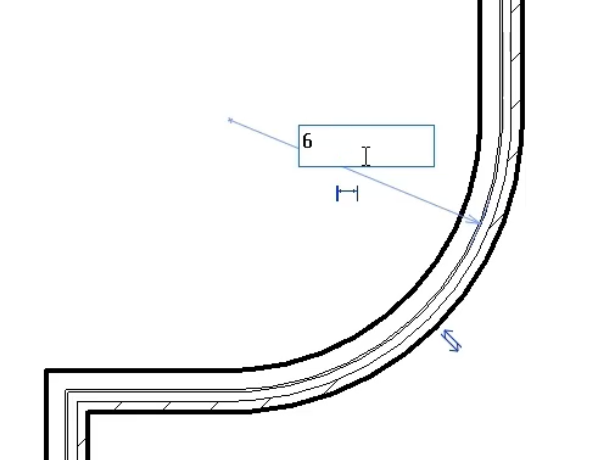
- Click the temporary dimension for the radius and type 6'-0".
To set the radius before construction:
- In the Options Bar, select Radius and type 2'-0".
- Select a different vertical wall and then a horizontal wall to apply the fillet.
- Click Modify.
- Right-click in the view and select Zoom to Fit.
- Save the project.