Designing pipes for no flood criteria
Design pipes to meet no-flood criteria by setting the network design criteria.
Step-by-step:
For drainage designs to be valid in the UK, they first have to meet the no-surcharge criteria, and then they must meet the no-flood criteria. In this example, the no-surcharge criteria have already been met, so now, it is necessary to check the no-flood criteria.
- On the ribbon, Rainfall/Pollutants tab, click Rainfall Manager.
- In the Rainfall Manager Items tree view, expand the Design Storms node, then the FSR node, and select Rain 1 to edit it.
- Click the Return Periods tab.
- Click Add to add another return period.
- Under Return Period (years), enter 30.
- Enable the Use option for the new 30-year storm, and disable the 2-year storm to deactivate it.

- Click the Storm Durations tab.
- Leave all nine of these storms active.

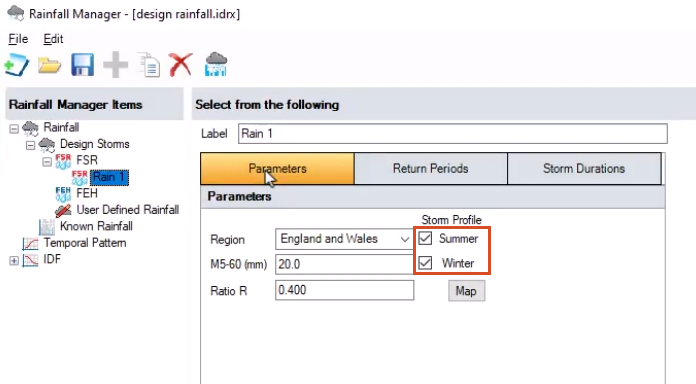
- Click the Parameters tab.
- Enable both Summer and Winter.

- In the Rainfall Manager toolbar, click Save.

- Click Close.
- On the ribbon, Analysis tab, Criteria panel, click Analysis Criteria.
- In the Analysis Criteria dialog box, enable Rain 1.
- Set the Output Interval to 1
- Expand the Time Step drop-down and select Default.
- Set Urban Creep to Apply Global Value and leave the percentage set to 0.
- Set the Junction Flood Risk Margin to 300
- Deselect Perform No Discharge Analysis.
- Click OK.

- On the ribbon, Analysis tab, Analysis panel, click Validate.
- In the Validate dialog box, ensure the validation is okay.

- Click OK.
- Save the file.