Adding drainage system objects to the model
Build an InfoDrainage model using Inflows, Junctions, Stormwater Controls, and Connections.
Tutorial resources
These downloadable resources will be used to complete this tutorial:
Step-by-step:
It is very easy to add predefined storm drainage system objects into your surface model using the tools in the Toolbox. Best practice is to add the individual junction objects, such as manholes, and then connect them with pipe or channel objects.
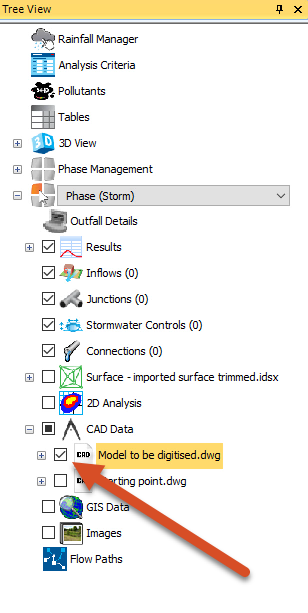
- From the Tree View, toggle the surface OFF.
- Select the file Model to be digitized.dwg.
- In the Plan View, zoom into it.
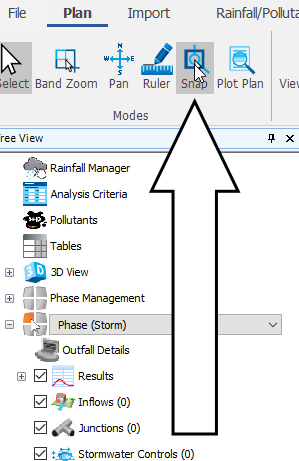
- On the ribbon, Plan tab, Modes panel, select Snap to enable Snap mode.
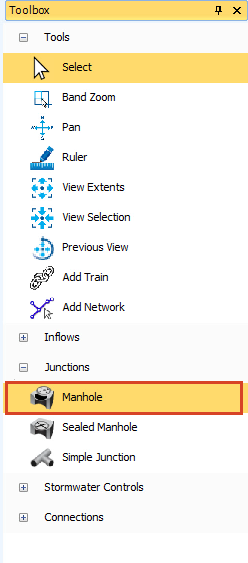
- In the Toolbox, expand the Junctions node and click Manhole to activate the manhole object for placement.
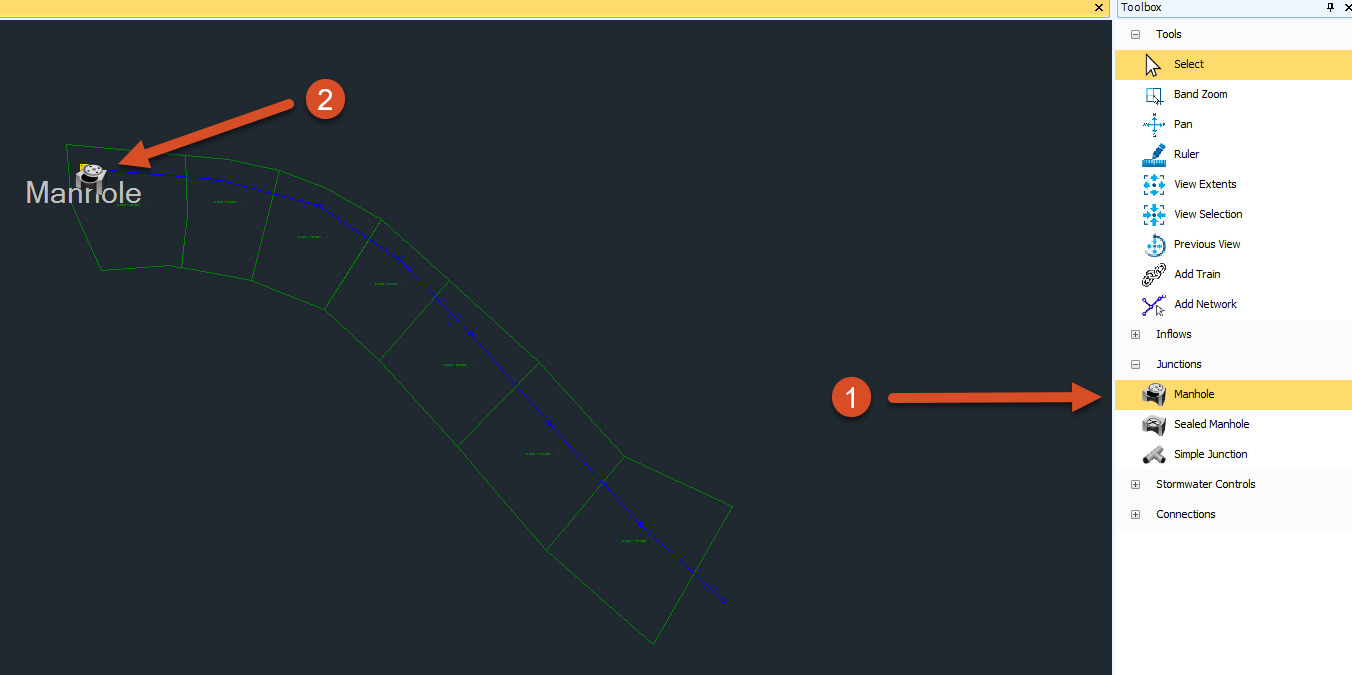
- Click and drag a Manhole from the Toolbox into the drawing.
- Hover the cursor over a point.
- When the manhole snaps to the point, release the mouse button to place the manhole.
- Place manholes along the remaining points as shown in the design.
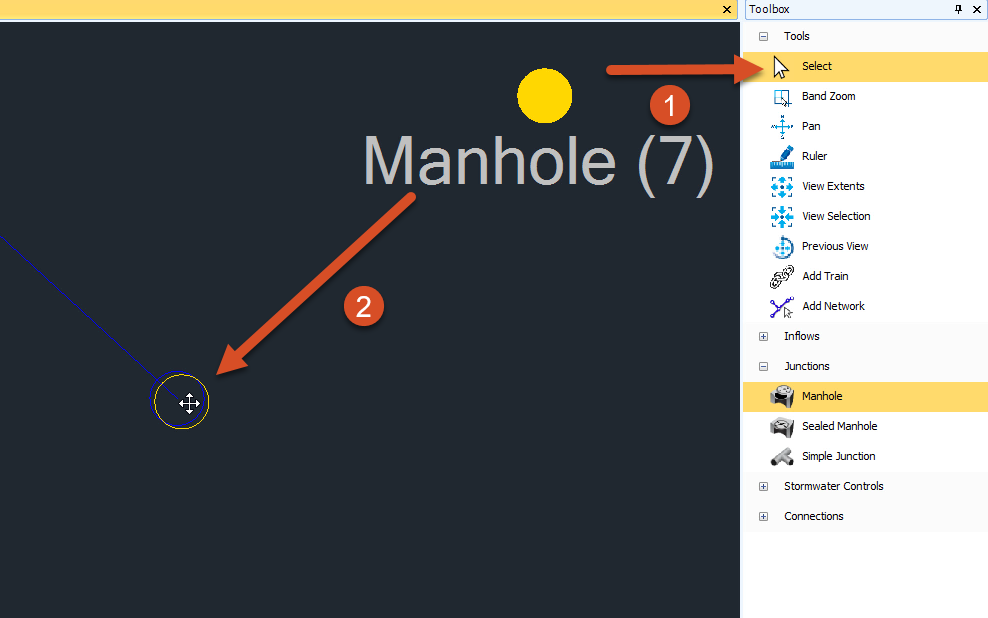
- To move a manhole, switch to the Select tool, then click and drag the manhole back to the point where it should be.
In the Tree View, the manholes were added under the Junctions node in numerical order. You can rename them by right-clicking on the name and then choosing Rename.
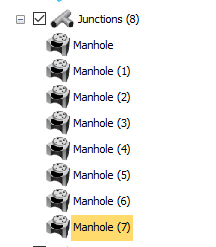
- To delete a Manhole, select it in the Plan View or the Tree View to highlight it, and then, on your keyboard, press DELETE.