Configuring a flood theme and displaying in 3D
Activate the flood theme and replay a simulation in a 3D view.
Tutorial resources
These downloadable resources will be used to complete this tutorial:
Step-by-step guide
In InfoWorks ICM, the flood theme is a comprehensive tool that displays water levels across all object results.
- Select Open > Open transportable database.
- Navigate to and select the .icmt file.
- Click Open.
- If a popup displays about opening the database as read-only, click Yes.
- Right-click the top-level folder and select Copy.
- In the popup, click Continue.
- In the Explorer window, right-click the Database and select Paste (with children).
- In the Copying pop-up, enable Copy simulation results and Copy ground models.
- Click Continue.
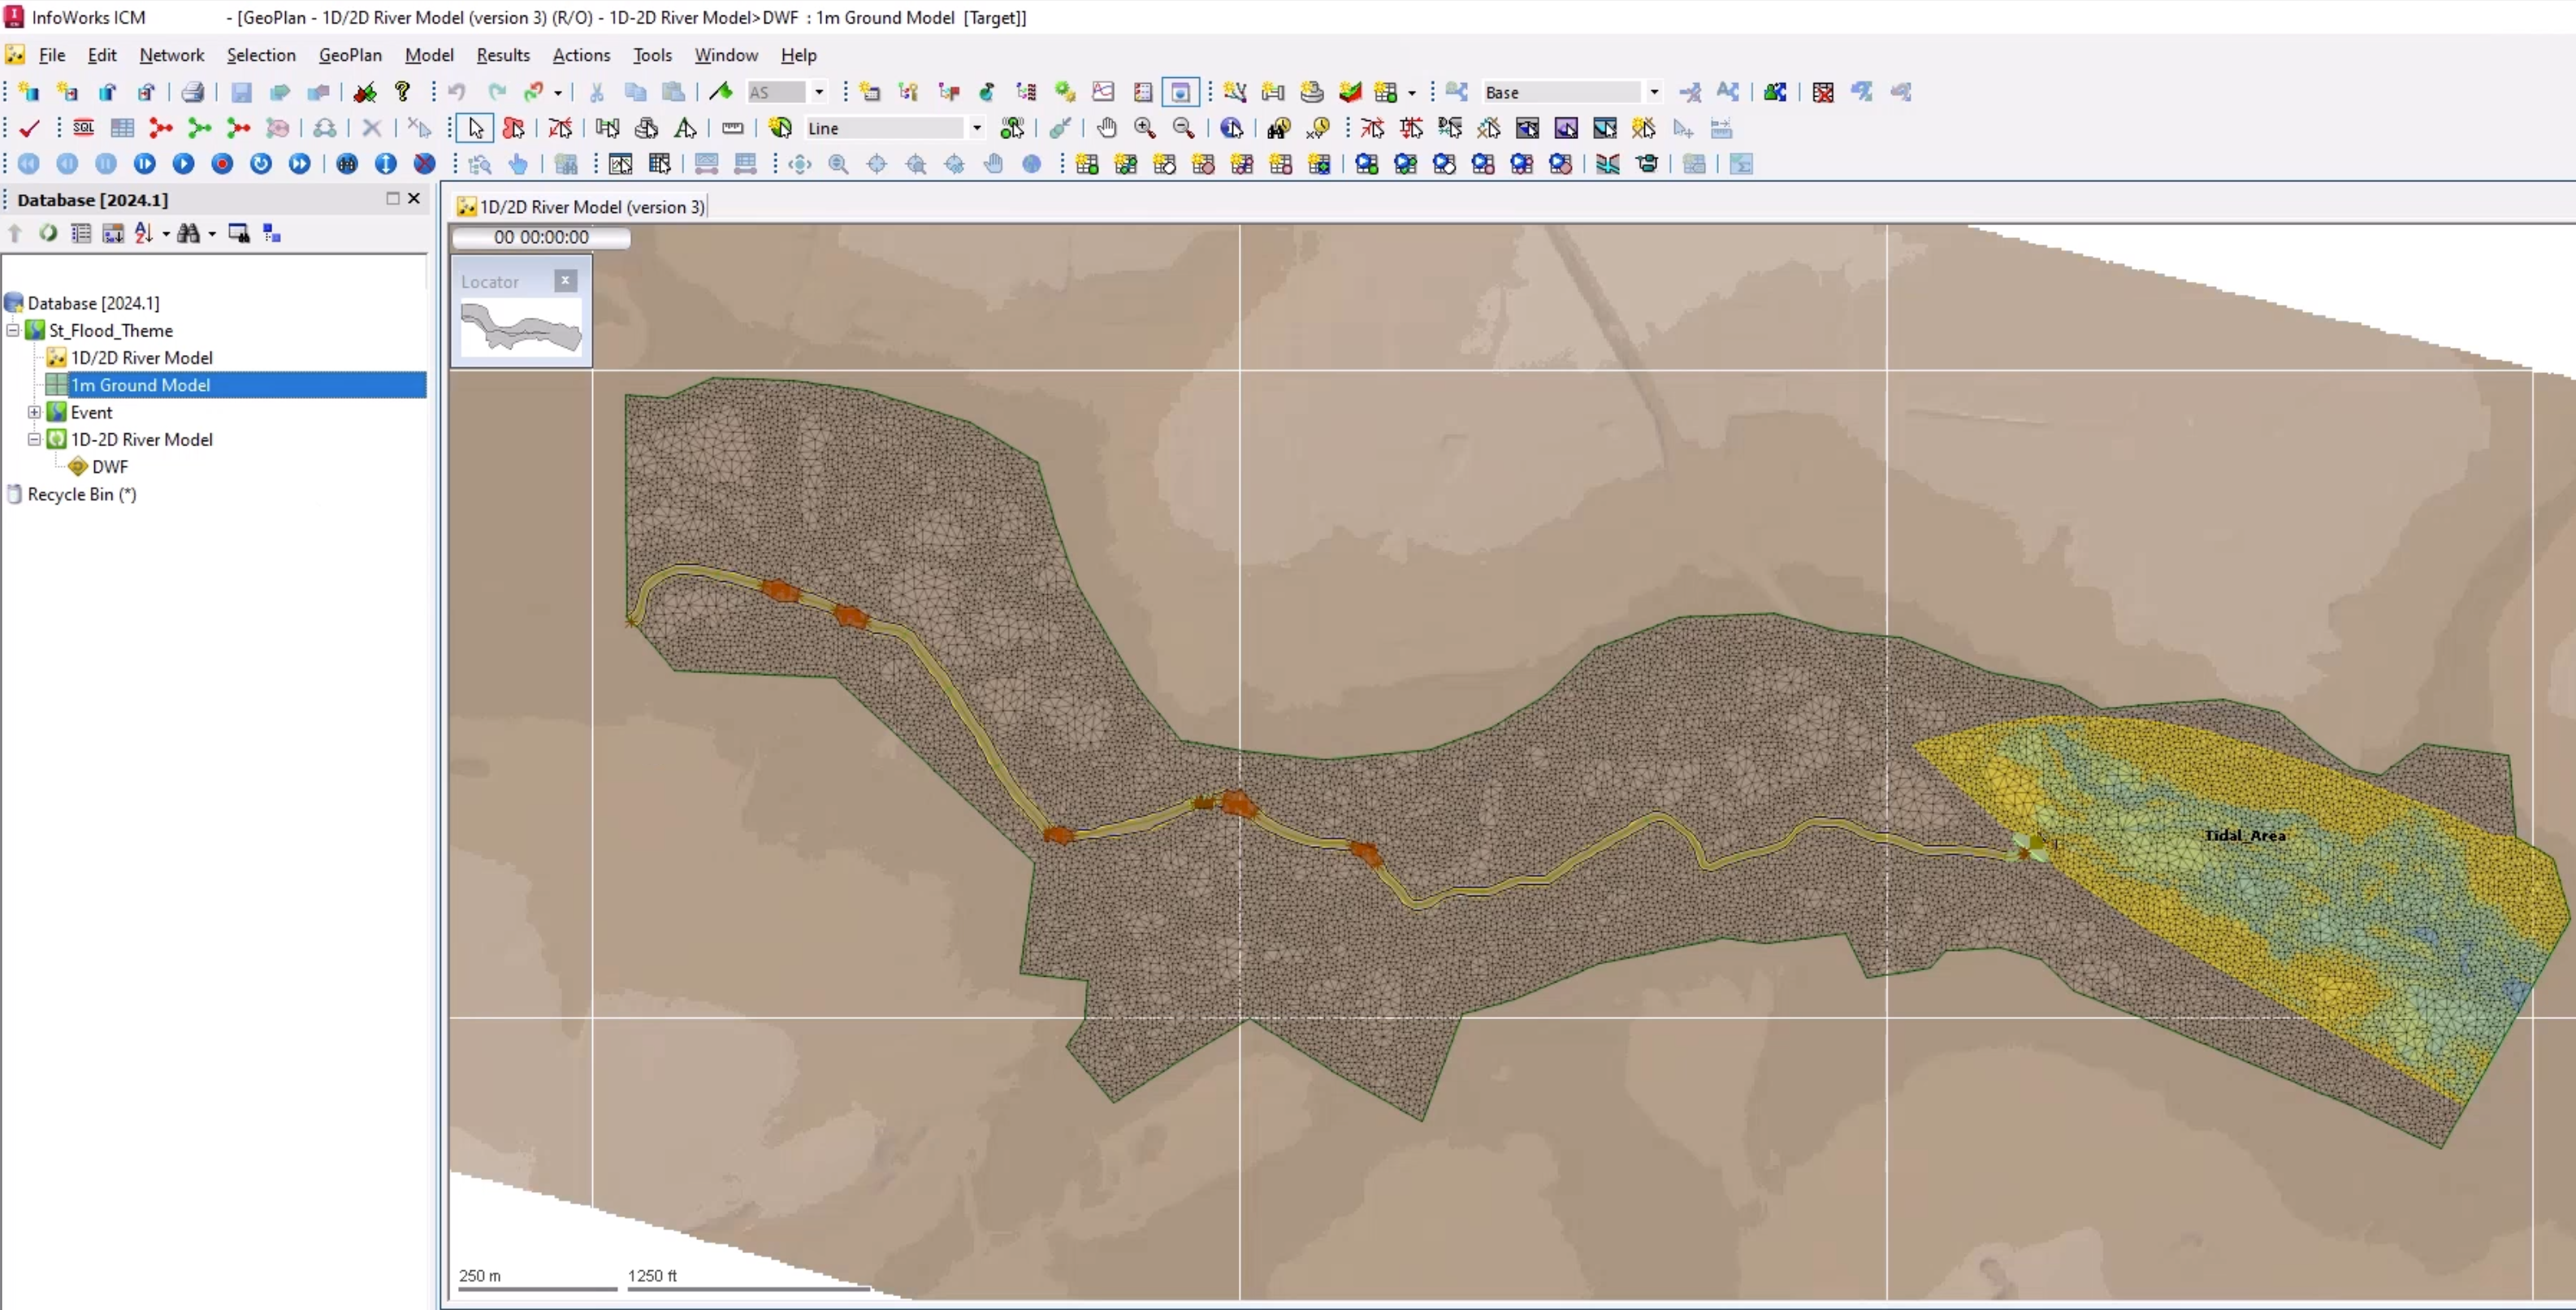
- For this example, open the 1D-2D River Model simulation on the GeoPlan to ensure that the model opens with the simulation results applied.
Before utilizing the flood theme, a ground model must be loaded.
- From the Explorer window, for this example, drag 1m Ground Model and drop it onto the GeoPlan.
To prevent the loaded ground model from displaying in the GeoPlan:
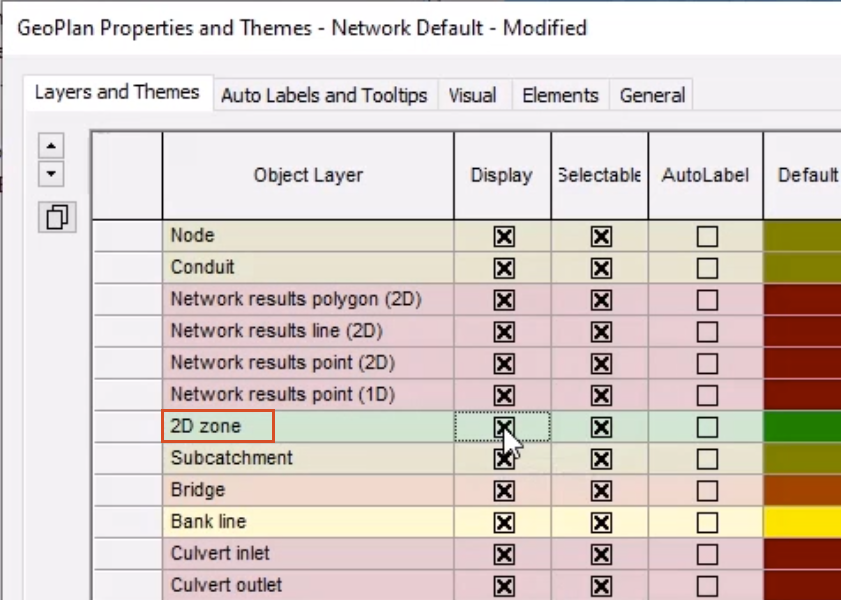
- Right-click the GeoPlan and select Properties & themes.
- In the GeoPlan Properties and Themes dialog box, on the Layers and Themes tab, scroll to the Ground Model row.
- In the Display column, deselect Ground Model.
- Click Apply.
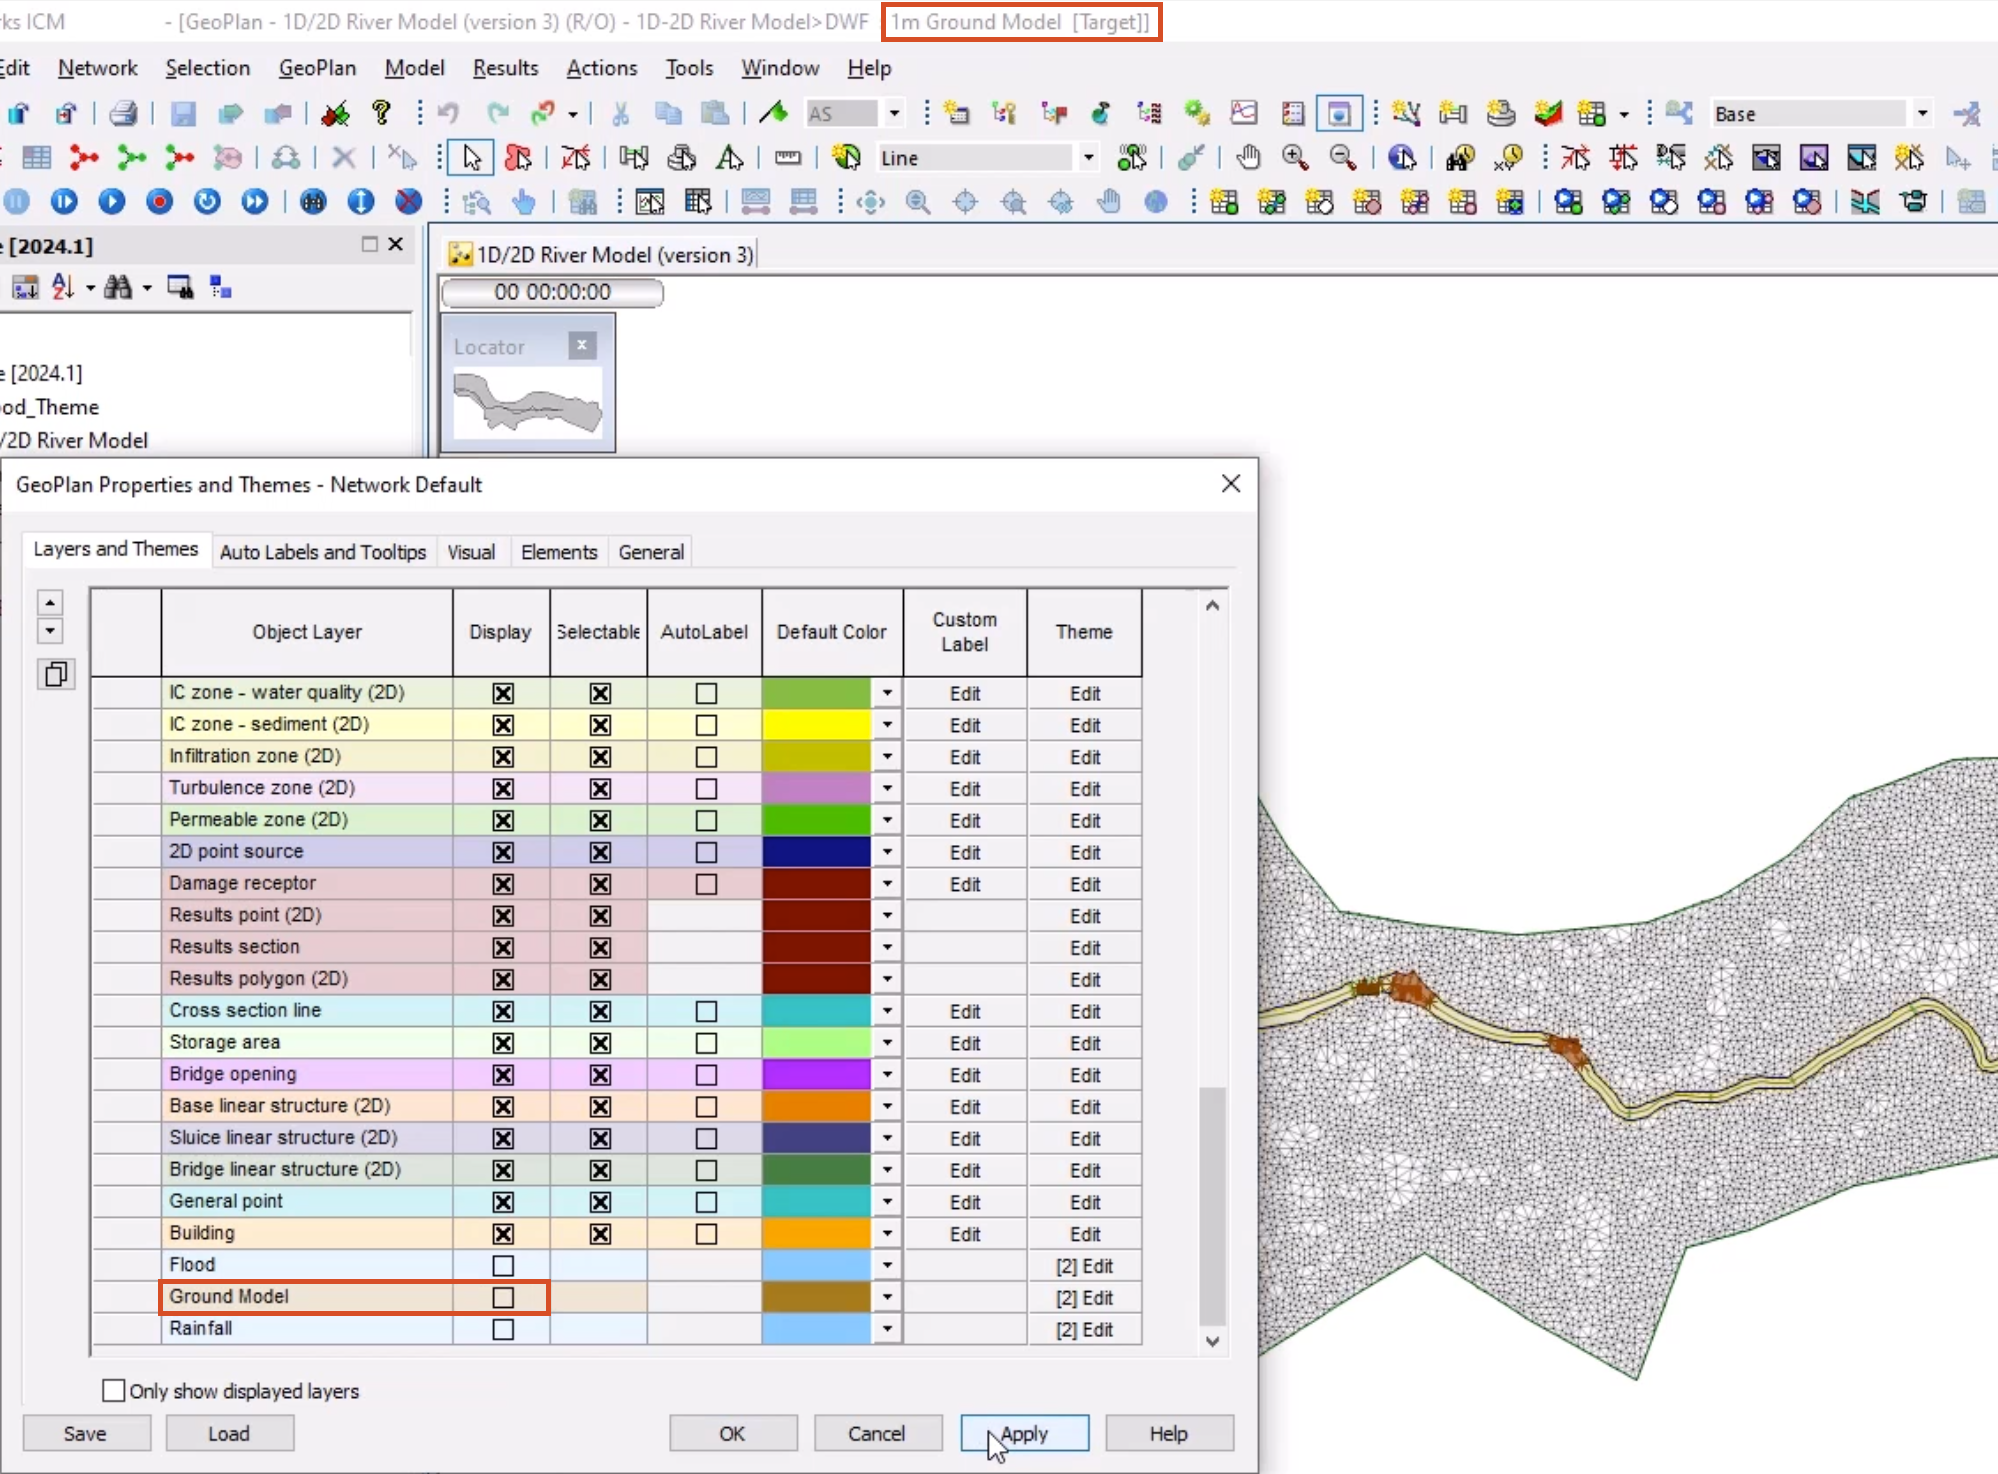
In the GeoPlan window, the ground model disappears. Note that 1m Ground Model still appears in the title bar of the ICM window, indicating that it is still loaded.
To activate the flood theme:
- In the GeoPlan Properties and Themes dialog box, for the Flood object layer, enable Display.
- In the Flood row, Theme column, select Edit to open the Layer Theme Editor.
For this theme and results, leave the automatic calculations. Note the minimum calculated depth where theme applies (m) setting. This can be used to set a threshold and remove noise created by shallow flows, which can be problematic in models with 2D runoff.
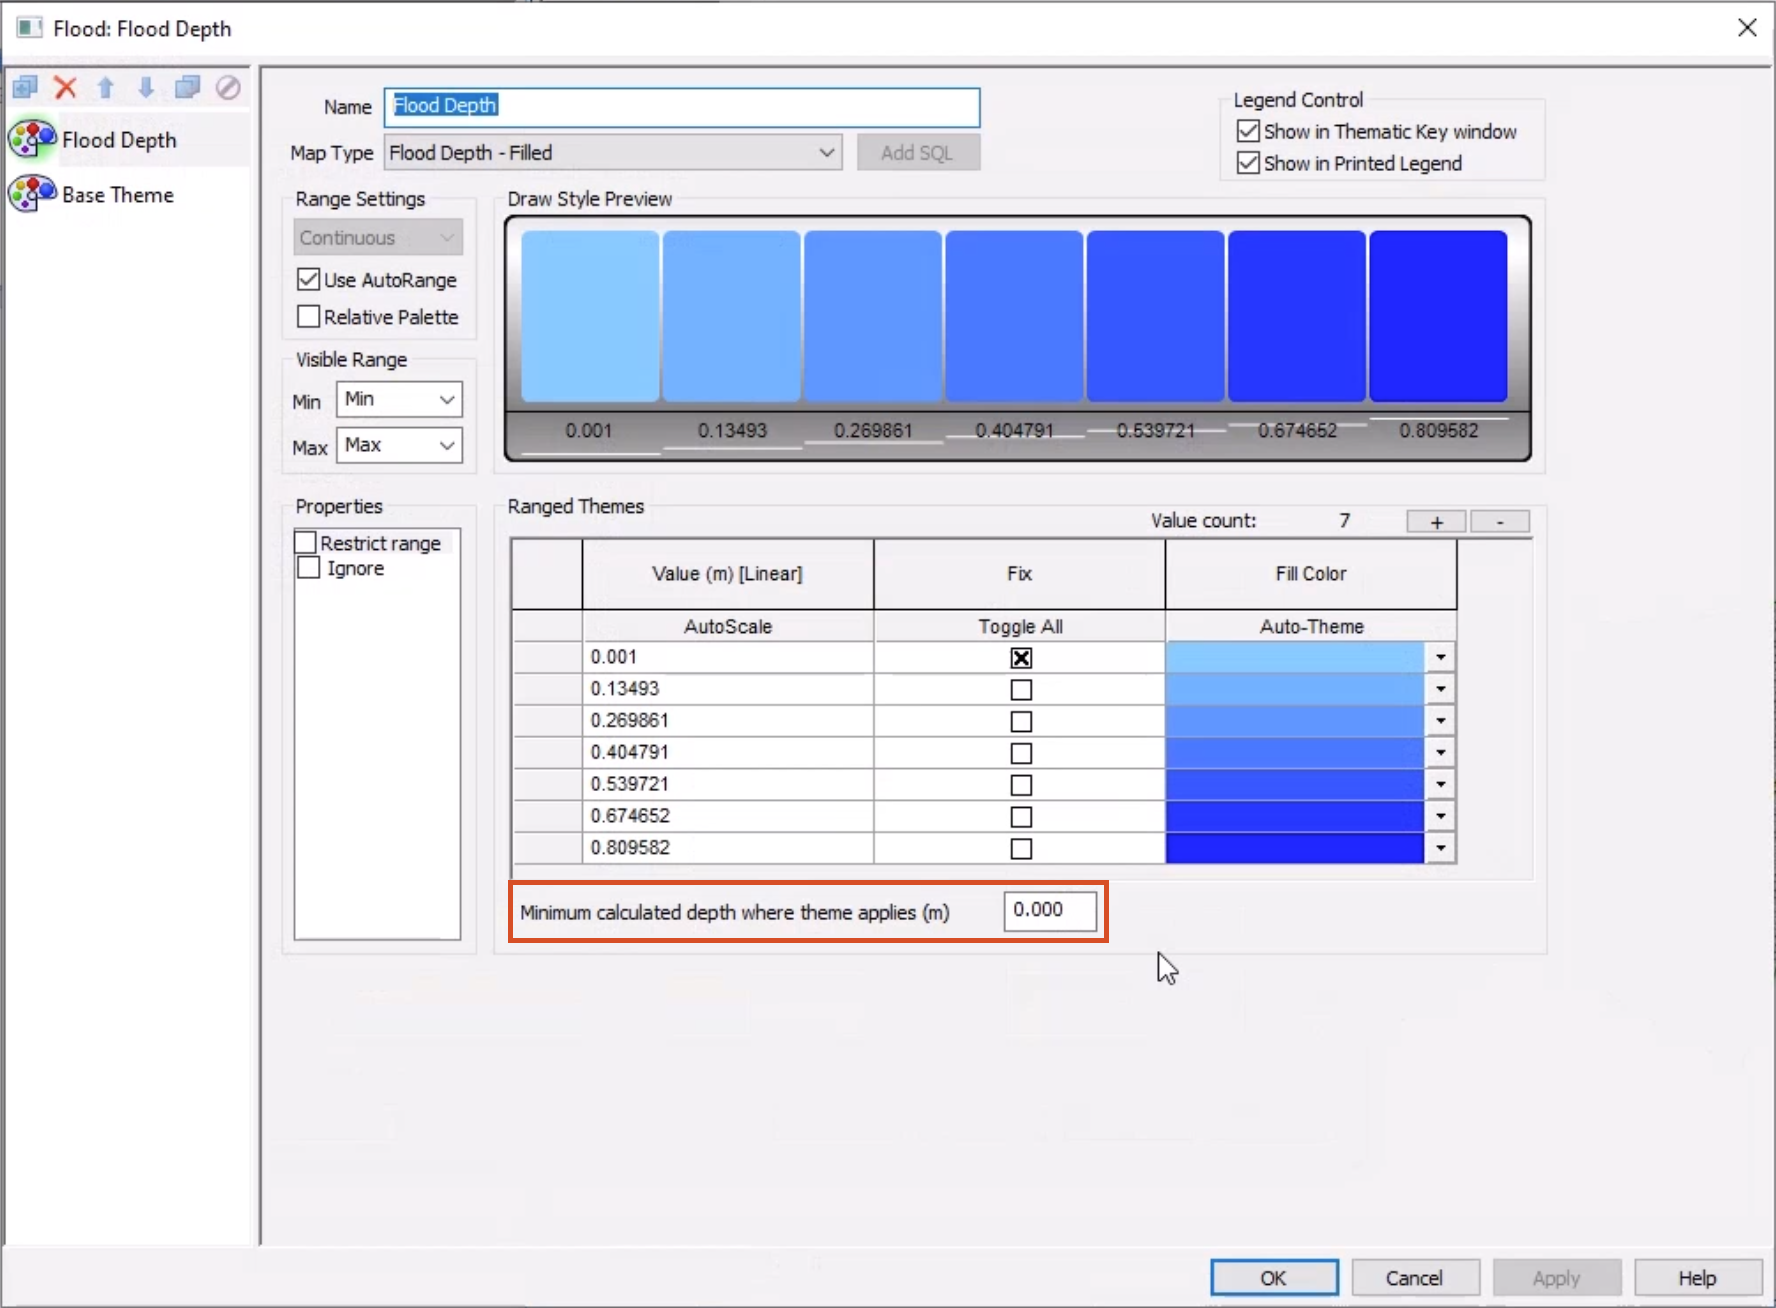
- Click OK.
- Back on the Layers and Themes tab, scroll up to the IC Zone – hydraulics (2D) row and disable Display.
- In the 2D Zone row, disable Display.
- Click OK.
ICM automatically updates calculations for the new flood theme.
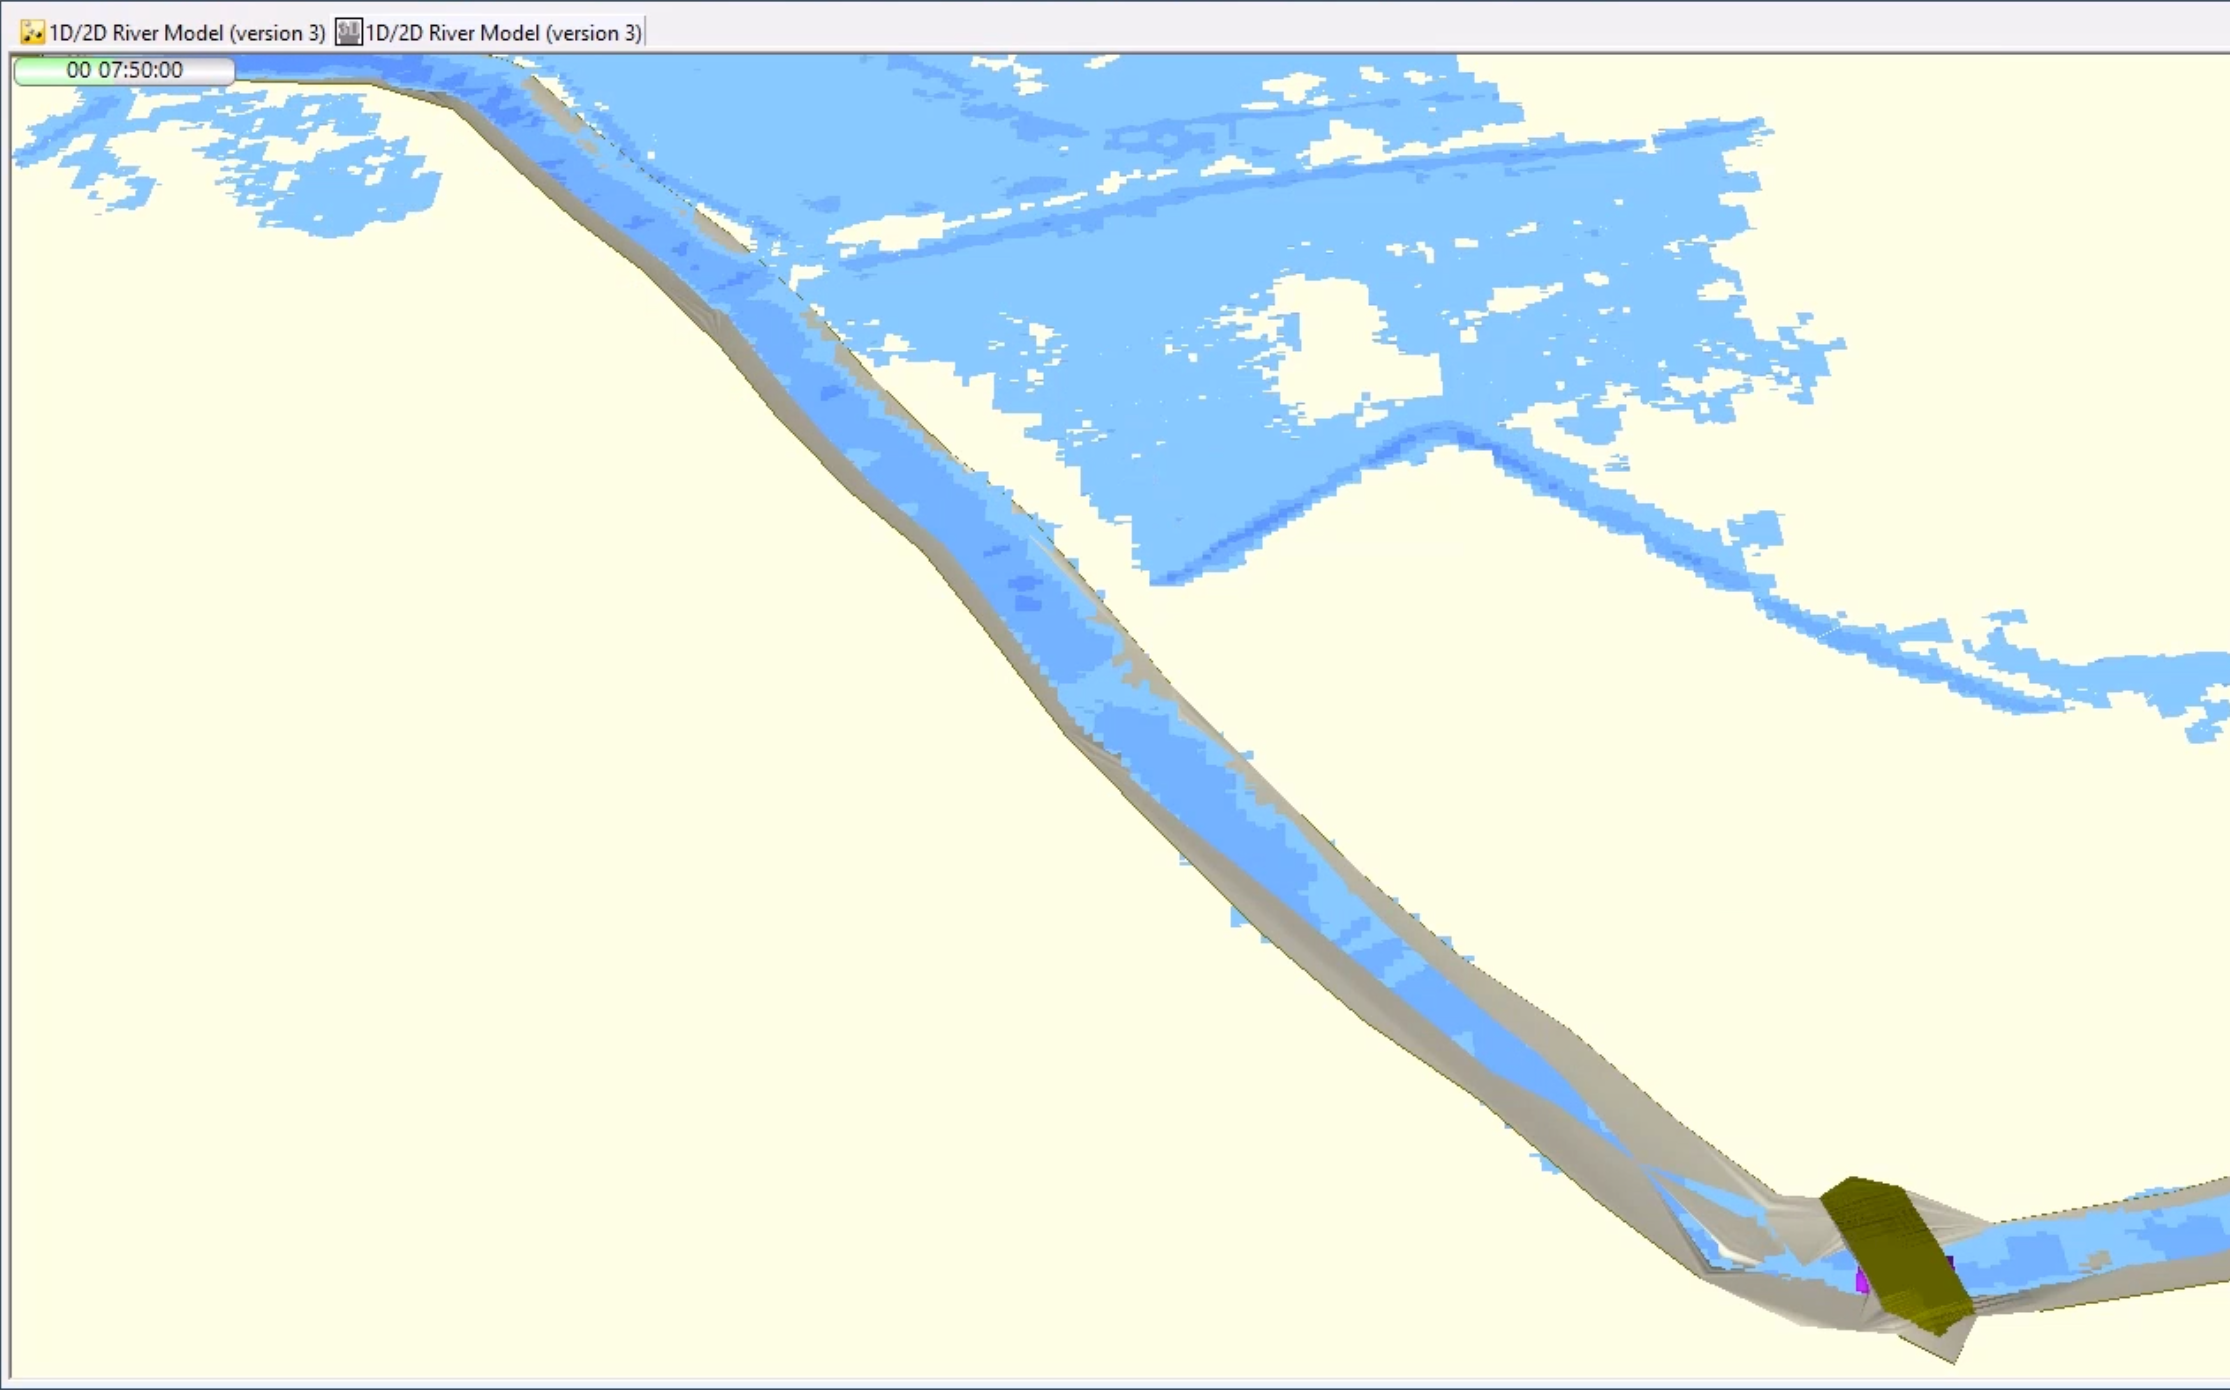
- Zoom in to the river model.

Notice the flood theme is applied in a pattern of grid squares, based on the grid sizes of the ground model. ICM looks at the levels of the objects and the ground model to build in more information.
For an easy comparison of 2D zone results and Flood theme results, create new theme object for each:
- Reopen the GeoPlan Properties and Themes dialog box.
- Select Save.
- In the Network editing properties – save options dialog box, with Save to database object selected, click OK.
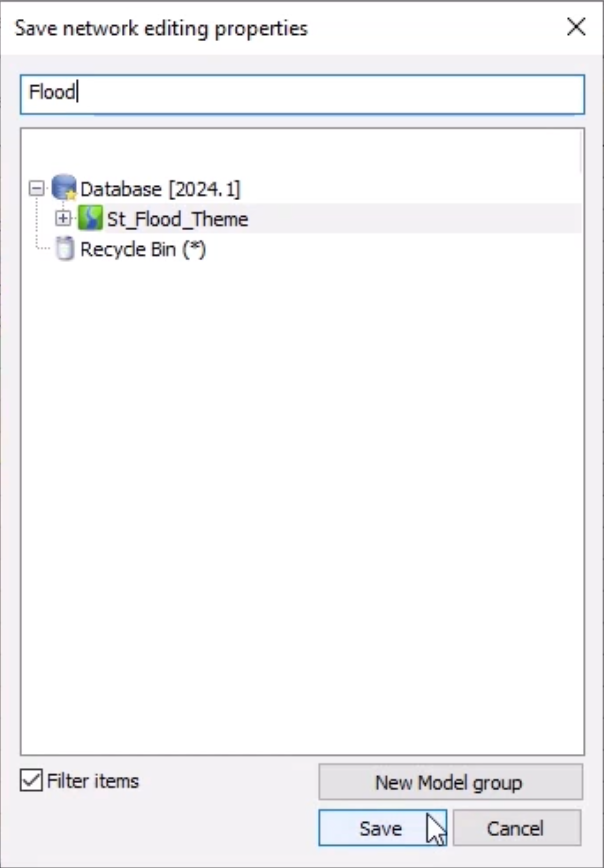
- In the Save network editing properties dialog box, select the database and enter a name, such as “Flood”.
- Click Save.
- In the Select Properties to Save dialog box, click OK.
To create a theme object for the 2D zone:
- In the GeoPlan Properties and Themes dialog box, enable the Display for 2D zone.
- Disable the Display for Flood.
- Click Apply.
- Repeat steps 24 – 28 to create a theme object named “2D Zone”.
- Click OK to close the GeoPlan Properties and Themes dialog box.
Under the Database, the Flood and 2D Zone theme objects are added.
- From the Database, one at a time, drag each new theme object and drop it onto the GeoPlan.
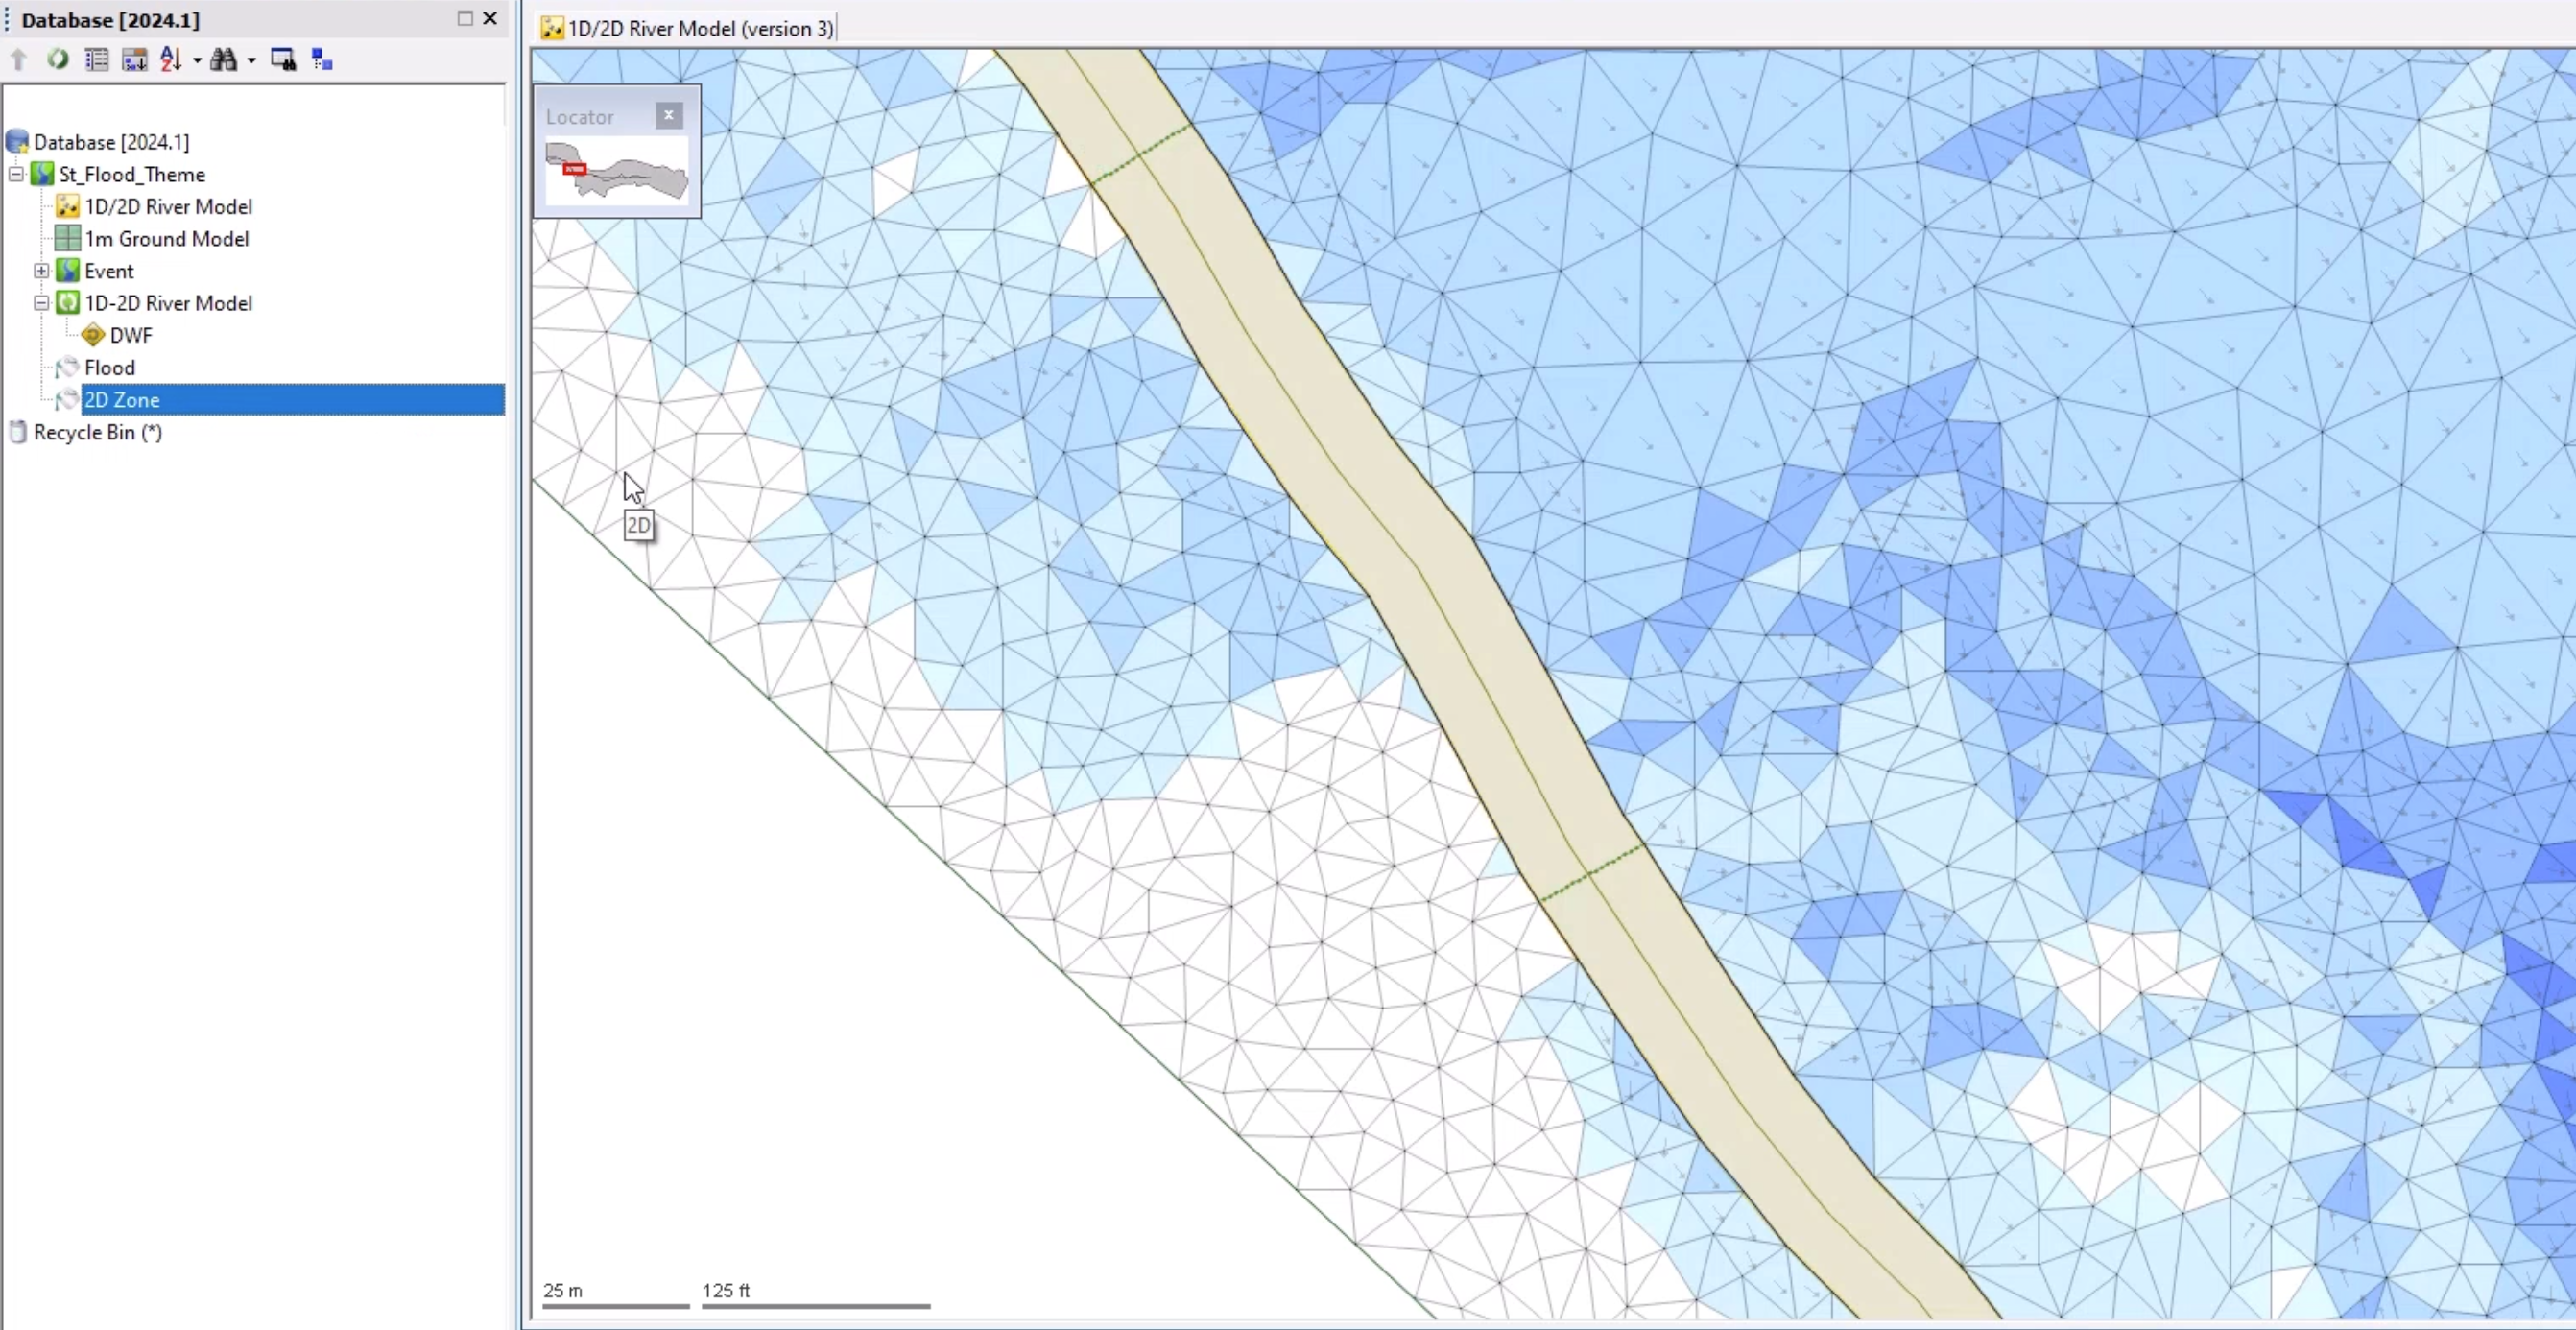
Take some time to look at the model, swapping between the 2D Zone results and Flood theme results.
To view the model in 3D:
- In the Windows toolbar, select New 3D Network Window.
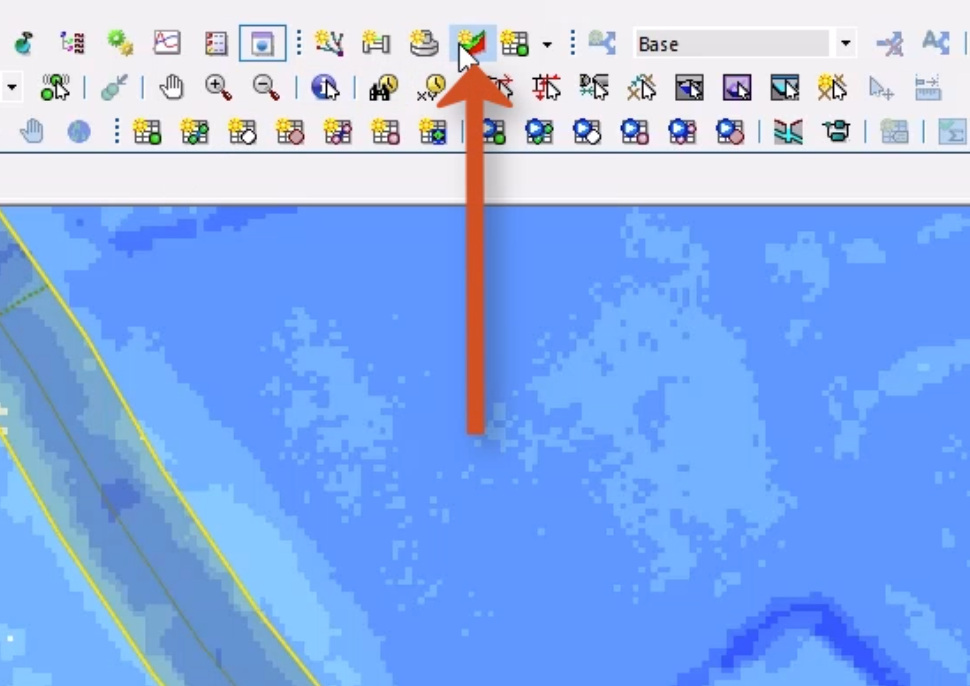
A new window opens to display the 3D view.
- To turn off the Terrain, right click the 3D view and select Properties.
- In the 3D View Properties dialog box, under Terrain, enable Do not show.
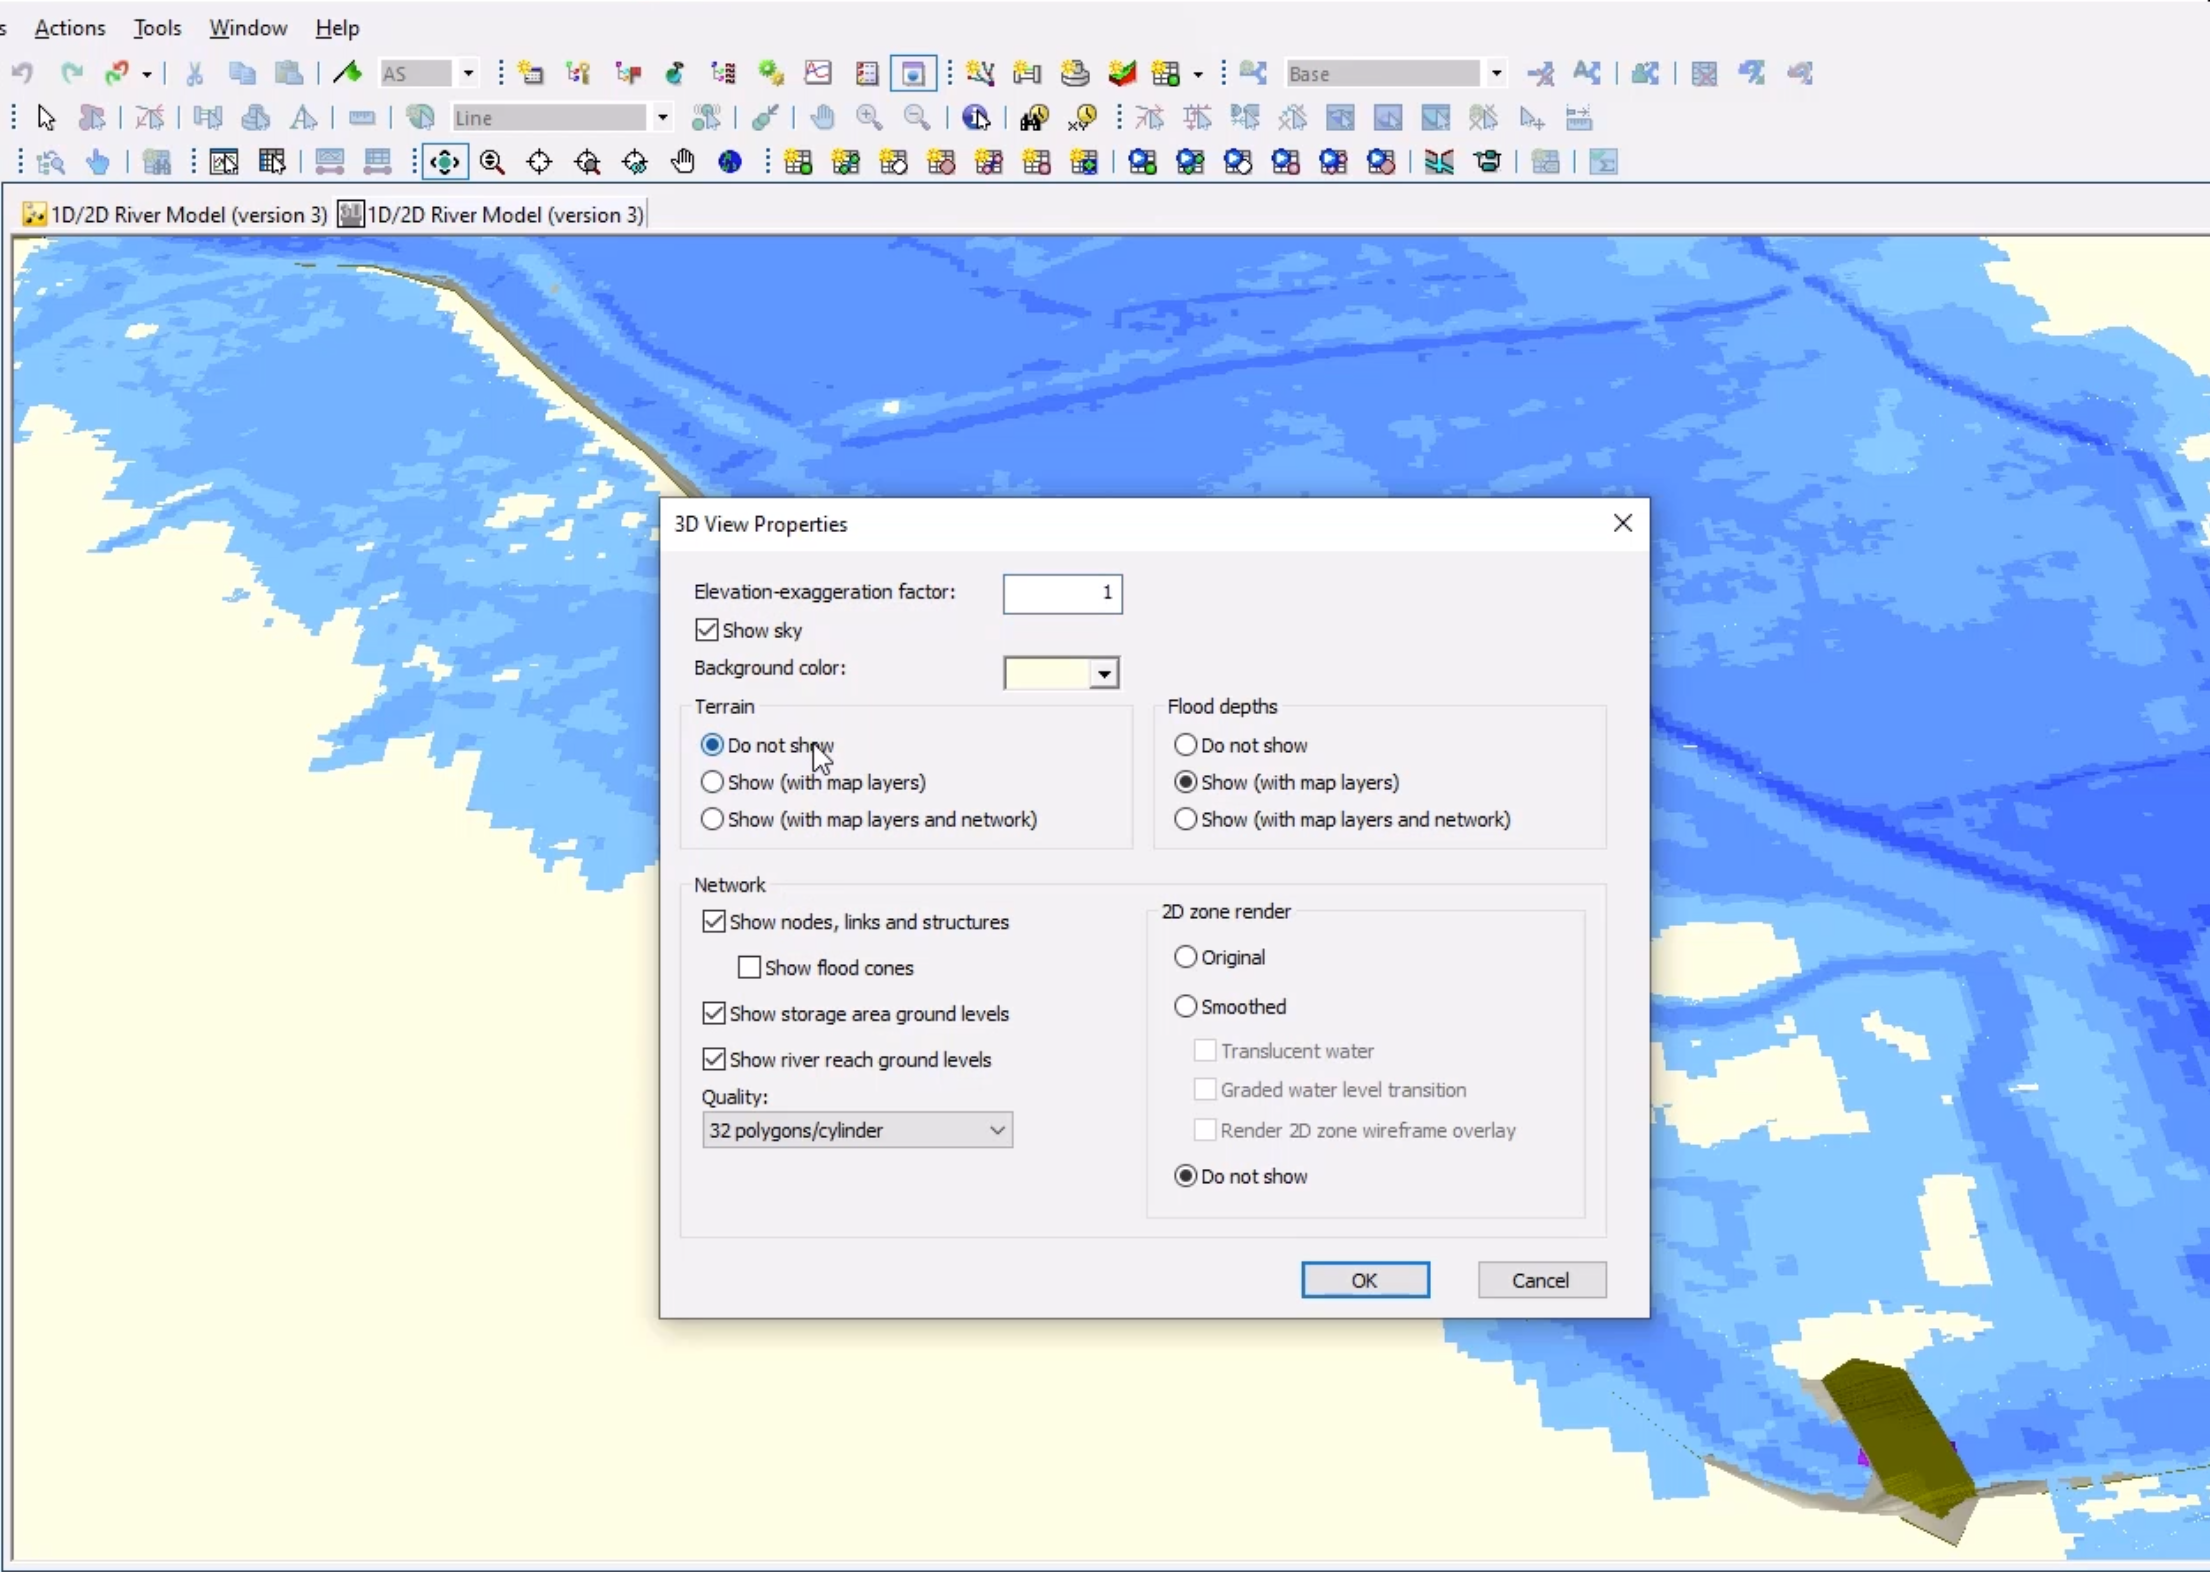
- Click OK.
The simulation can also be replayed in 3D:
- In the Results Control toolbar, select Play to see the results as the water level builds up.
- After viewing the results, right-click the tab for the 3D view and select Close Tab.