Create a new workspace or clone a workspace
In this unit, you will learn how to create a new workspace from scratch. You will also learn how to clone a workspace to create a new one.
Any referenced datasets can be downloaded from "Module downloads" in the module overview.
Create and Clone Workspaces - Exercise
In this exercise, you will create a new workspace from scratch and then clone an existing workspace.
Task 1: Create a New Workspace
- In the navigation menu, select Administration > Workspace Manager.
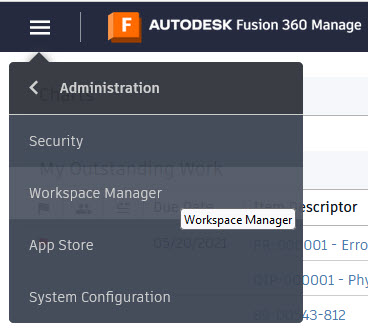
- In the Workspace Manager, click New Workspace.

- On the New Workspace page, enter the following:
- Workspace Name: Design Reviews – Supplier
- Workspace ID: Will fill in automatically
- Description: For Supplier’s Design Reviews
- Workspace Type: Basic Workspace with workflow (this is the default)
- Click Save.

- After saving the new workspace, you will see To Dos in the Workspace Manager for specific settings (to create sections and fields in Item Details) and for the overall workspace (choosing a descriptor, creating roles and assigning them to groups, and uploading a workflow).

- Click Item Details Tab. At the top of the Workspace Layout page, there are buttons for Add Field, Add Matrix, and Add Section. Try adding a field, matrix, and section to explore how these options are defined. Click Cancel to return to the Workspace Manager.

- Click the Delete icon for the Design Reviews – Supplier workspace that you just created, then click Delete in the warning dialog. You will recreate this workspace by cloning an existing workspace in the next task.

Task 2: Clone an Existing Workspace
- In the Workspace Manager, expand the Design Reviews workspace and click Clone.

- For the Workspace Name, enter Design Reviews – Suppliers. For the Description, enter Design Review for Suppliers. You can choose to clone the settings of the original or uncheck the options, as required. For this task, keep all the settings of the original and click Save.
