Adjust the details pages of workspaces
In this unit, you will learn how to adjust the details pages of new or cloned workspaces. You will also learn how to create a role for a workspace.
Any referenced datasets can be downloaded from "Module downloads" in the module overview.
Adjust Details Pages and Create a Role for the Workspace - Exercise
In this exercise, you will edit an item’s details pages and create a role for the workspace.
Task 1: Edit Details Pages
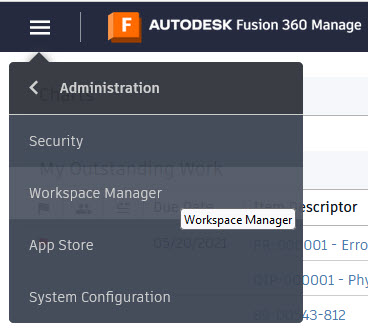
- In the navigation menu, select Administration > Workspace Manager.
- If you did not complete the previous unit’s exercise, clone the Design Reviews workspace, as follows:
- In the Workspace Manager, expand the Design Reviews workspace and click Clone.
- For the Workspace Name, enter Design Reviews – Suppliers. For the Description, enter Design Review for Suppliers. Keep all the settings of the original and click Save.
- Expand the Design Reviews - Supplier workspace.
- Select Workspace Settings and review the settings. No changes are required, so click Cancel to return to the Workspace Manager.
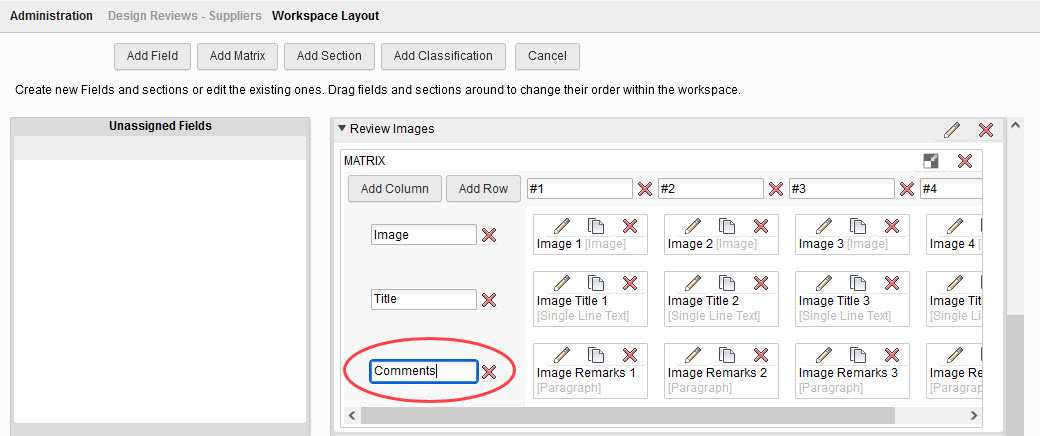
- Select Item Details Tab and scroll to the Review Images section. Change the Remarks title name to Comments.
- Scroll back up to the Details section. Delete the Number field by clicking the X icon at the end of its row. In the Deleting a field dialog that displays, click Confirm.
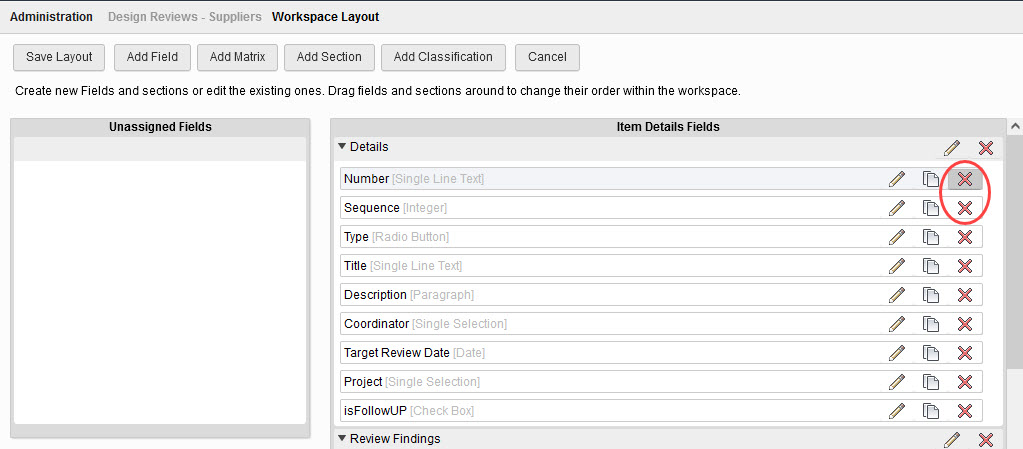
- Repeat the process to delete the Sequence field.
- Click Add Field to create a new field. In the Creating a Field window, set the following:
- For the Field name, enter Review ID.
- For the Data Type, select Auto Number.
- In the Computed Field Formula, change the NU prefix to be R- (this will automatically number all records created in the Design Reviews – Supplier workspace).
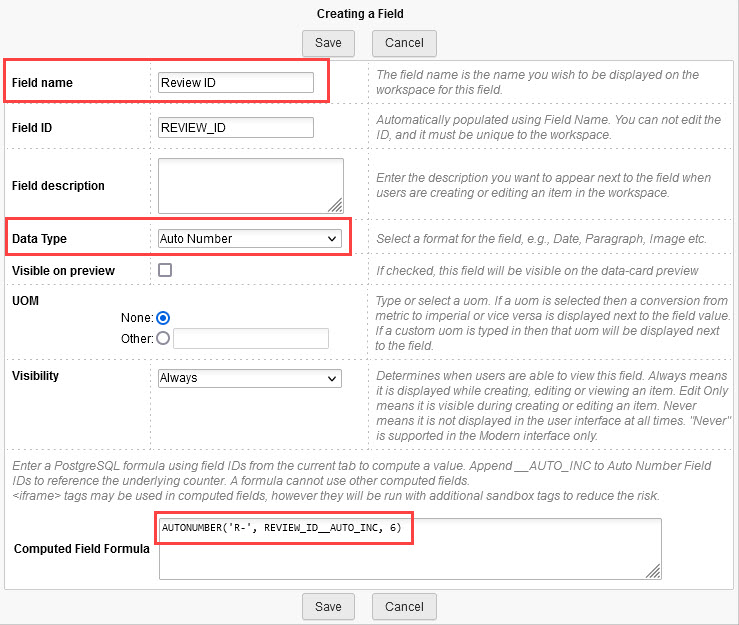
- Click Save.
- The new Review ID field will be listed in the Unassigned Fields section. Select it and drag it to the top of the Item Details Fields list.
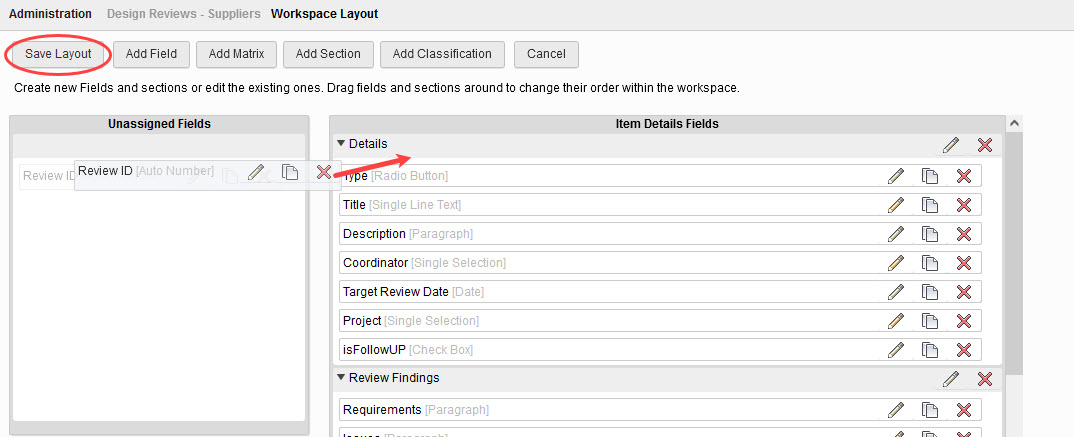
- Click Save Layout to save the changes, then click Cancel to return to the Workspace Manager.
- Select Descriptor. In the Descriptor Order section, select the following:
- Descriptor Field 1: Review ID
- Descriptor Field 2: Title
- Descriptor Field 3: --Select-- (to clear the field)
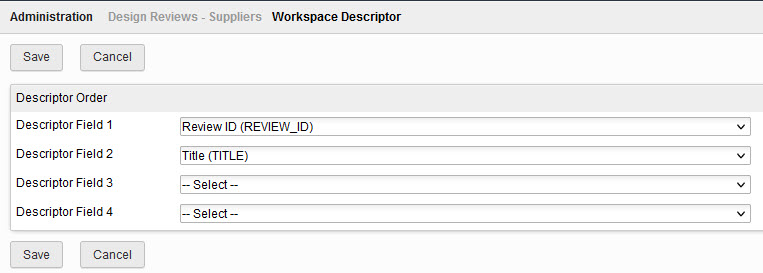
- Click Save.
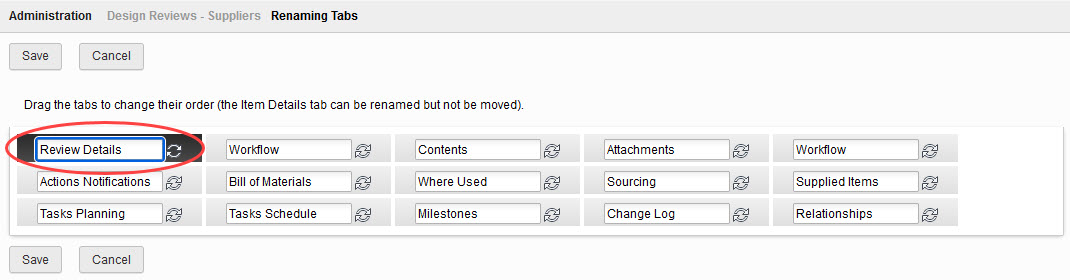
- Select Tab Names. Change the Design Review tab name to Review Details, then click Save.
- Select Workflow Editor. You will notice that it is currently blank and still needs to be set up. This will be covered in the next unit.
Task 2: Create a Role for the New Workspace
As you may recall, one or more permission roles for the workspace need to be created to define its functionality since users will not be able to see the workspace until you set up a role for the workspace and add users or groups to that role. In this exercise, you will create a RW role for the Design Reviews – Supplier workspace.
- In the navigation menu, select Administration > Security.
- On the Security page, click New Role.

- In the Create New Role section, set the following:
- Name: Design Reviews – Suppliers [R/W]
- Description: Manage Supplier Design Reviews
- Workspace: Design Reviews – Supplier

- Click Create Role and Add Permissions.
- Select the required available permissions from the list on the left, then click the right arrow to add them to the Design Reviews – Supplier [R/W] role.
- If you are unsure of which permissions are required, you can refer to the default Design Reviews [R/W] role.
- Click Save and Manage Groups.
- Select the required groups to be associated to the role from the list on the left, then click the right arrow to add them to the Design Reviews – Supplier [R/W] role. Click Save when finished.