Linking a Revit model with Robot
Any referenced datasets can be downloaded from "Module downloads" in the module overview.
Link a Revit model with Robot - Exercise
In this practice, you will step through the process of transferring the analytical model from Revit to Robot using the direct integration. This practice is possible only when both Robot and Revit are installed on the same machine.
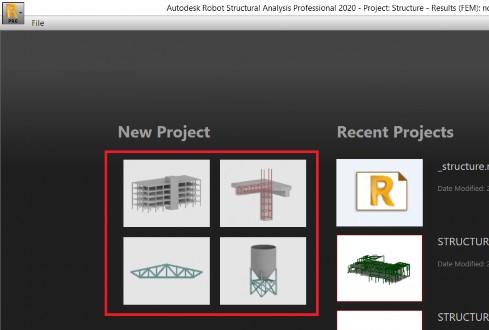
- Open Autodesk Robot Structural Analysis Professional 2020 and start a new project (any structure type).
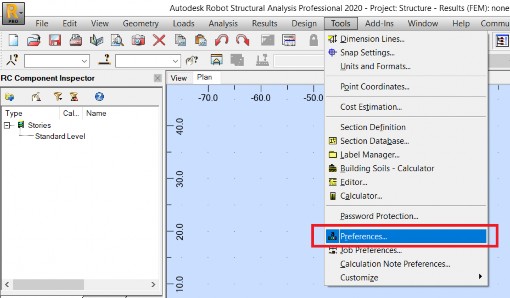
- Select Tools > Preferences… from the pull-down text menu.
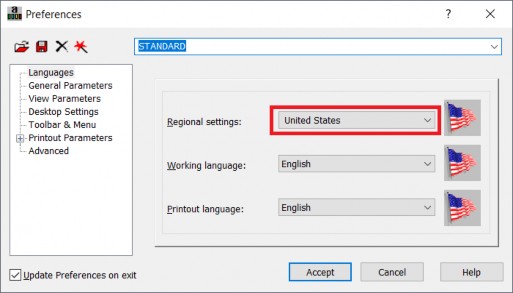
- The Preferences dialog-box is open. Change the regional settings to United States and select Accept to close the dialog-box (it may result in the automatic re-starting of Robot if the original language is different than English).
- Now you can close Robot or leave it open.
- Start Revit 2020 and open the project STRUCTURAL before analysis.rvt.
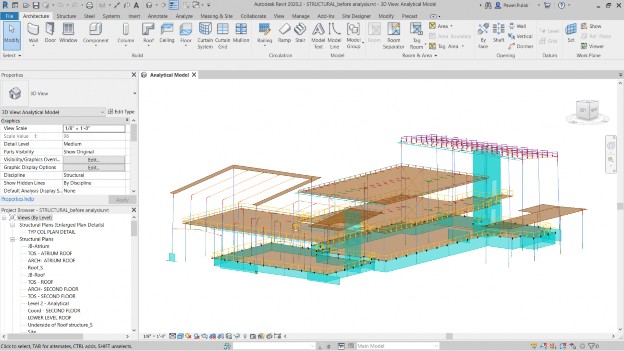
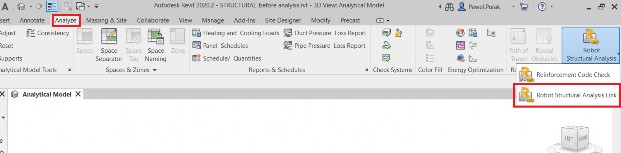
- Select Robot Structural Analysis Link from the Structural Analysis panel on the Analyze ribbon.
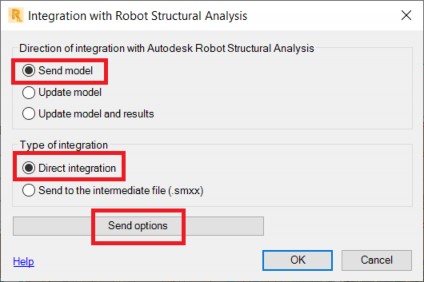
- The Integration with Robot Structural Analysis dialog box is opened. Activate Send model and Direct integration and select Send options, as shown below.
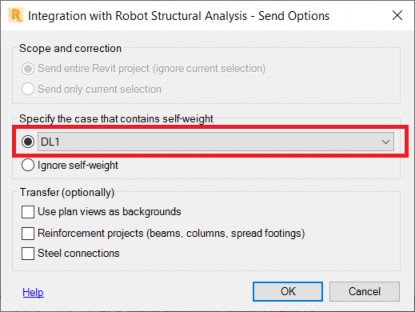
- The Integration with Robot Structural Analysis – Send Options dialog box is opened. Make sure that the load case DL1 is selected to contain the self-weight load. Select OK to accept.
- The Integration with Robot Structural Analysis dialog box is displayed again. Select OK to send the model from Revit to Robot.

- In case of Direct integration, active the transfer starts with automatic starting Robot, providing it was not started earlier. Then, the dialog box with the progress bar corresponding to various stages of the transfer is displayed. At the end of the transfer the dialog box is displayed, informing about possible warnings or errors.
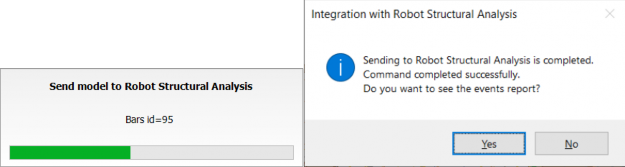
- Answering Yes to the question from this dialog box results in displaying the list of messages, and possible warnings and errors detected during the transfer.
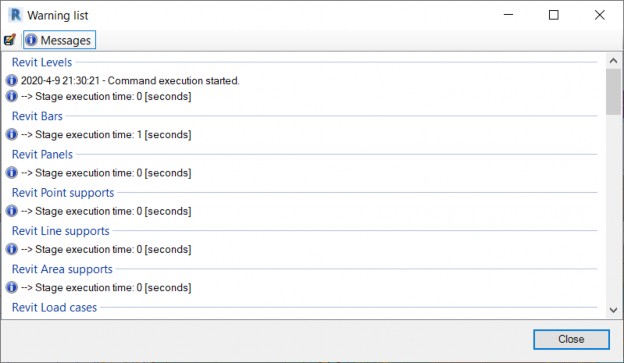
- Close the Warning list window. Robot will be automatically displayed with the model transferred from Revit shown in the graphic view.
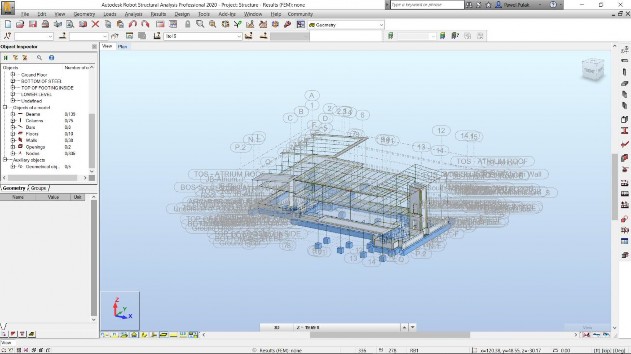
- Save the model with a new name using File > Save As… from the pull-down text menu.