Initial setup
Any referenced datasets can be downloaded from "Module downloads" in the module overview.
Initial setup - Exercise
Task 1: Insert architecture link and acquire coordinates
- Start a new project using the Structural Analysis-Medical Center.rte template.
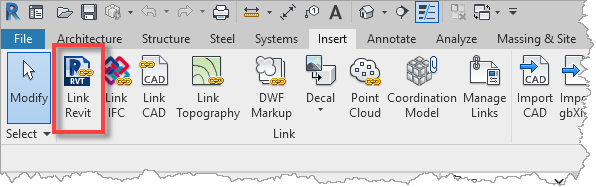
- From the Insert ribbon, select Link Revit.
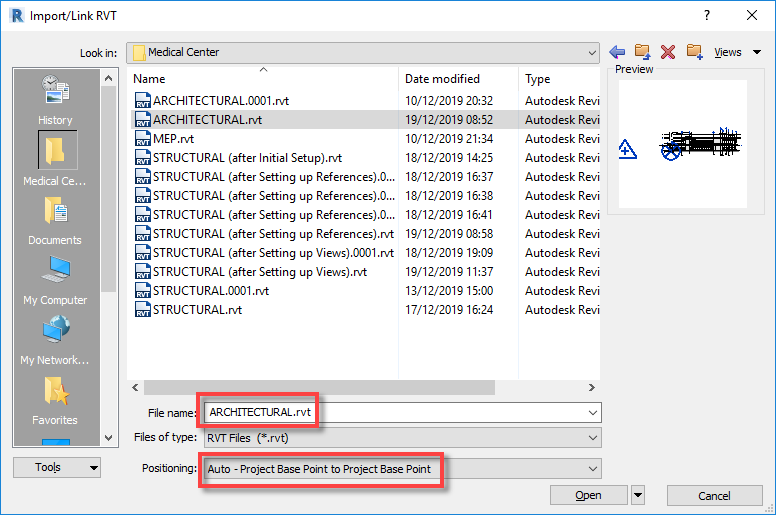
- Select ARCHITECTURAL.rvt and Positioning of Auto – Project Base Point to Project Base Point.
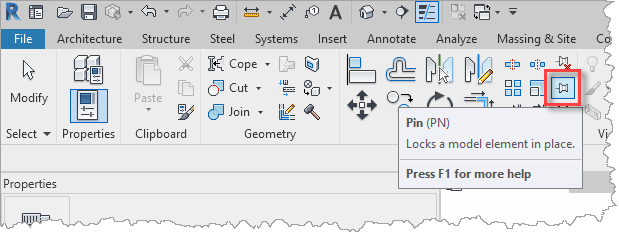
- Select the link and pin it into place.
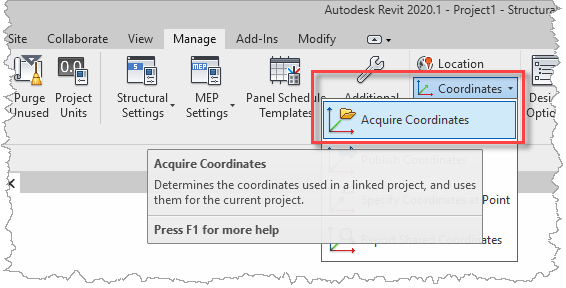
- From the Manage ribbon, select Coordinates, then Acquire Coordinates, and then select the link.
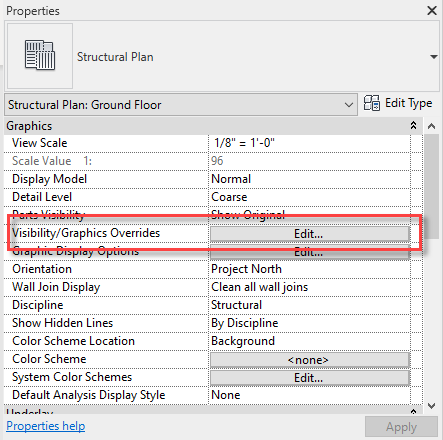
- In the View Properties, select the Visibility/Graphics Overrides Edit button (or type VG or VV).
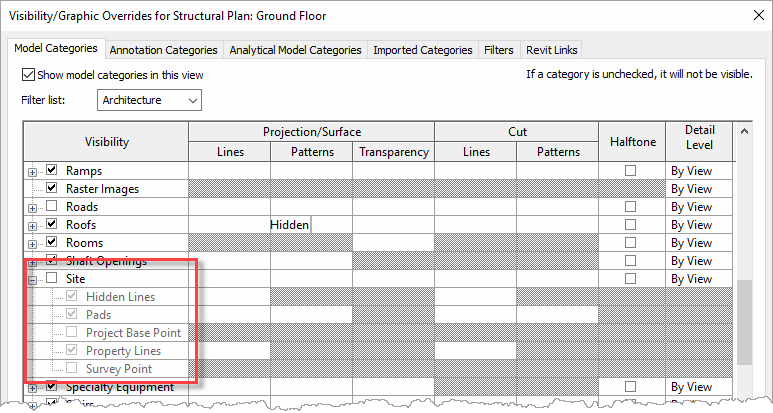
- This will open the Visibility/Graphics Overrides dialog. Then in the Model Categories list, scroll down to Site, and expand the sub-categories.
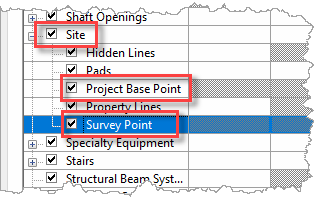
- Enable the Site, Project Base Point, and Survey Point check boxes and OK the dialog.
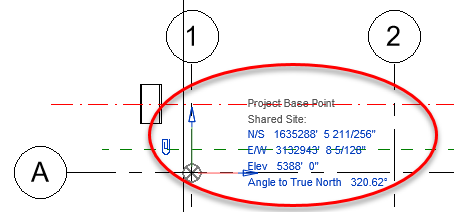
- Locate and select the Project Base Point at the A1 grid intersection and confirm these coordinates.
Task 2: Insert MEP link
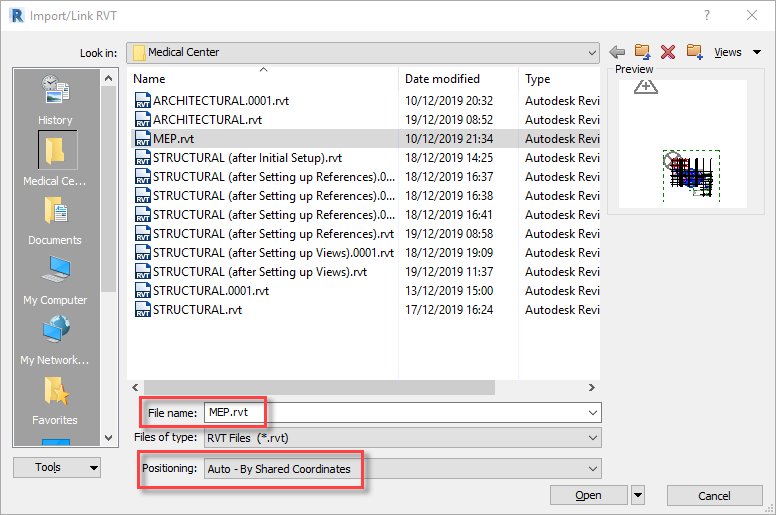
- From the Insert ribbon, select Link Revit.
- Select MEP.rvt and in this case, select the Positioning of Auto – By Shared Coordinates (this is because the current project and the MEP project have both been set up with the coordinate system acquired from the architectural file).
- Select the link and pin it into place.
- Switch to a Default 3D View to confirm that the MEP systems align with the building shell.
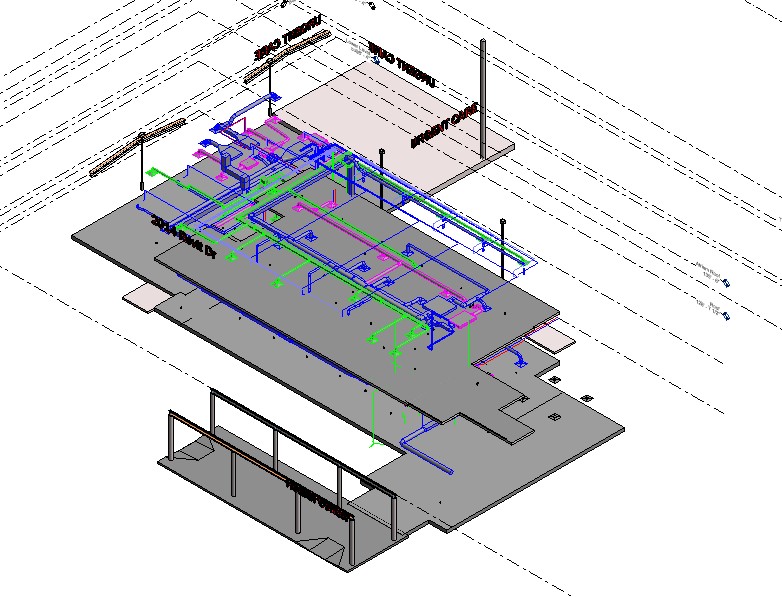
- Save the project.