Structural materials
Any referenced datasets can be downloaded from "Module downloads" in the module overview.
Create a structural material - Exercise
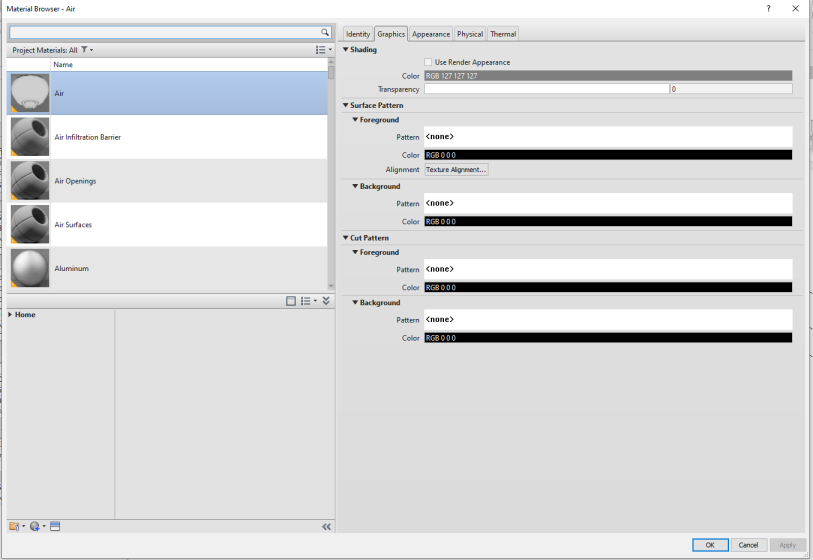
- On the Manage tab > Setting panel, click Materials to launch the material editor.
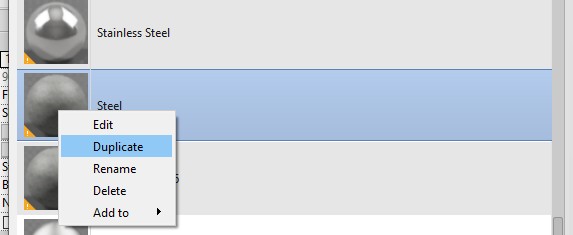
- In the top left panel, scroll down until you find Steel. Right-click on Steel and select Duplicate.
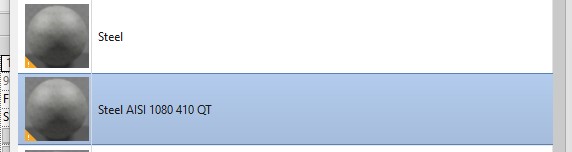
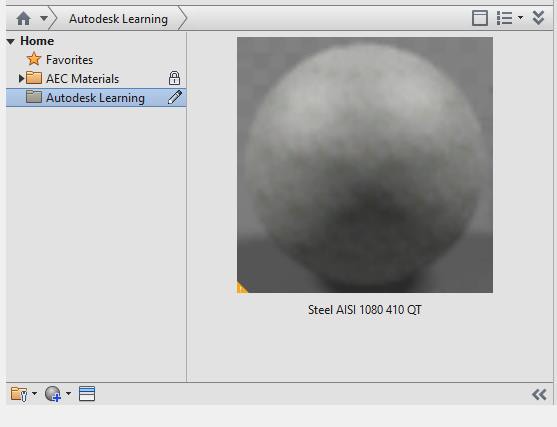
- Rename the new material Steel AISI 1080 410 QT.
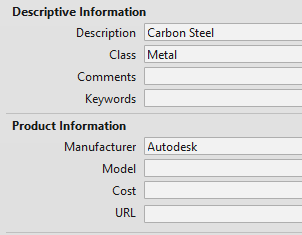
- Select the Identity tab. Change the Description to Carbon Steel and Manufacturer to Autodesk.
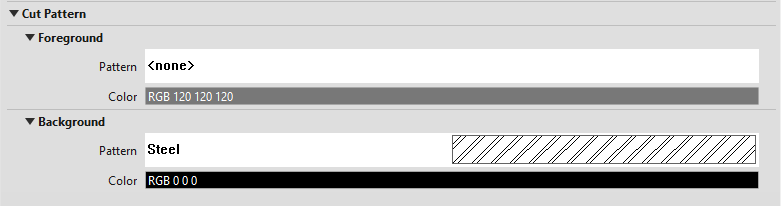
- On the Graphics tab, click on the Cut Pattern > Background Pattern and set it to Steel.
- Click on the Physical tab. We are now going to change the Asset that is being used. Remember that the assets are not unique to this material so be very careful if you edit either the Appearance, Physical, or Thermal assets.
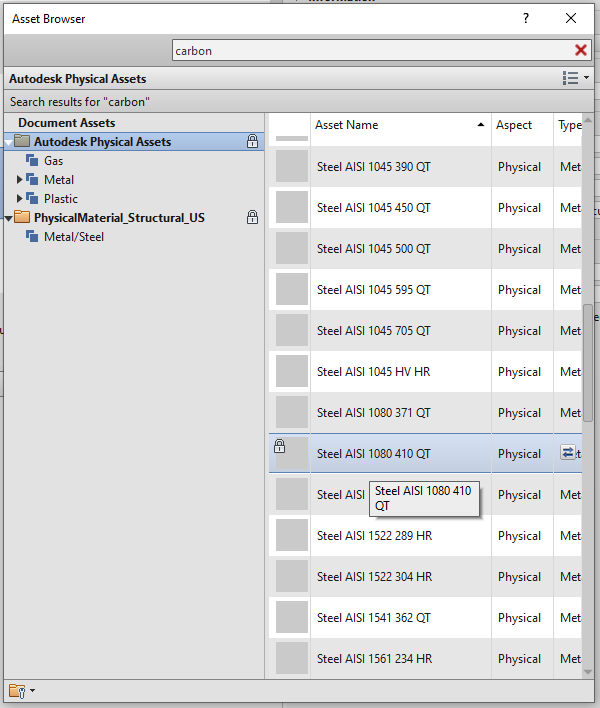
- Click on the replace asset icon.

- In the search box, type Carbon. Scroll down until you find Steel AISI 1080 410 QT. Double-click to select it, then close the asset window.
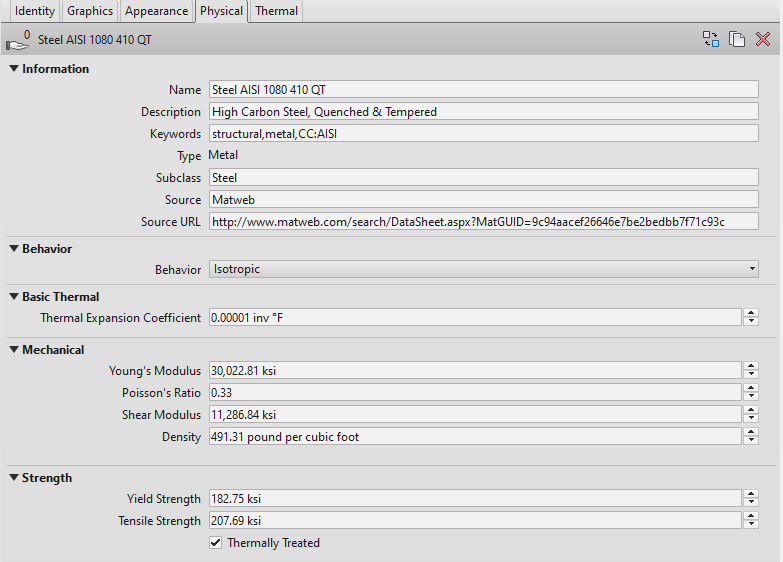
- Expand the dialogues and notice the information that has been added.
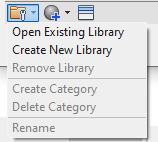
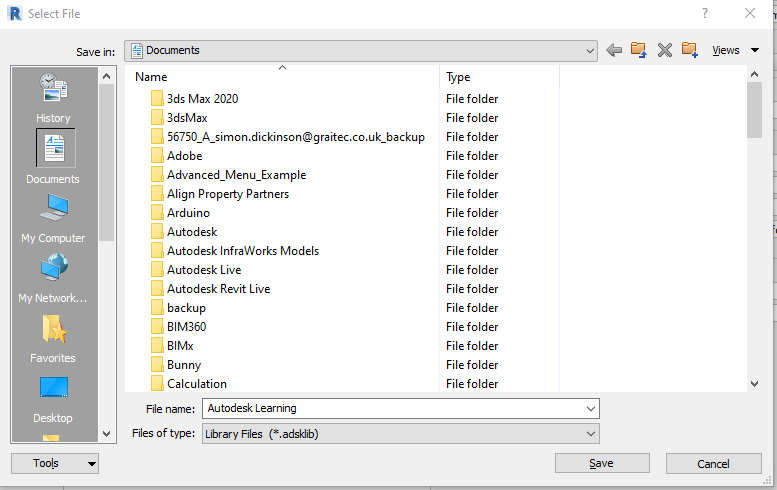
- Let's now create a new material Library to store our new material in. Click on the dropdown arrow on the folder Icon in the bottom left of the Materials Browser. Select Create New Library.
- You should be taken to your Documents folder – if not, navigate to it using the quick access icon. For File name, enter Autodesk Learning and click Save.
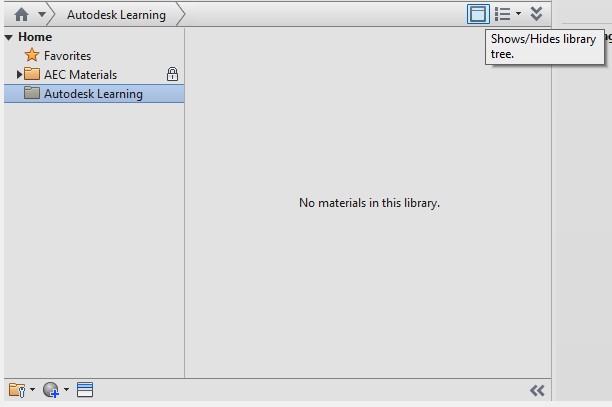
- Expand the Home icon to see all material libraries. If the Home icon is missing, click on the Show / Hides library tree icon.
- Drag and drop the new material from the Top Left window to your newly created library.
- Close the materials dialogue.
- Click File > Save.