Importing background layers
Any referenced datasets can be downloaded from "Module downloads" in the module overview.
Video quiz
Step-by-step Guide
In InfoWorks WS Pro, background layers applied to the GeoPlan provide a sense of scale to a water supply model and the ability to query objects, or find customers, based on GIS information. One way to access background layers is to import them into the network GeoPlan.
- From the Model Group window, expand Session 02 and select BridgeNet.
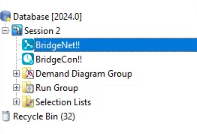
- Drag BridgeNet and drop it into the workspace to open the GeoPlan.
First, toggle off the default hatched polygon display:
- Right-click the GeoPlan and select Properties & Themes.

- In the GeoPlan Properties and Themes dialog box, Polygons row, deselect the Display option.
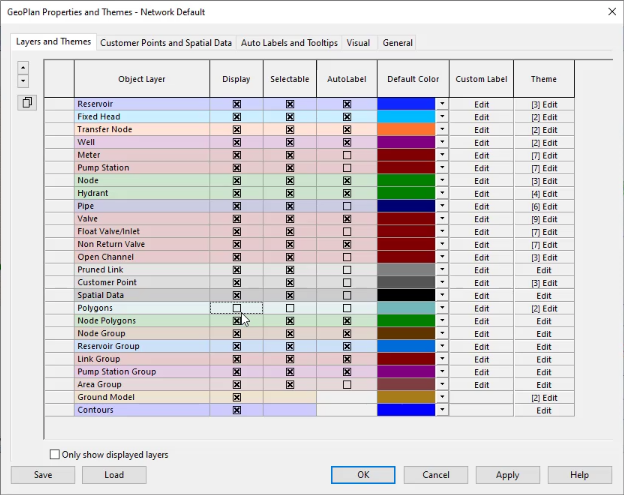
- Click OK.
- In the confirmation dialog box, click No.
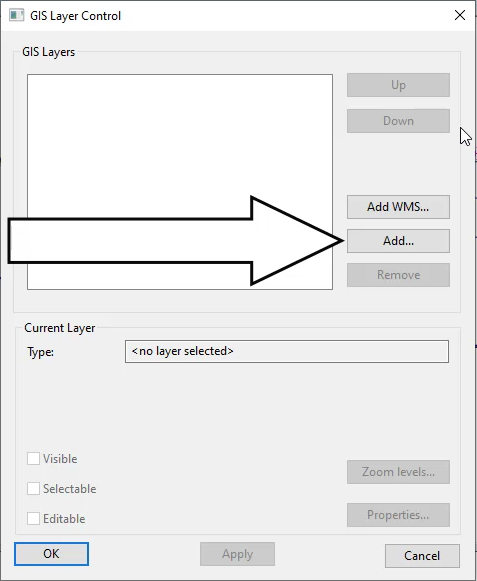
To import a background layer:
- Right-click the GeoPlan and select Layer Control.
- Click Add to add a layer from your GIS software.
- In a file explorer window, navigate to the Background.shp file.
- Select Background.shp.
- Click Open.
In the GIS Layers list, the Background shapefile displays.
- Disable Selectable to prevent accidentally selecting your background layer.
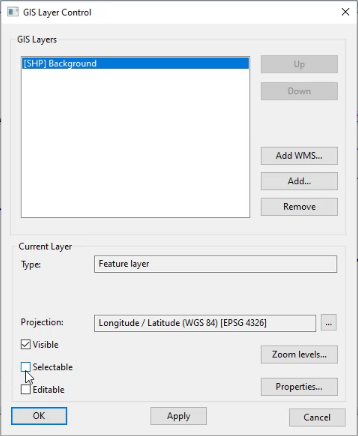
- Click Apply.
- Click OK.
The background layer displays on the GeoPlan.