Working with connectivity tools
Any referenced datasets can be downloaded from "Module downloads" in the module overview.
Step-by-step:
Once you have imported elements such as pipes, valves, and tanks, you can have InfoWater Pro automatically create junctions at all pipe endpoints that do not already have a current connection to a node.
The direction that a pipe is drawn is critical to the overall flow of your system. The tools in this lesson save you time by adding connections based on the tolerance level that you set.
- Open the appropriate .aprx file in ArcGIS Pro.
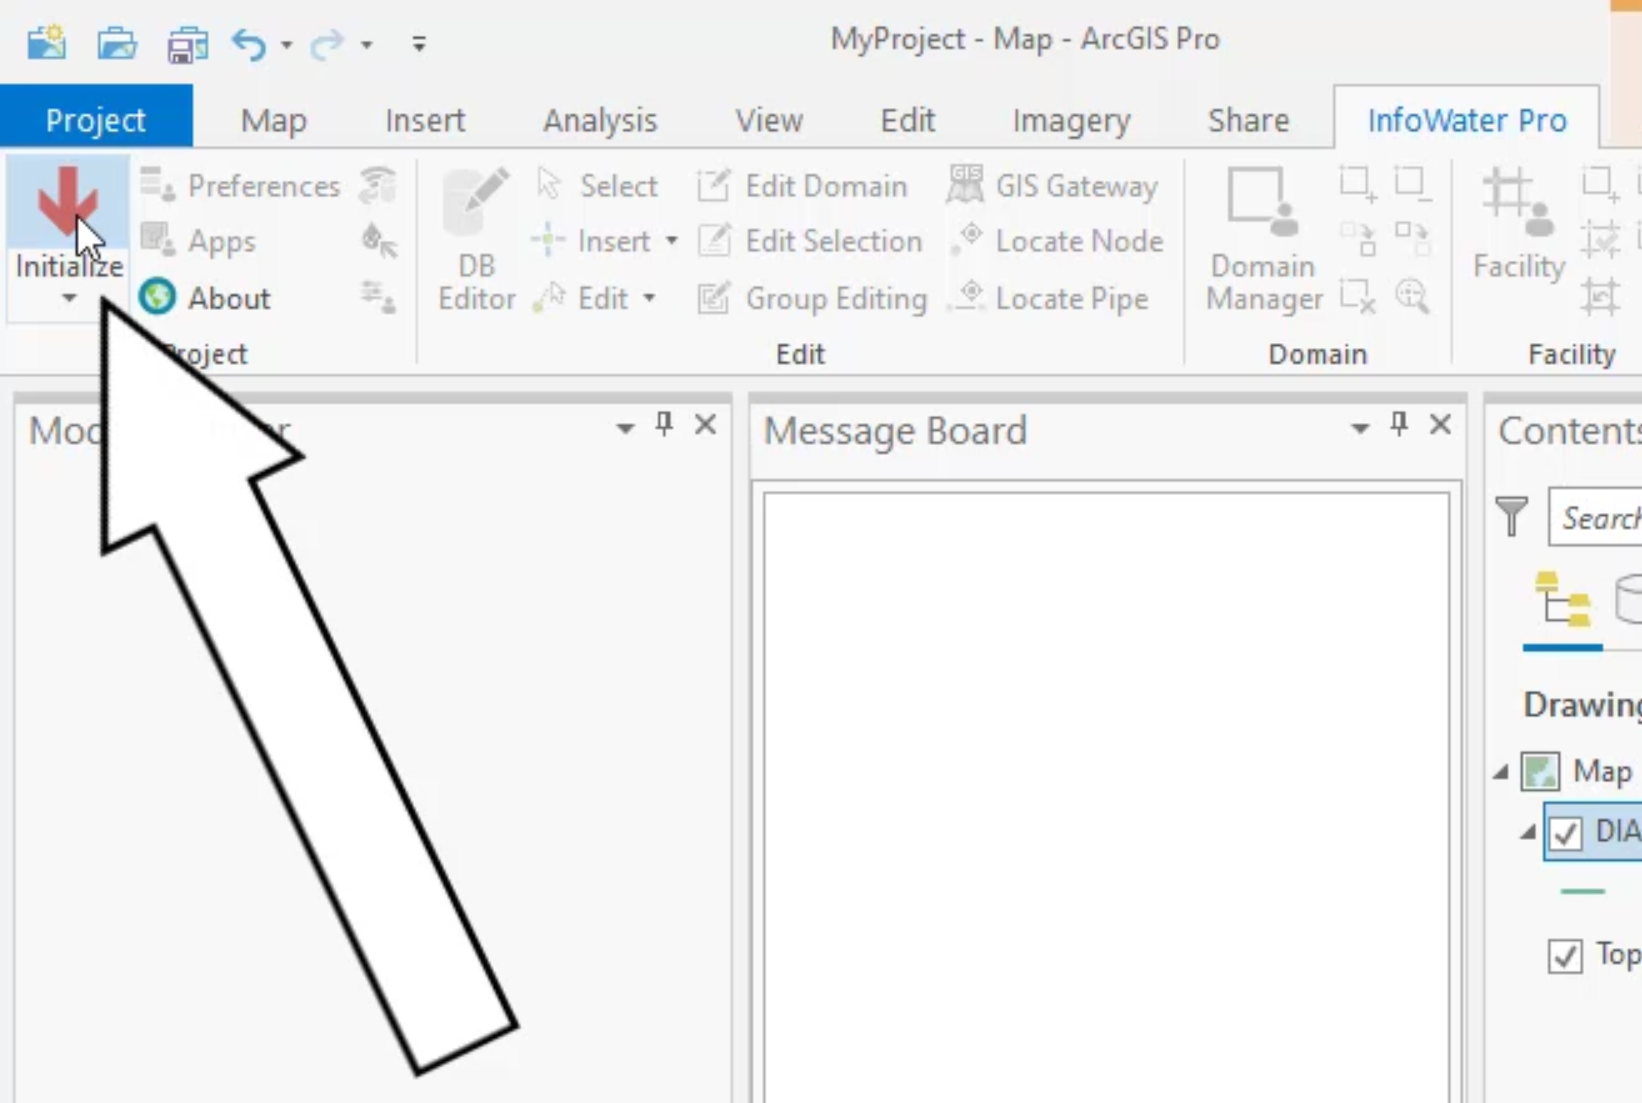
- From the ribbon, InfoWater Pro tab, click Initialize.

- From the Model Explorer, Command Center tab, expand the Utilities > Connectivity folders.
- Double-click Fill Pipe Connectivity.

- In the Fill Pipe Connectivity dialog box, set the Searching Distance (Map Unit) to 0.05, so that the closest junctions within this tolerance are assigned as the start or end node.
- In the Method group, make sure that Effective Neighborhood Search: Fill One End Node at a Time is selected.
- Click Fill, and then close the dialog box if it does not close on its own.

Be aware that the Fill Pipe Connectivity tool does not create nodes that are missing. For this functionality, you can use the Append Nodes tool.
- In the Command Center, expand the Exchange folder and double-click Append Nodes.

This tool appends nodes to the endpoints of the imported pipes. For the searching distance with this tool, divide your shortest pipe length by two, and then iterate by increasing the value once or twice more.
- For this example, set the Searching Distance (Map Unit) to 0.5.
- Make sure that Automatic Mode is enabled.
- Set the Node Type to Junction.
- Set the Link Type to Pipe.
- Click Append.

- Close the dialog box if it does not close on its own.
At this point, you can review the network connectivity and geometry for potential errors by looking for orphan nodes and pipes. An orphan node is a node that is not listed in the Start Node or End Node fields in the Pipe Connectivity Database Table. An orphan pipe is a pipe with no value in one or both of the Start Node and End Node fields in the Pipe Connectivity Database Table.
- On the ribbon, InfoWater Pro tab, Domain panel, click Domain Manager.
- In the Domain Manager, enable Special Query.
- Expand the two drop-down lists and select Pipes and Orphan, respectively:

- Click Add.
In the Message Board, you can see the results. In this case, the message reports no change.
- Repeat the Special Query (steps 16 – 18), but change the drop-down lists to Nodes and Orphan.

- Click Add.
The Message Board again states no change.
With this example, there are no orphan nodes or pipes, as the Append Nodes tool was used to place junctions in the model. But it is important to know that when junctions are imported from GIS, there are generally some orphan nodes or pipes that can be addressed with these queries.

