Batch run sequences in the UDF model
Any referenced datasets can be downloaded from "Module downloads" in the module overview.
Step-by-step guide
When working in InfoWater Pro UDF, a simulation can be run for a group of continuous sequences in the currently active flush zone. Once hydrant and valve layers are set and a zone selected, a batch run can be performed from the Flush Sequence Manager.
- With InfoWater Pro initialized, open a UDF model with a flush zone and at least one flush sequence already created within that zone.
- From the Model Explorer, click Run to open the Run Manager.
- Click Run to run a simulation and create output results for a base scenario.
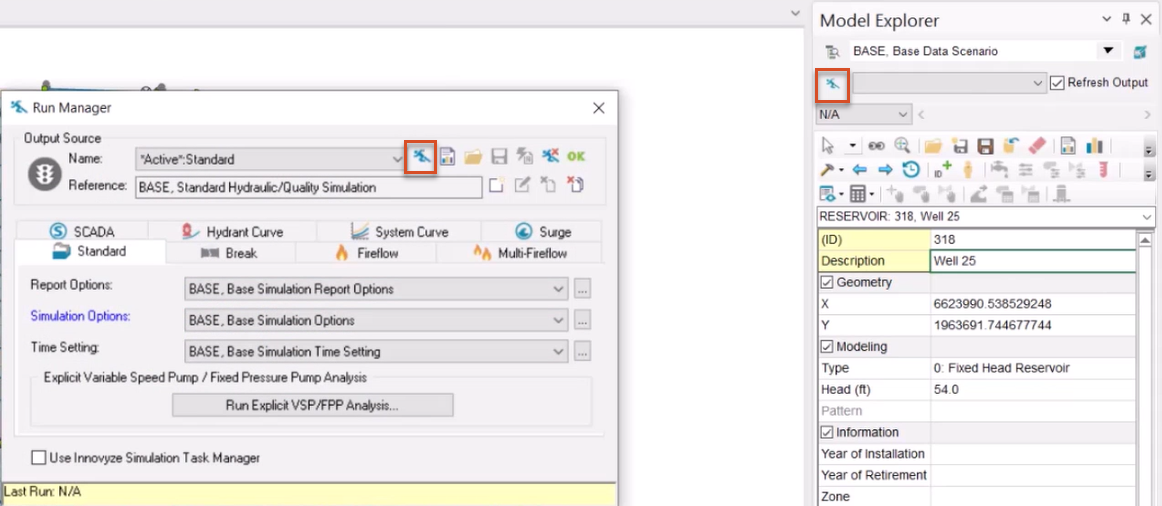
- When the simulation is complete, click OK to exit the Run Manager.
Check to make sure UDF layers are set:
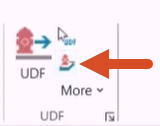
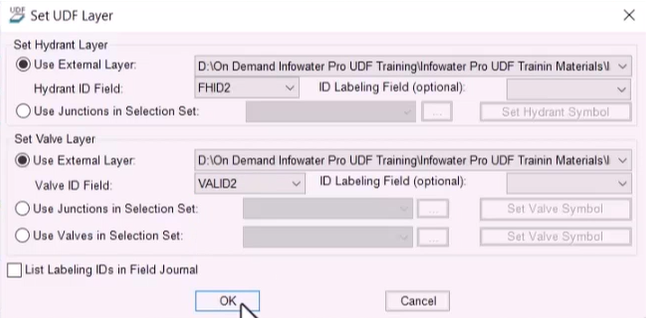
- From the InfoWater Pro ribbon, UDF panel, click Set UDF Layer.
- In the Set UDF Layer dialog box, enable Use External Layer for both the Set Hydrant Layer and Set Valve Layer group boxes.
- Select both a hydrant layer and a valve layer using the respective drop-downs.
- Click OK.
- From the InfoWater Pro ribbon, UDF panel, expand the More drop-down and select Set Hydrant/Valve Symbols.
The map updates with hydrant and valve symbols.
Now, set up the batch run:
- From the Model Explorer, switch to the UDF tab.
- Expand the drop-down, and select a zone. In this example, ZONE1 is selected.
- Click Sequence Manager.
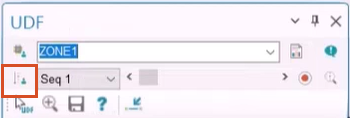
- In the Flush Sequence Manager toolbar, click Batch Run.
- In the Batch Run popup, enter the starting and ending sequence numbers for the batch run. In this example, sequences 1 to 22 are entered.
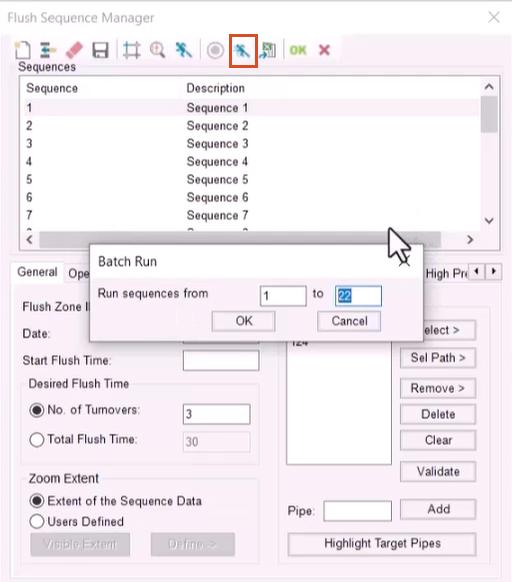
- Click OK.
In the Message Board, status updates indicate which UDF sequence is being run.
- When the batch run is complete, click OK to close the dialog box.