Importing CAD Data
Any referenced datasets can be downloaded from "Module downloads" in the module overview.
Video quiz
Step-by-step guide:
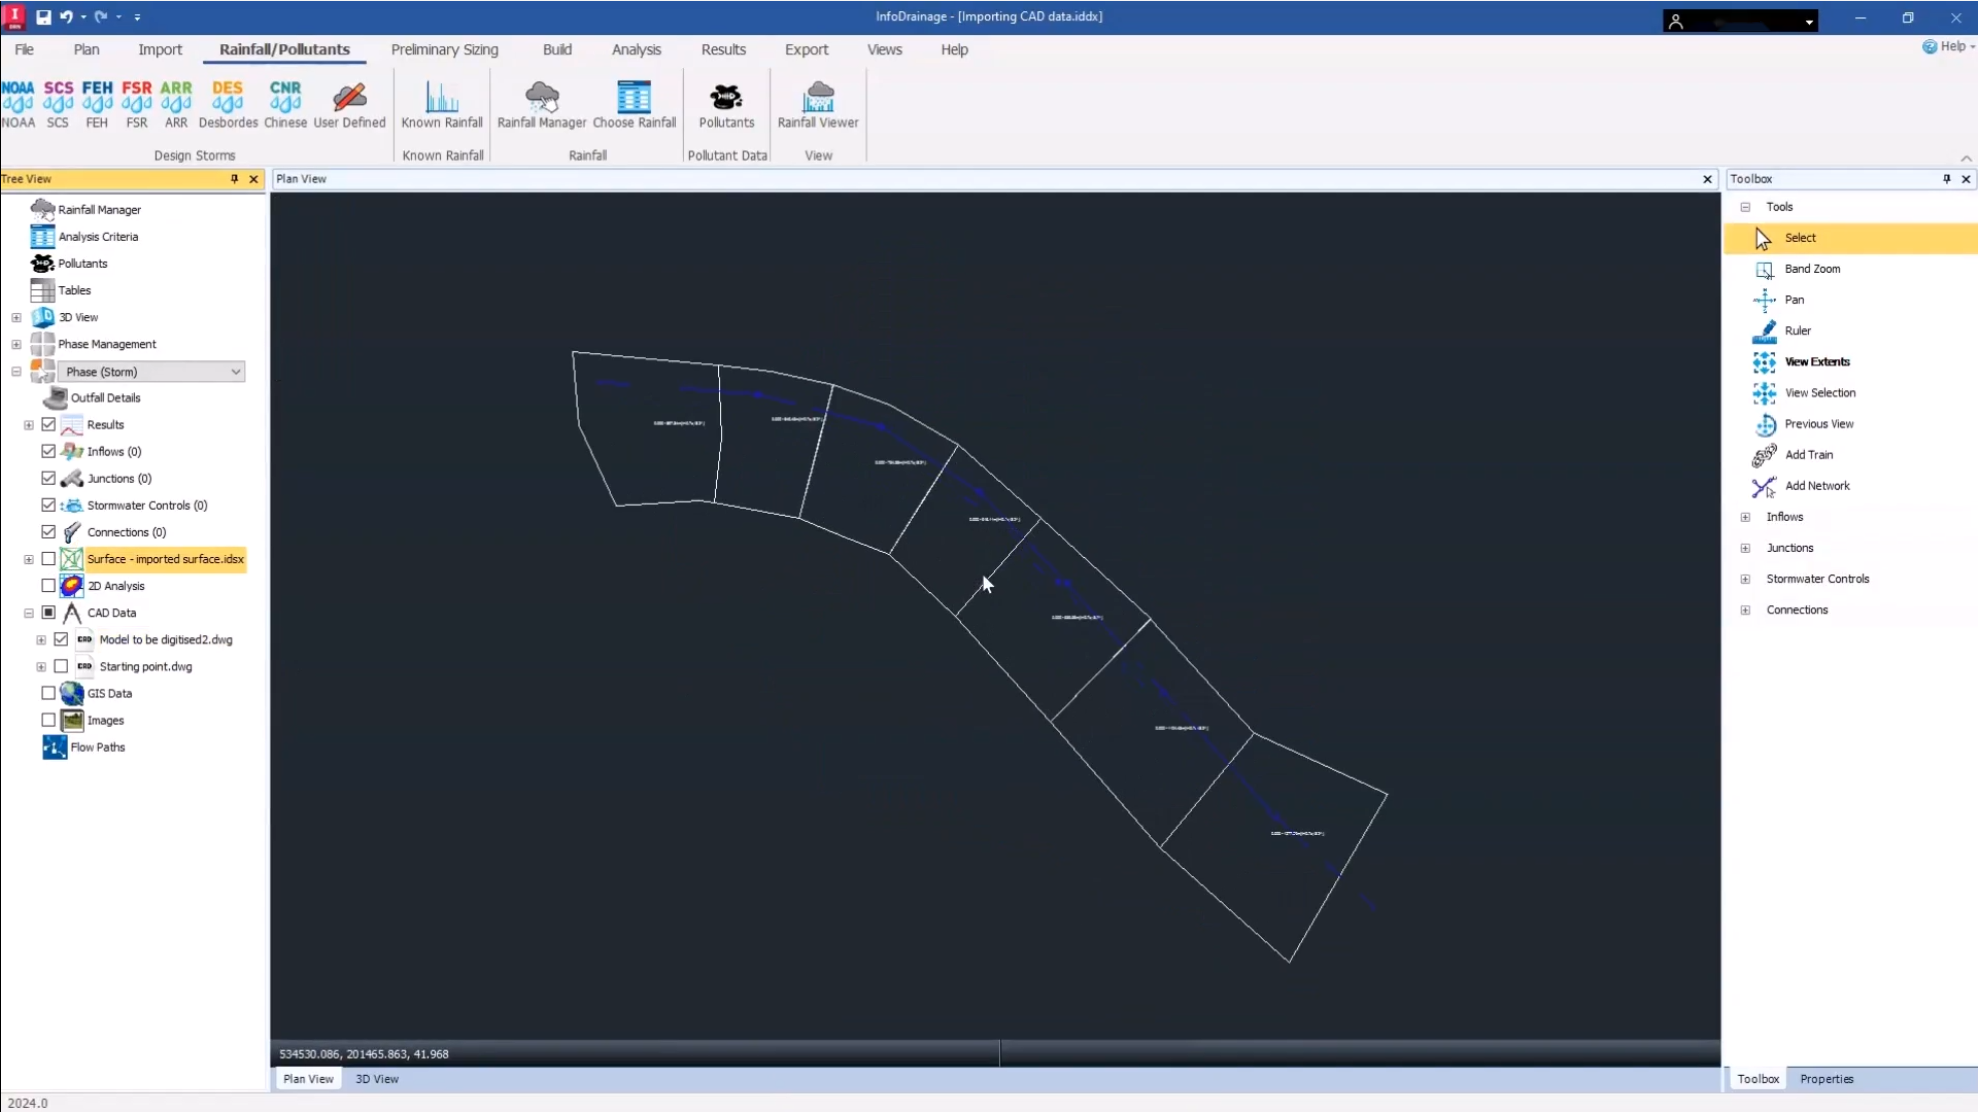
CAD data is extremely useful when developing your surface drainage design, as it includes detailed infrastructure and mapping data that exists on the site.
To import CAD data:
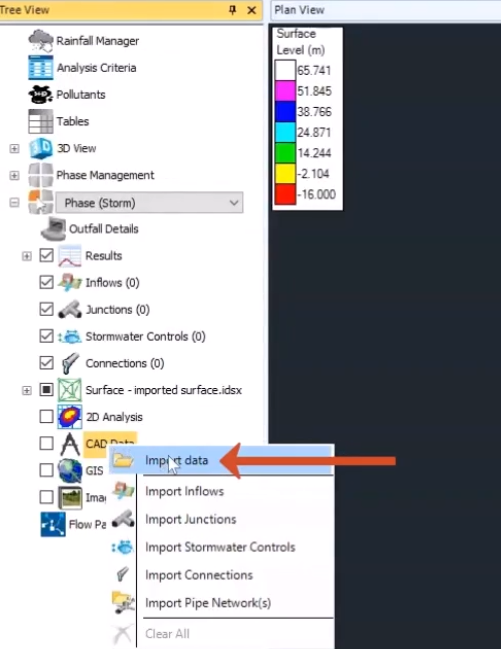
- In the Tree View, right-click the CAD Data node and select Import Data.
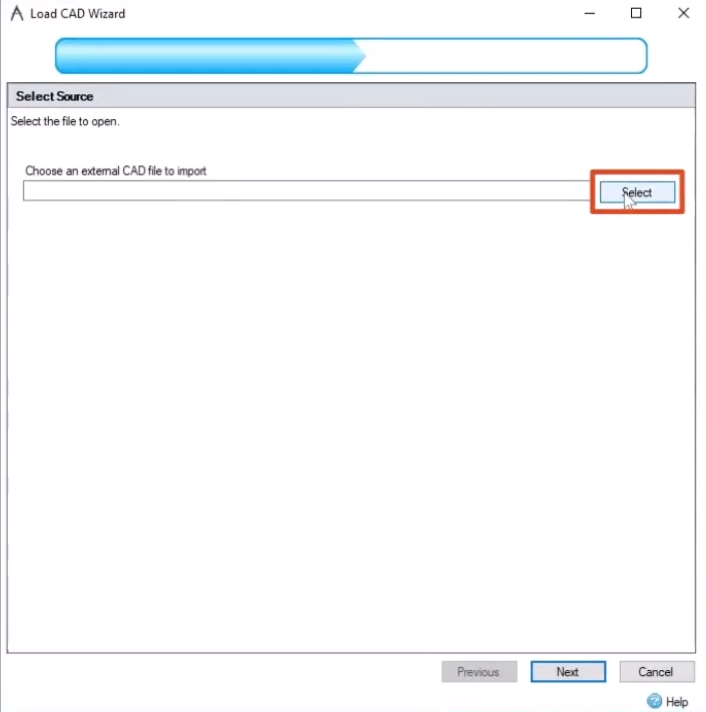
- In the Load CAD Wizard, to choose an external CAD file to import, click Select.
- In the Open dialog box, browse to and select the CAD file you want to import. In this example, open the dataset and select Starting point.dwg.
- Click Open.
- Back in the Load CAD Wizard, confirm that the file path is correct.
- Click Next.
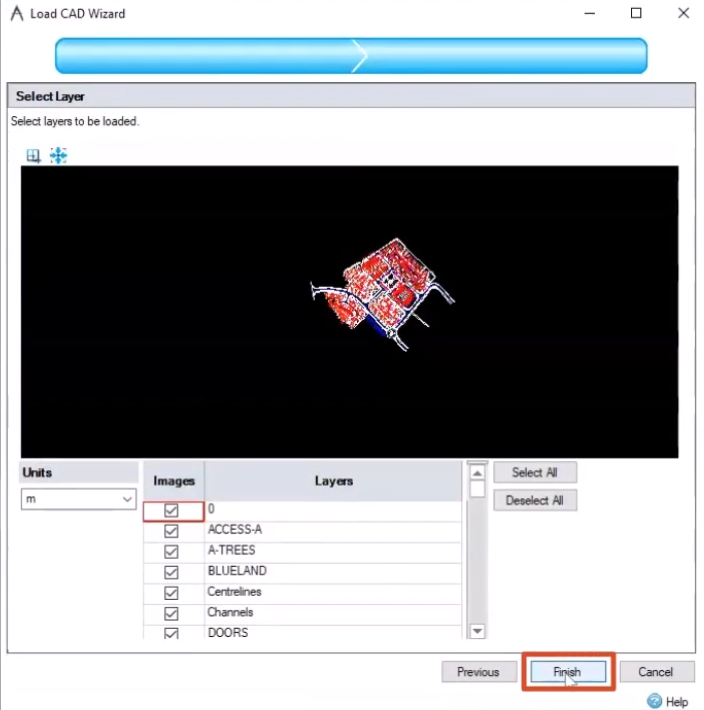
- On the Select Layer page, check the Units to make sure they match the project. If not, expand the drop-down to change them. For this example, meters is selected.
- Choose which layers in the CAD file you want to include in the import. By default, all layers are enabled.
- If you want to exclude layers, click the checkbox to turn them OFF.
- Here, keep all the layers ON.
- Click Finish.
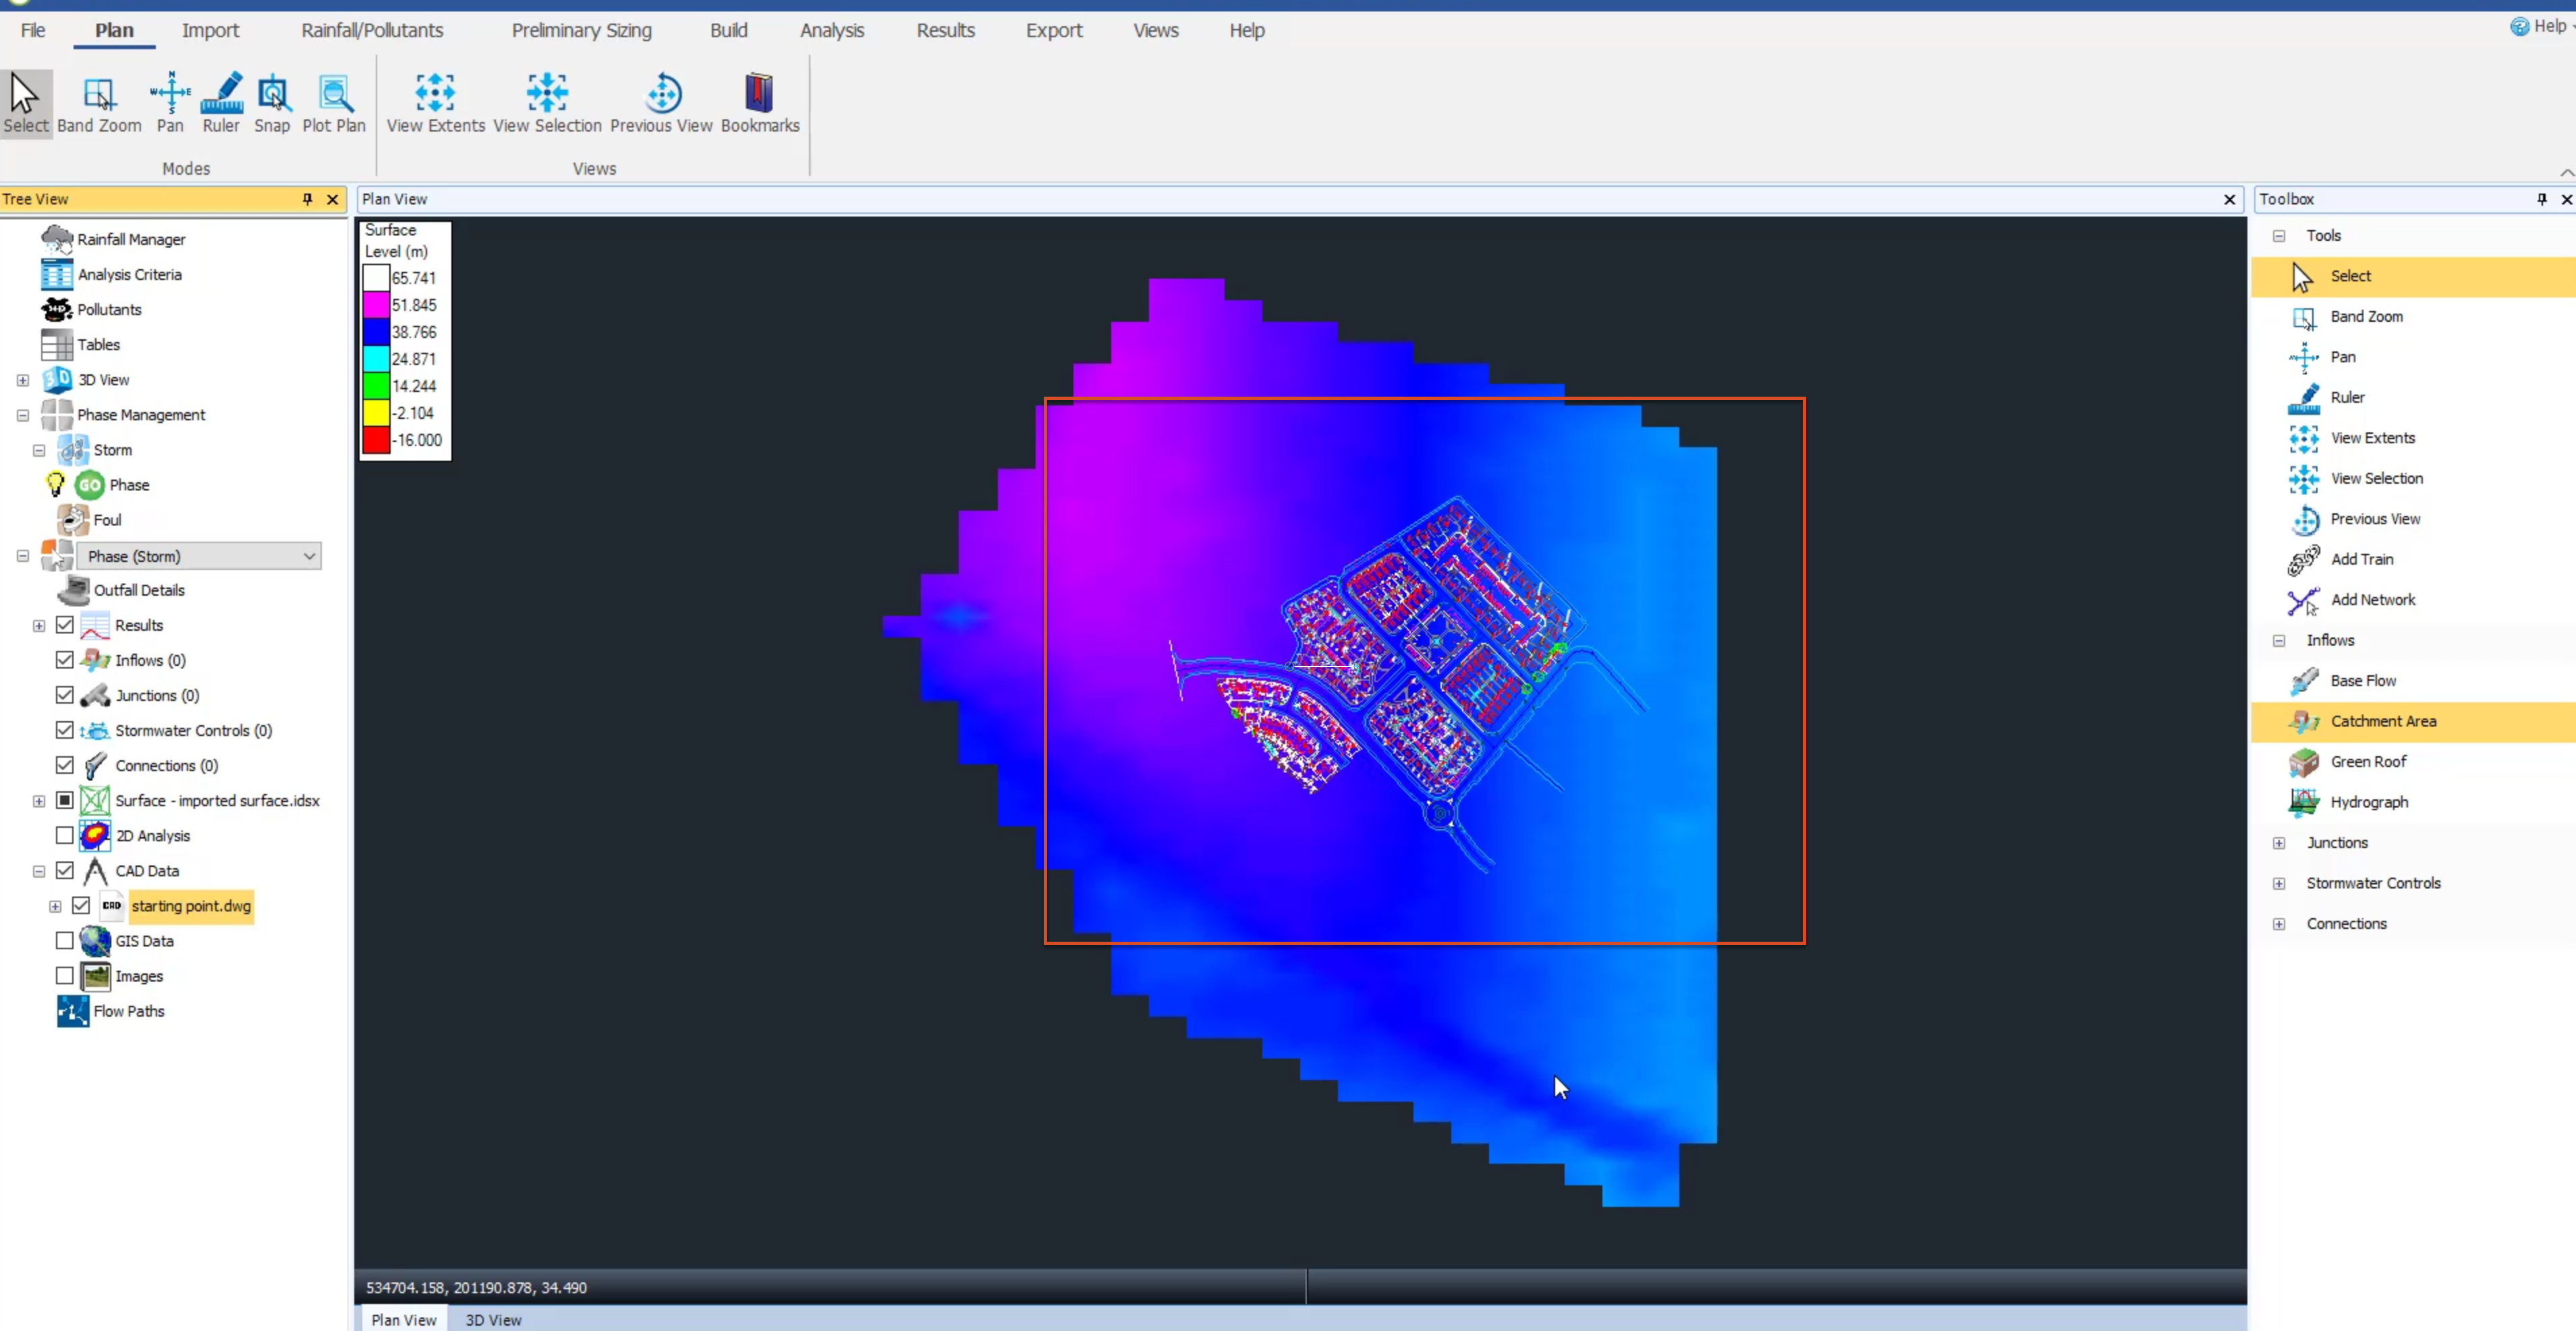
- The CAD data appears on top of the surface data.
- Import another CAD file. Right-click the CAD Data node again and select Import Data.
- Browse to and select the file Model to be digitized2.dwg.
- Click Open.
- In the wizard, click Next.
- Confirm the Units are correct.
- Confirm all layers are enabled.
- Click Finish.
- To see the second CAD file you imported, in the Tree View, turn OFF the visibility of the starting point.dwg CAD file.
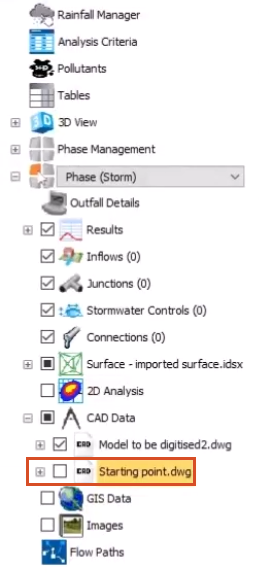
- Turn OFF the visibility of the surface.
- Zoom in on the area you want to work with.