Creating surfaces from non-classified data
Any referenced datasets can be downloaded from "Module downloads" in the module overview.
Creating surfaces from non-classified data - Exercise
Task 1: Load smaller Point Cloud dataset
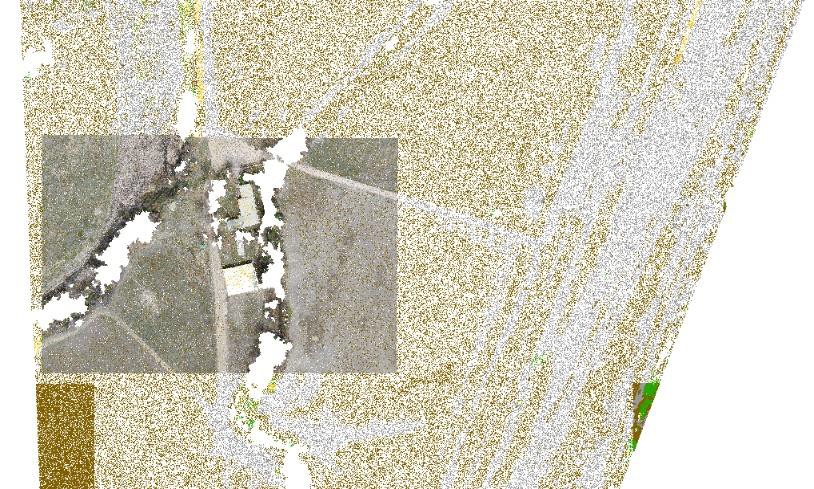
For the following tasks, we will use a smaller point cloud data set. The data is from the same original point cloud that was captured from the drone fly-over. It is only smaller to demonstrate the procedures but reduce the long processing times that are typical when using large point clouds.
- Continue from the drawing created in the exercise from the first module objective.
- On the Insert tab, click on the Attach Point Cloud icon.
- Browse to the exercise data set and select the file Small Area.rcs.
- On the Attach Point Cloud Dialog box, click on Details and notice that this point cloud is about one-tenth the size of the original.
- Select one of the point cloud boundaries and click on the Point Cloud Manager icon. Tip: enter POINTCLOUDMANAGER at the command line to go directly to the mange dialog box without having to select any point clouds.
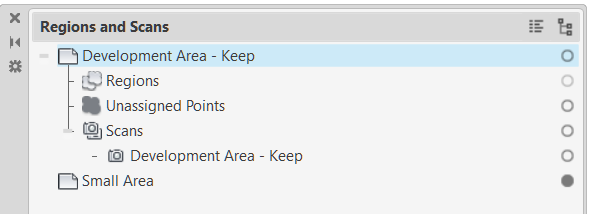
- In the Regions and Scans dialog box, turn off Development Area – Keep.
- As alternate to step 5, you can delete the entire Development Area – Keep point cloud. We will not need it from the remainder of this exercise.
Task 2: Create surface from Point Cloud - Direct method
This method uses the entire point cloud data, it does not filter by classification.
- Select the point cloud to display the context ribbon. Click on Create Surface from Point Cloud.
- The Create TIN Surface from Point Cloud wizard is launched. Enter in a name for the surface or keep the default name.
- Change the style to Contours 1m and 5m(Background).
- Click Next.
- Click on the Select Entire Point Cloud icon.

- Select the edge of the visible point cloud or hit enter and select Small Area from the list.
- Verify the Total number of points that will be processed. We will need to get this number below 2 million, so we will change the Distance Between Points of points that will be imported for the surface build.
- Carefully click in the Distance Between Points cell and change that number to 0.125 and notice the change in Total number of points. It is below 2 million.

- Click Next.
- Select No Filter option.
- Select Create Surface.
- Dismiss the Information alert.
- Notice the task tray icon in the lower right, indicating that a surface is building in the background.

- Close the Event View after reading the reason for the notices: ignored – duplicate.
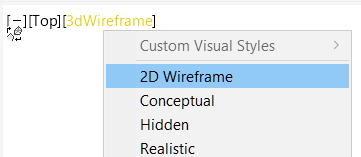
- Change the Display to 2D Wireframe so the contours are visible.
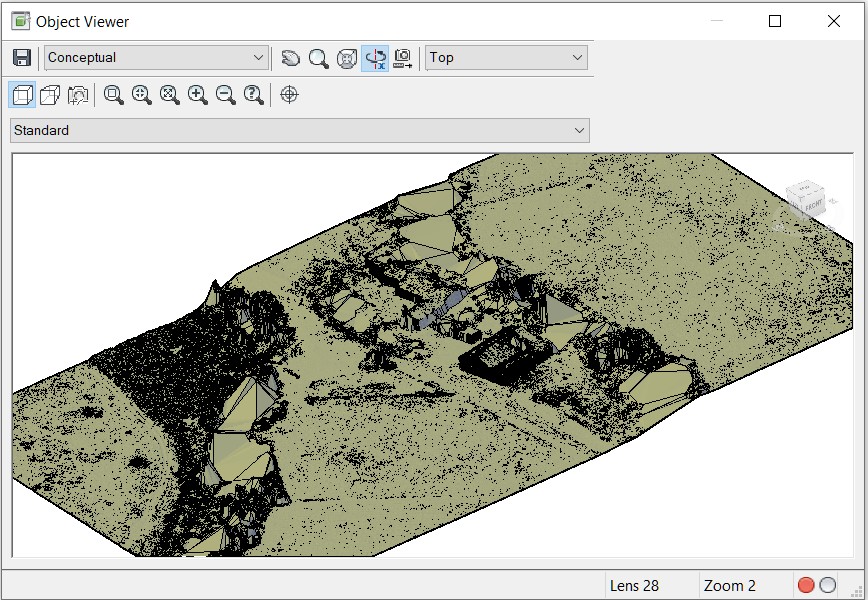
- Notice the surface has been built using all the points and is not a good representation of the existing ground.

- Select on the surface and view in the Object Viewer.
This drawing will be used in the next exercise.