Working in ReCap
Any referenced datasets can be downloaded from "Module downloads" in the module overview.
In order to complete the exercise files in this module, you will need to download the data set by clicking below.
Click here to download the data set
Using PointClouds to create the existing conditions model can help reduce errors and ensure accuracy. In this unit, you’ll learn how to bring a point cloud into Civil 3D and use it to create a surface model and extract geometry.
Use ReCap Pro software to convert reality into a 3D model of 3D drawing that’s ready for design.
Some ReCap features include:
ReCap Photo:
o Get expanded photogrammetry capabilities with ReCap Photo, now available with a subscription to ReCap Pro.
ReCap Pro for mobile:
o Register, mark-up and measure reality capture data in the field with an iPad Pro. Includes collaboration features.
Automatically register laser scans:
o Automatic registration creates an accurate, scalable 3D point cloud from your scan data in minutes.
Measure and edit point clouds:
o Use ReCap to measure, mark-up and communicate throughout the point cloud data and share it with collaborators.
Task: Bring a point cloud into Civil 3D and use it to create a surface model and extract geometry
- The first step to importing a point cloud into Civil 3D is converting it from whatever file type you have into ReCap Pro and then into Civil 3D.
- Civil 3D accepts RCP and RCS.

- In ReCap, select “New Project” and then “Import point cloud”.
- Name the new project and save it to a location.
- Select “Proceed”.
- Drag and drop the point cloud files from “File Explorer” and select “Import” from the bottom right of the screen.
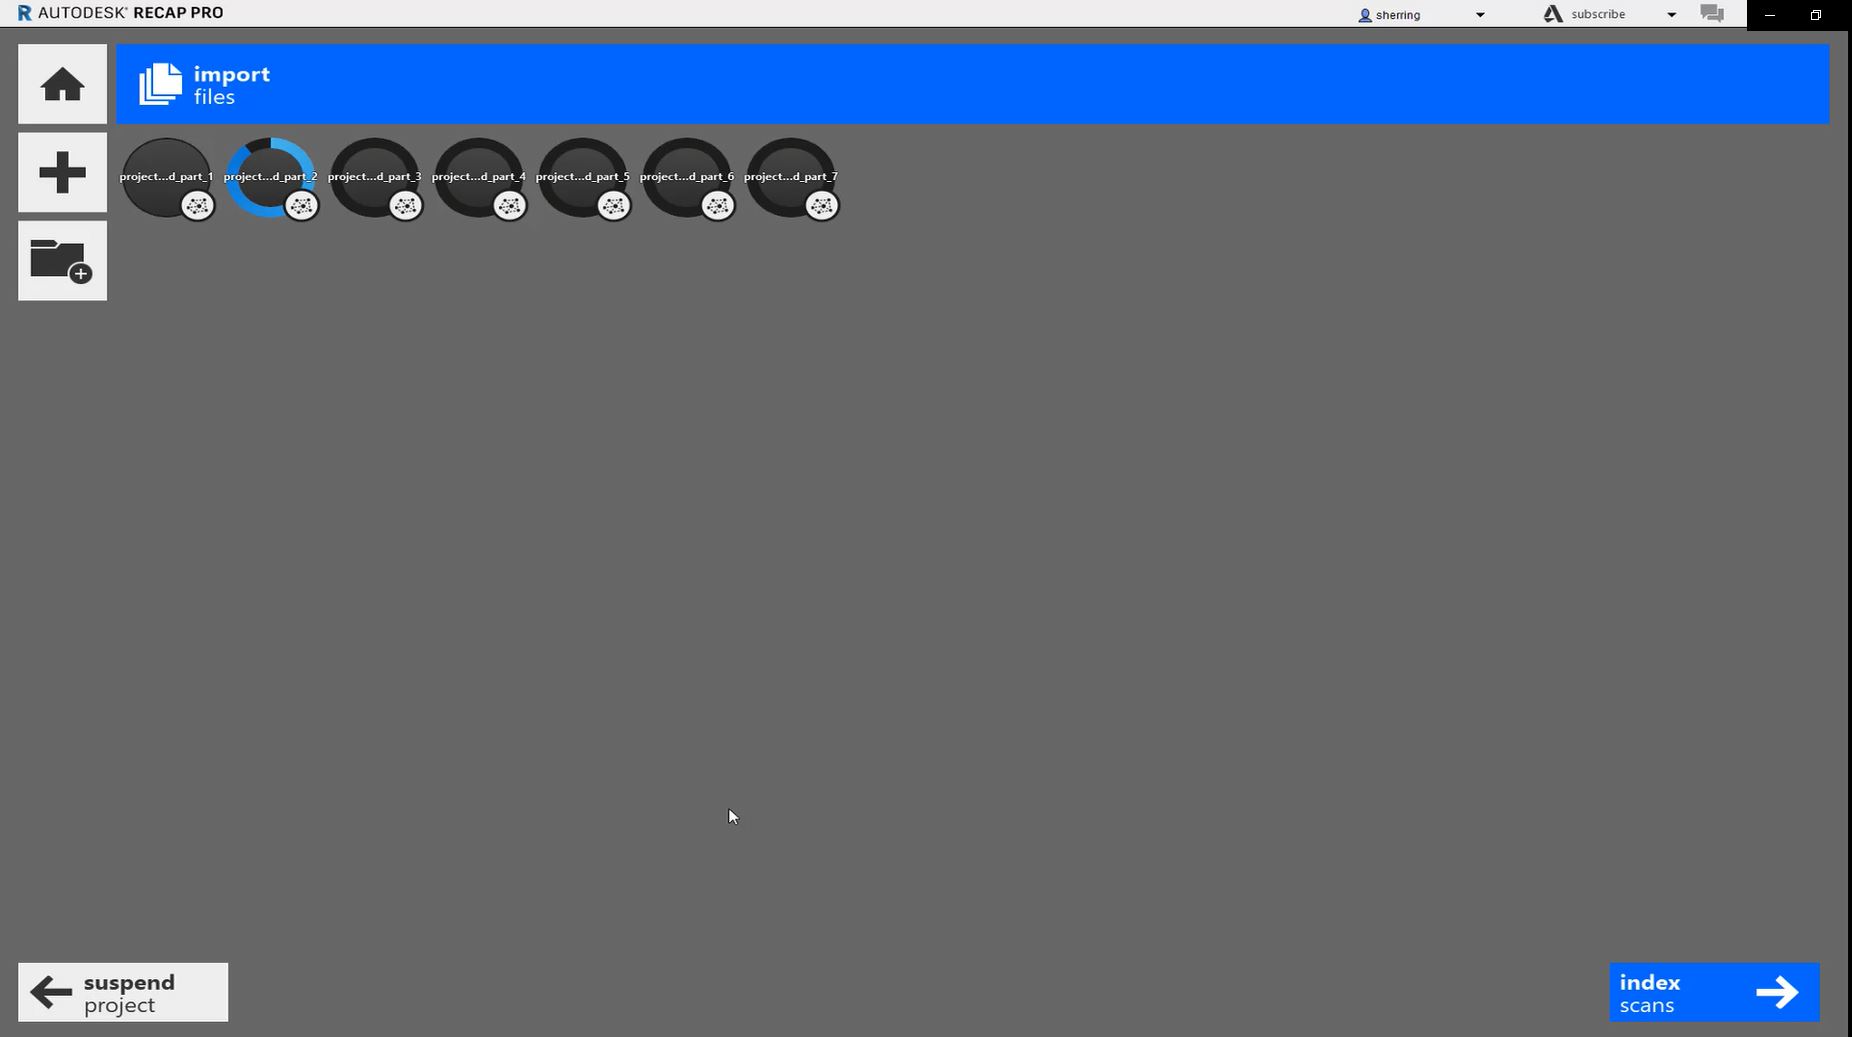
- Once the files have imported, select “Index scans” from the bottom right of the screen.
- After that, select “Launch project” at the bottom right of the screen.
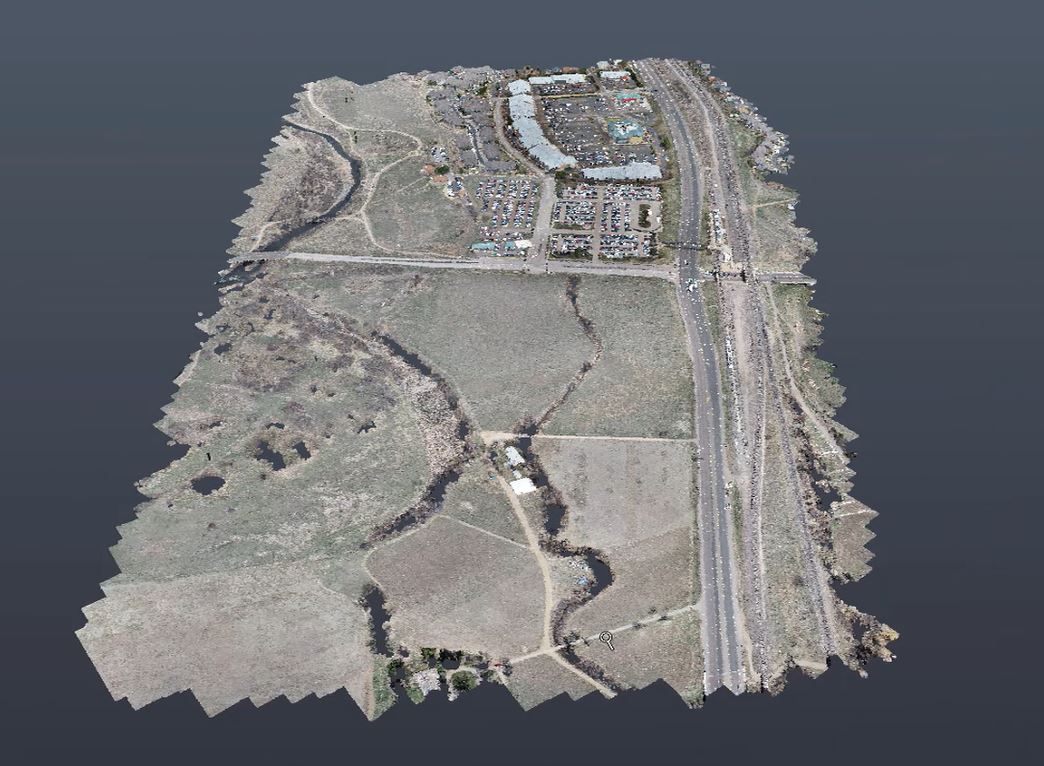
- Once that is completed, you will see an overall point cloud combining the uploaded files into one file.
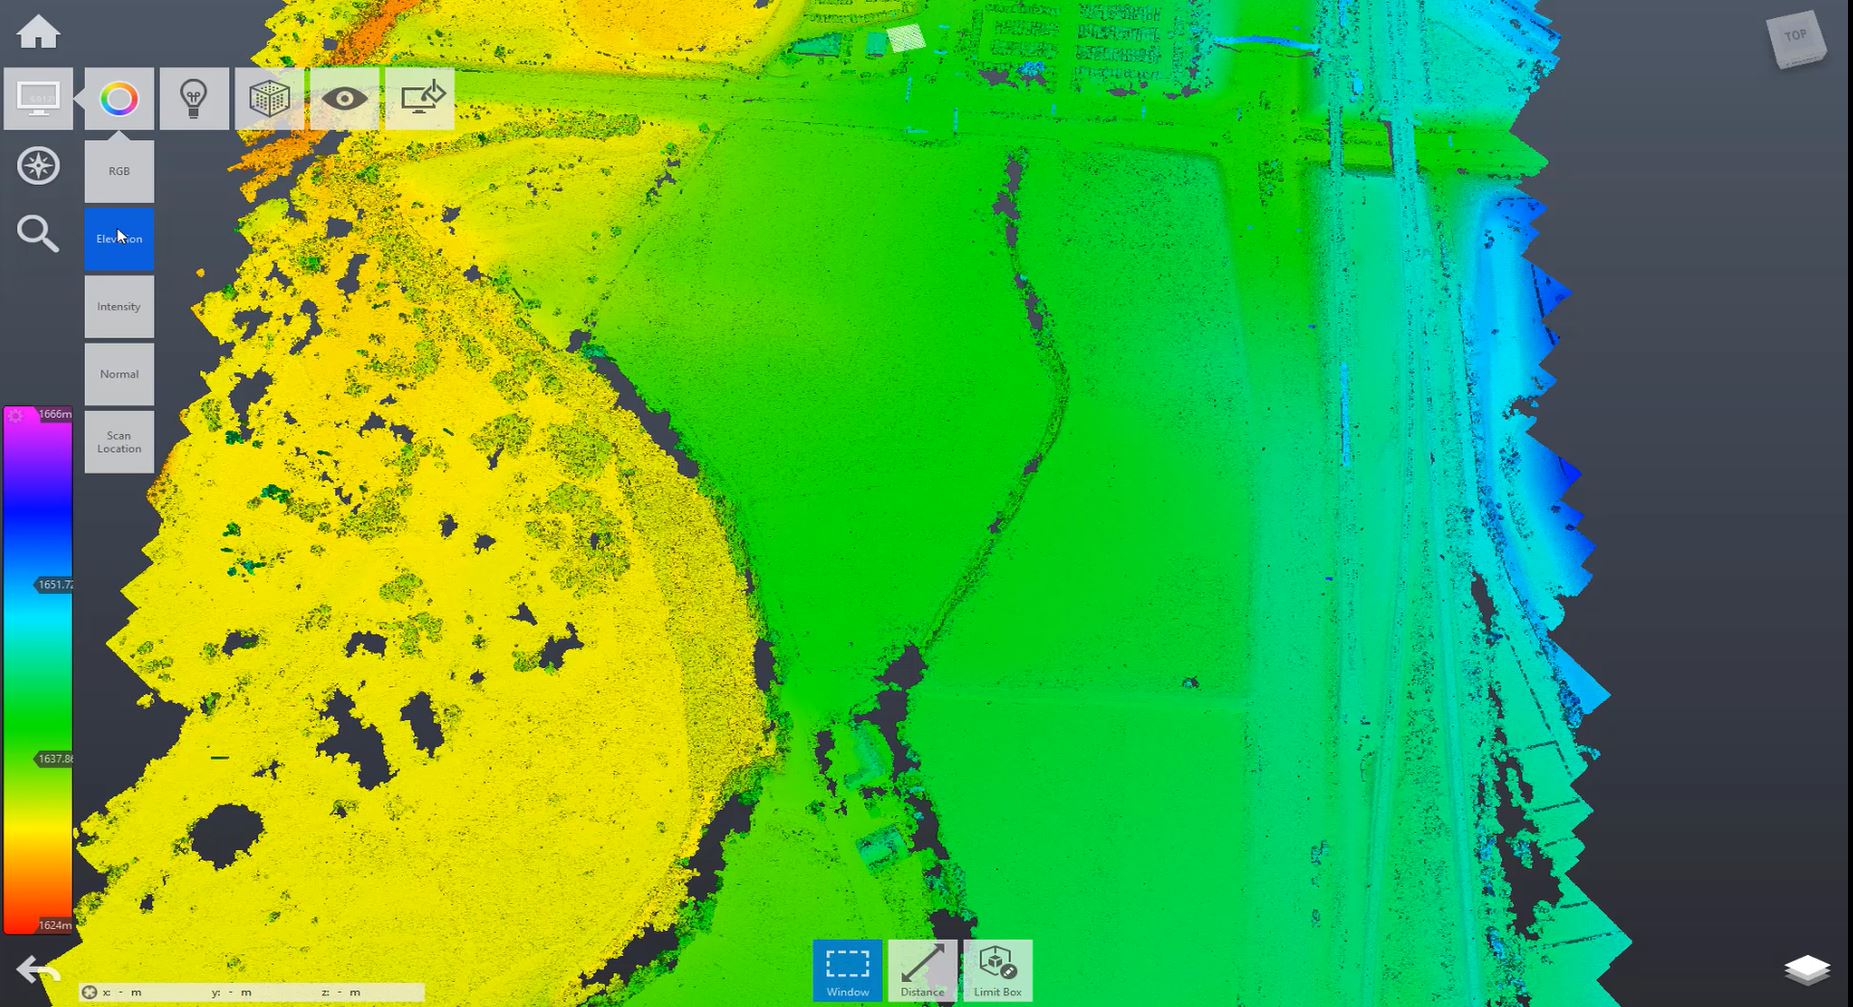
- From here, you can few the point cloud from different classification modes, including elevation, intensity, scan location and more.
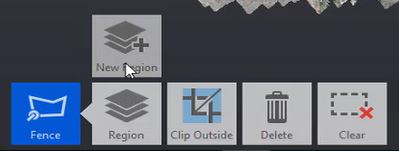
- You can also create regions by selecting the “Window” button at the bottom of the screen and then selecting “Fence”.
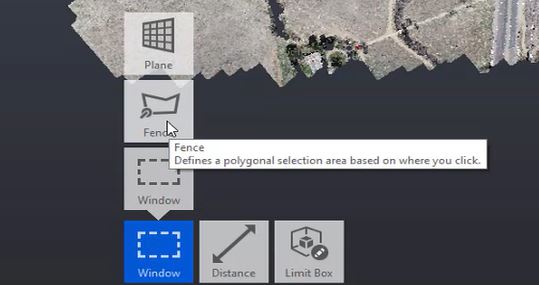
- From there, select the area of the point cloud you want to make into a region. At the bottom of the screen, you have the option to create a new region, clip the area or delete it. Select “New Region”.
- Name the region and hit “OK”.
- If you wish not to see that region, but you don’t want to delete it, select the icon at the bottom right of the screen. Select “Scan Regions” and then
 the icon to hide the region.
 - To prepare these files for import into Civil 3D, you can import the LAS files, index them and save them as an RCP.
- You can also export the files by selecting the “Home” icon at the top left of the screen.
- Hover over the “Import” icon and select “Export”.

- From here you can choose to save the file as an RCP, RCS, PTS or E57 file.
- To save the file, select the “Home” icon and then select “Save”.
- Click on “Optimize”.
- We are now ready to bring our point cloud into Civil 3D.