Creating a view template from an existing view
Any referenced datasets can be downloaded from "Module downloads" in the module overview.
Creating a view template from an existing view - Exercise
- Open the practice file 001-Small Medical Center-View.rvt.
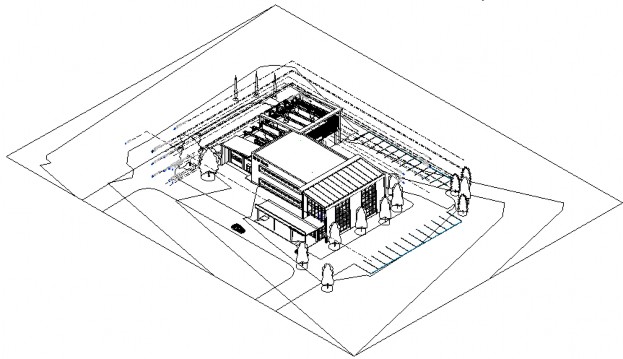
- In the Quick Access Toolbar, click Default 3D View. A new view is created using the Coordination discipline settings, as shown below.
- In the Project Browser, expand the Coordination>???>3D Views group, right-click on {3D} and rename the view to 3D HVAC.
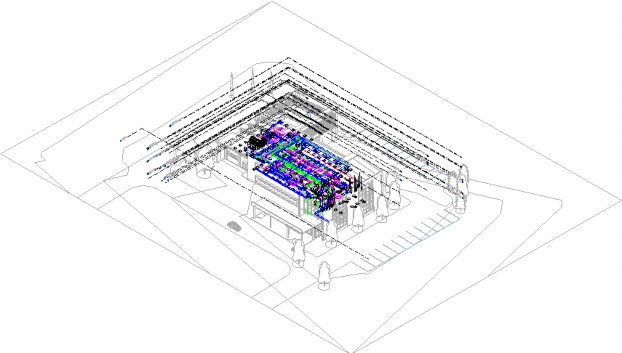
- In Properties, set the Discipline to Mechanical and the Sub-Discipline to HVAC. The view updates to display the HVAC equipment, ducts and pipes, as shown below.
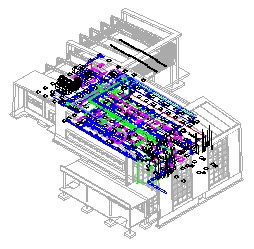
- Zoom in and you can see that there are a number of elements that you do not want to display in the view.
- Open the Visibility/Graphic Overrides dialog box and, in the Annotation Categories tab, turn off Levels.
- In the Model tab, set the Filter list to Architectural and turn off categories such as Casework, Entourage (cars and people), Furniture, Furniture Systems, Parking, Planting, Roads, Site, and Topography. The architectural features are cleaned up, as shown below.
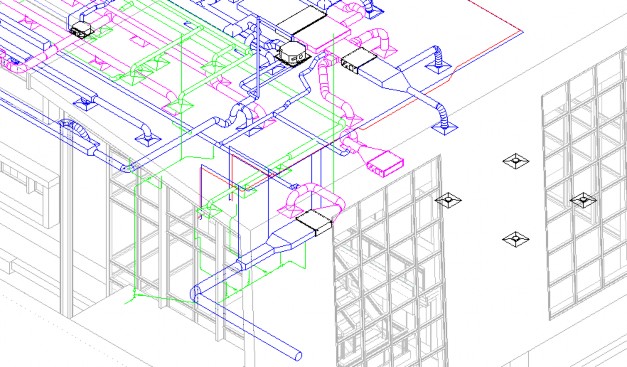
- Zoom in and notice that a lot of lighting and electrical equipment is still visible in the view. Select one of the objects and type VH to hide the category. Hide lighting fixtures, switches, receptacles, electrical equipment, and plumbing fixtures. The view is now much better, as shown below.
- In the Project Browser, right-click on the 3D HVAC view and select Create View Template from View….
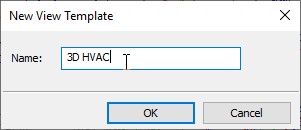
- In the New View template dialog box, type the Name 3D HVAC, as shown below, and click OK.
- In the View Templates dialog box, notice that the new template is created and click OK.
- Save the project.