Import BIM data into Advance Steel
Any referenced datasets can be downloaded from "Module downloads" in the module overview.
Import structural BIM data into Autodesk Advance Steel - Exercise
Task 1: Start a new file in Autodesk Advance Steel
- Start Autodesk Advance Steel. By default, the Country Settings and Configurations dialog box is displayed, as shown below.
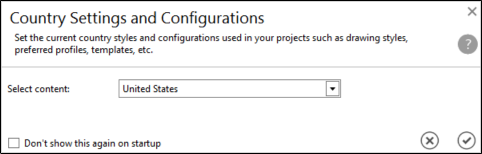
- From the Select content drop-down list, select United States.
Tip: If you always work with specific country settings and configurations, you can select the Don't show this again on startup check box available on the lower left of the Country Settings and Configurations dialog box. To restore this dialog box, you can reset the Advance Steel settings from Start > Programs > Autodesk > Advance Steel. - Click the OK button in the Country Settings and Configurations dialog box. A blank Advance Steel window is opened.
- From the Quick Access Toolbar on the top left in the Advance Steel window, click New. The Select template dialog box is displayed, as shown below.
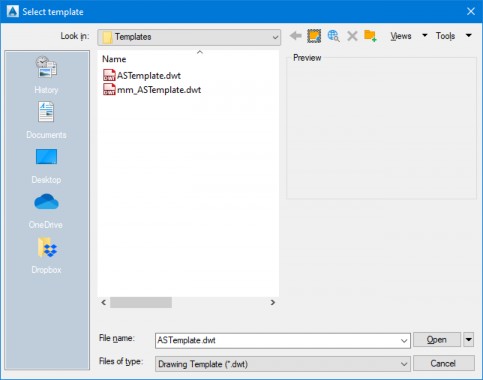
- Double-click on the ASTemplate.dwt file to start a new Imperial standard file.
Task 2: Import the structural BIM data from Autodesk Revit
- In the Advance Steel window, click the Export & Import ribbon. The Revit panel is displayed on the left, as shown below.
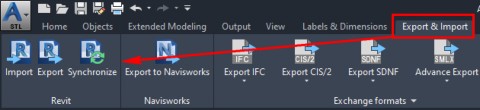
- From the Revit panel, click Import. The Open dialog box is displayed.
- Browse to the Dataset folder where you saved the SMLX file from Revit.
- Double-click on the SMLX file. The process of importing the structural BIM data from Revit starts. During the import process, the Material conversion dialog box is displayed to map the Revit material to that in Advance Steel, as shown below.
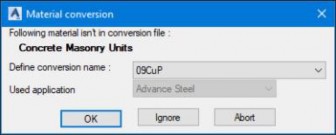
- From the Define conversion name drop-down list, scroll down, and select Concrete.
- Repeat the same process of all other missing concrete materials.
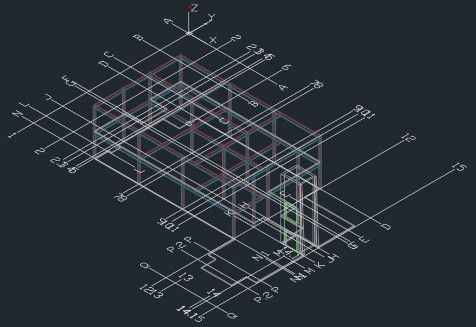
- Once the import process is completed, double-click the Wheel Mouse Button to zoom to the extents of the imported structural BIM data. The model appears in the wireframe display, as shown below.
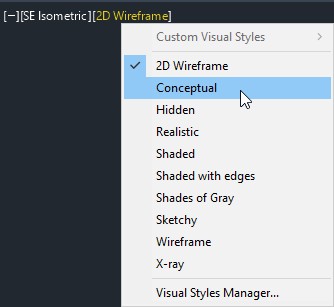
It is better to change the visual style to be able to see the model properly. - From the top left of the graphics window, click 2D Wireframe > Conceptual, as shown below.
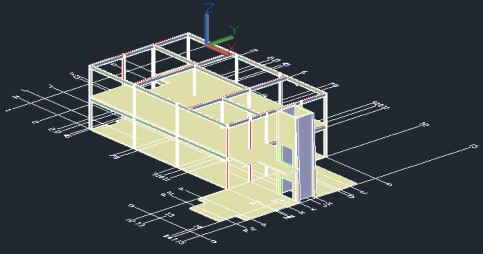
The model is now displayed in the conceptual appearance. - Hold down the SHIFT key and the Wheel Mouse Button and orbit the model, as shown below.
Task 3: Review the imported BIM data in Autodesk Advance Steel
- Navigate close to one of the grid lines.
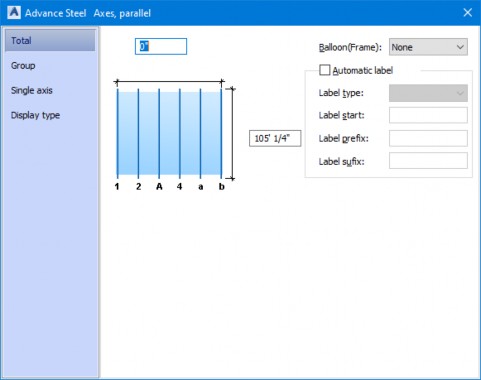
- Double-click on any of the grid lines and notice the Advance Steel Axes, parallel dialog box is displayed, as shown below. This indicates that the grids from Revit are imported as grids in Advance Steel.
- Close the dialog box.
- Double-click on one of the structural columns. The Advance Steel Beam [X] dialog box is displayed, as shown below.
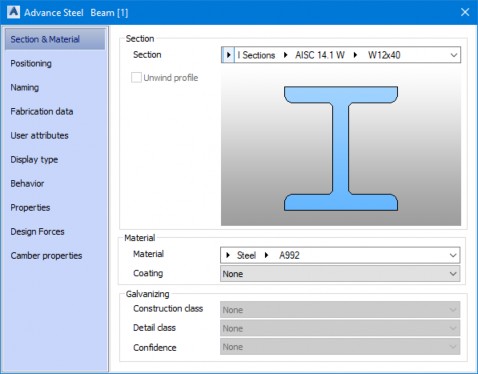
- Review the section type and size in the Section area of the dialog box.
- Switch to the Autodesk Revit window.
- Click on the same column in the Revit model and review the section type and size. Notice that it is the same as that in Advance Steel. This indicates that the structural BIM data from Revit is seamlessly imported in Advance Steel.
- Switch back to the Advance Steel window.
- Repeat the same process for any of the beams and notice that it is the same section size and type in both programs.
- In the Advance Steel window, close any dialog box that is opened.
- Double-click the Wheel Mouse button to zoom to the extents of the model.
Task 4: Save the Advance Steel file
- From the Quick Access Toolbar at the top left in the Advance Steel window, click the Save button. The Save Drawing As dialog box is displayed.
- Browse to the Dataset folder from where you imported the SMLX file.
- Save the Advance Steel model with the name Medical-Center.dwg.