Adding rebar shapes
Any referenced datasets can be downloaded from "Module downloads" in the module overview.
Add rebar shapes - Exercise
Let us go ahead and add some reinforcing shapes to our model.
- Open Revit then the file STRUCTURAL.RVT (or open any Revit project you are working in).
- Open the Section 13.
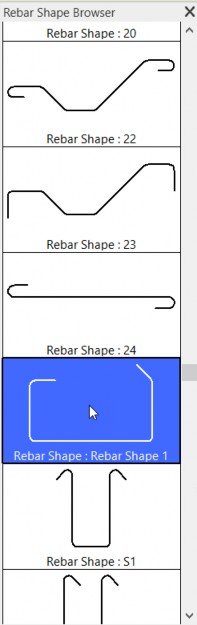
- Select the column and click the Rebar button.

- Notice that a rebar browser appears to the right. This is simply a visual to see the actual rebar shapes in our model. Notice that even that weird rebar shape is stored here.
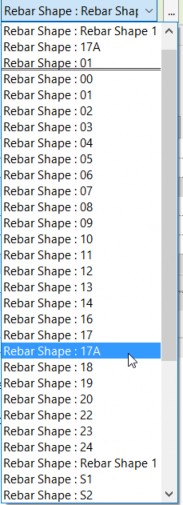
- Now focus your attention to the upper left of the Options toolbar. You will see a menu with a show dialog button. This is the same menu as the browser to the right. The Browse dialog simply turns on and off the Rebar Shape Browser.
- Hit ESC.
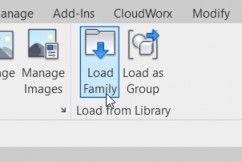
- In the Insert tab, go to the Load from Library panel.
- Click the Load Family button.
- Browse to the Structural Rebar Shapes folder. Notice all the types are stored here, as well.
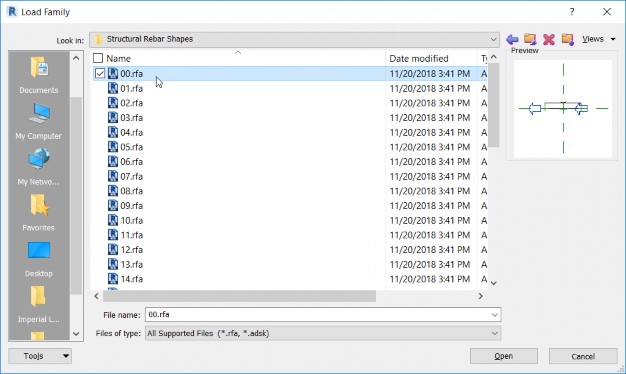
- Hit Cancel.
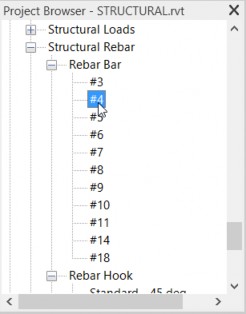
- In the Project Browser, scroll down until you see Structural Rebar, then go to Rebar Bar. These are the actual rebar sizes that you can chose from.