Adding rebar to a column
Any referenced datasets can be downloaded from "Module downloads" in the module overview.
Add rebar to a column - Exercise
Let’s throw some rebar in a column.
- Open Revit then the file STRUCTURAL.RVT (or open any Revit project you are working in).
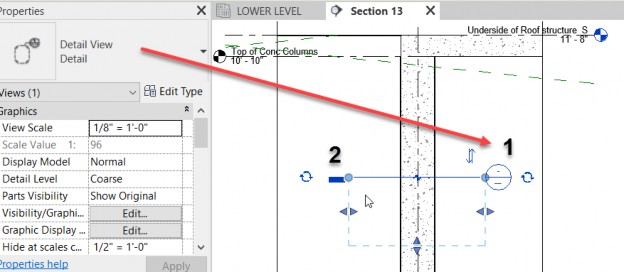
- Open the Section 13.
- On the Quick Access toolbar, click the Section button.

- On the Type selector, select the Detail type of section.
- Hit ESC.
- Double click on the section head to open the section.
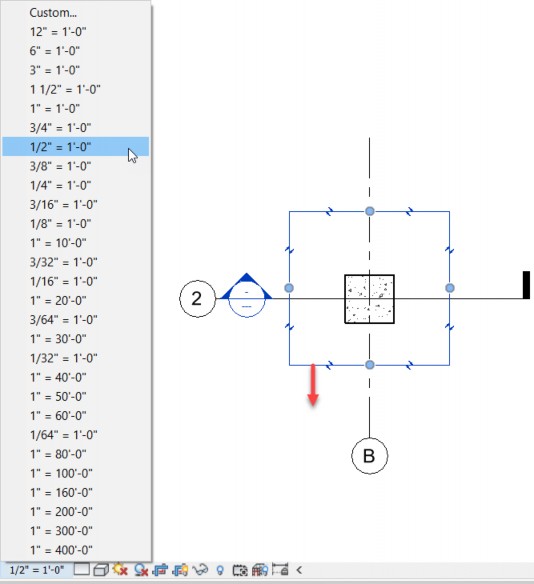
- On the View Control Toolbar, set the scale to ½"=1'-0".
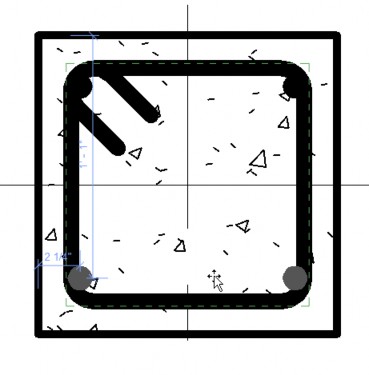
- Select and adjust the crop region, as shown below.
- Select the column.
- Click the Rebar button.

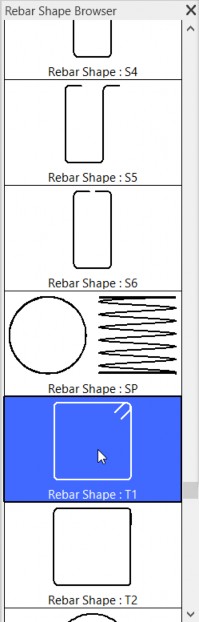
- In the Rebar Shape Browser, select Rebar Shape: T1.
- On the Placement Plane panel, select Current Work Plane.
- Set the Layout Rule to Maximum Spacing.
- Set the Spacing to 1'-0".
- Hit ESC.
- Select the column again.
- Click the Rebar button.
- Chose Rebar Shape: 00.
- For Placement, select Perpendicular to Cover.
- Set the Layout Rule to Fixed Number.
- Set the number to 2.
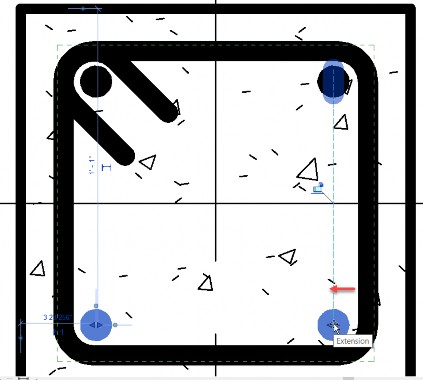
- Place the bars as shown.
- Hit ESC.
- Select one of the bars.
- Pick the grip and slide the bar into a better location, as shown below.