Revising Elements in Option Sets
Any referenced datasets can be downloaded from "Module downloads" in the module overview.
Revise Elements in Options Sets - Exercise
Now that you have added elements to your options, you will alter the elements in the different option sets.
To revise the elements in design options, follow these steps:
- Open Revit.
- Open your architectural model.
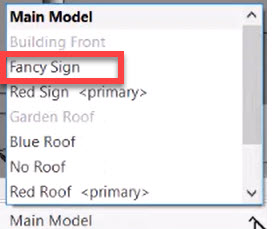
- At the bottom of the screen, make the Fancy Sign option current.
- Select the sign on the front of the building.
- In Properties for the Model Text, click Edit Type.
- In the Type Properties dialog box, click Duplicate… to duplicate the Model Text. Name it 27″ Free Style, as shown below, and click OK.
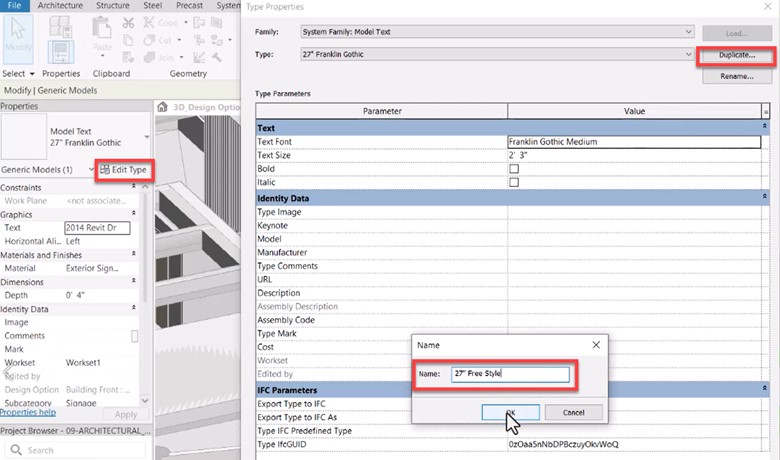
- In the Type Properties, for the Text Font, select Freestyle Script from the drop-down list. Keep the Text Size at 2′-3″ and click OK to close the Type Properties dialog box.
- In Properties for the Model Text, click on button in the Text field to edit the text. In the Edit Text dialog box, change the text to 21st Century Revit Dr and click OK.
- In Properties, click on the Browse button in the Material field.
- In the Material Browser, select Glass. On the Graphics tab, reduce the Transparency to 50, then click OK to close the Material Browser.
- In the Design Options drop-down list, change from Fancy Sign to Red Sign and note the changes on the screen. Switch back to Fancy Sign.
- Select the two window rows, which are curtain walls. Use <Ctrl> to select them both.
- In Properties, use the Type Selector to change the type to Exterior Glazing -ribbon windows.
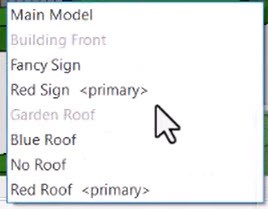
- In the Design Options drop-down list, set the Main Model as active.
- Note that because the Red Sign design option is the primary, this is the one displayed when you go to the Main Model.
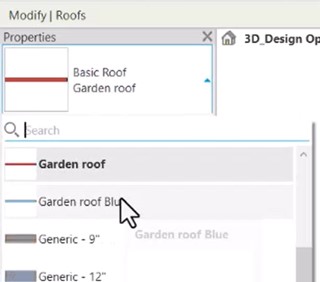
- In the Design Options drop-down list, set the Blue Roof option as active.
- In Properties, use the Type Selector to change the type to Garden roof Blue, as shown below.
- In the Design Options drop-down list, set the No Roof option as active.
- Delete the roof and the four glass walls.
- In the Design Options drop-down list, cycle through the three design options for the roof and note the changes on the screen.
- Go to the Design Options.
- Click the Finish Editing button.
- Select the Fancy Sign option and click Make Primary.
- Ignore the warnings about walls not joining.
- Close the Design Options window.
- Save the file.