Link templates together
Any referenced datasets can be downloaded from "Module downloads" in the module overview.
Connect and save your project templates - Exercise
Task 1: Connect and save your project templates
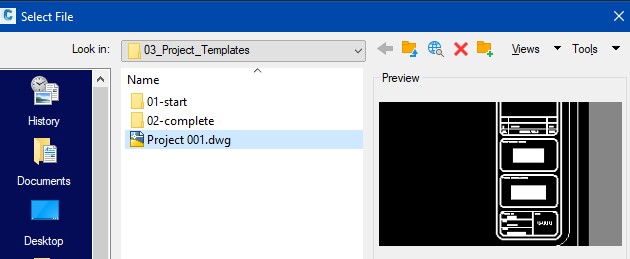
- Start Civil 3D and open drawing Project 001.dwg in the 03_Project_Templates folder.
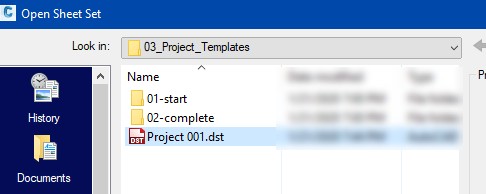
- Your Project 001 Sheet Set palette will open as well. If not, open the sheet set Project 001.dst.
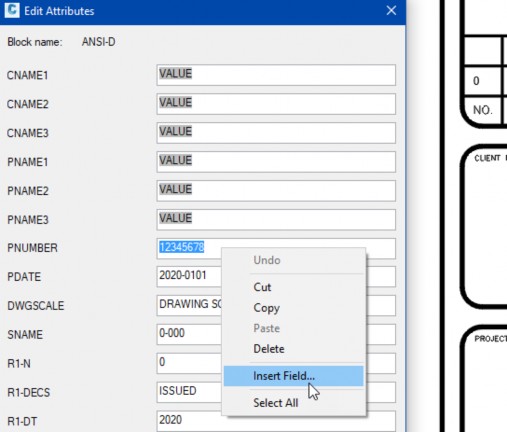
- Type ATE (attedit) and select your title block to bring up the attribute manager. You will now start editing the fields beginning with CLIENT NAME 1.
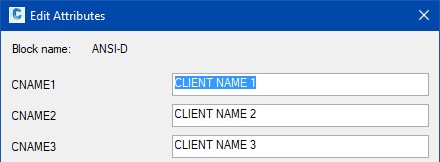
- With the enhanced attribute dialog box open.
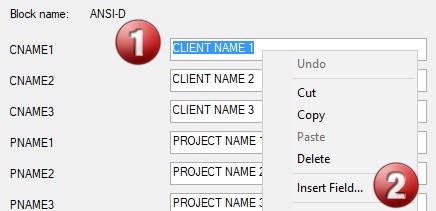
- Select CLIENT NAME 1 (the entire attribute) and right-click.
- Select Insert Field….
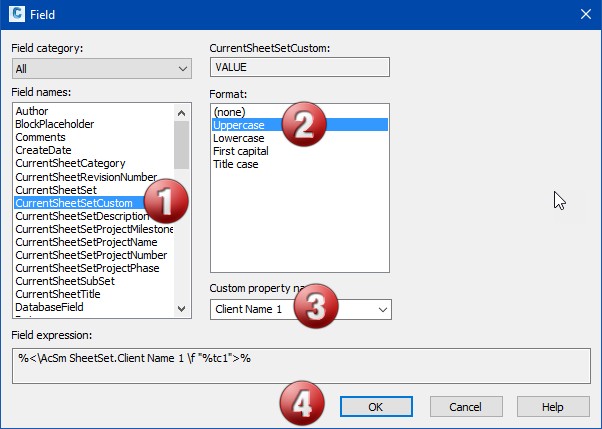
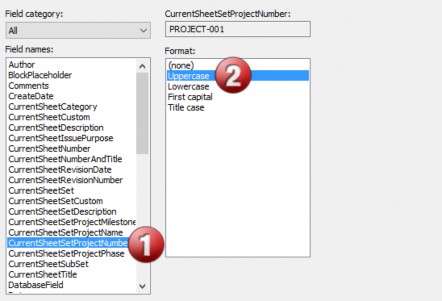
- Complete the 4 steps as shown below.
- Select CurrentSheetSetCustom in the field names window.
- Select Uppercase.
- Select Client Name 1.
- Select OK.
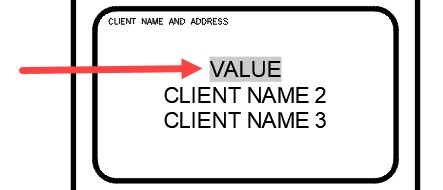
- You will now see the CLIENT NAME 1 change to VALUE, which is what we have in our Sheet Set.
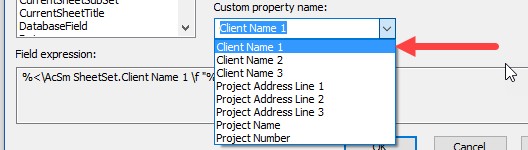
- Follow the same pattern as in steps 5 through 6 and add the values for the remaining Client Names 2 and 3. Continue adding Project Names 1, 2, and 3 changing the Custom field to represent the corresponding attribute.
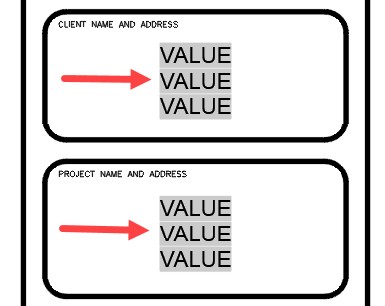
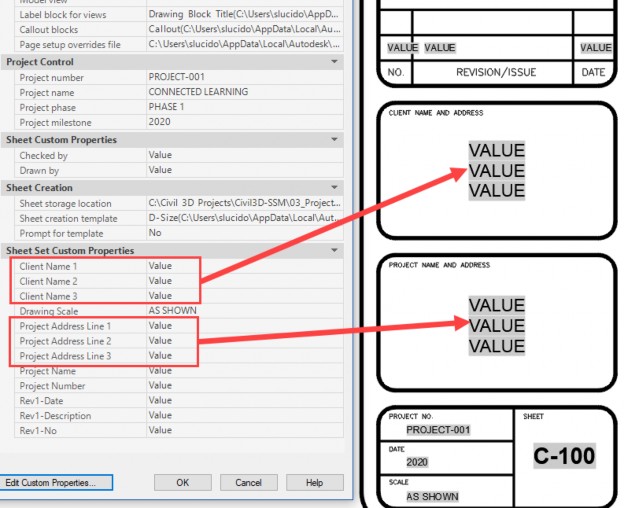
- Your final title block should resemble what is shown below. The greyed-out name VALUE represents the corresponding filed in the Sheet Set Manager properties.
- Type ATE (attedit), select the title block, and open the Enhanced Attribute Editor.
- Right-click on the project number and select Insert Field….
- Select CurrentSheetSetProjectNumber.
- Select Uppercase, then select OK.
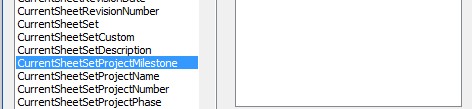
- Follow the same pattern for the date and use the CurrentSheetSetMilestone field, as shown.
- For the drawing scale, use the SheetSetCustom property Drawing Scale.

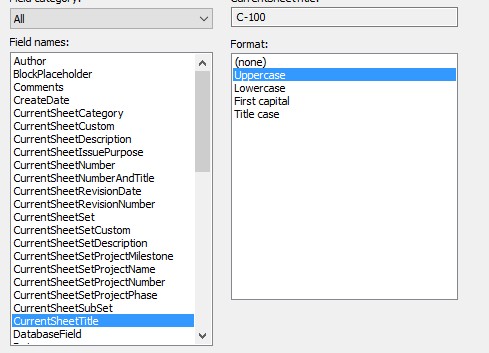
- For the name, use the CurrentSheetTitle as shown.
- Continue adding the final 3 fields using the SheetSetCustom field value.
- Your final Drawing template should have all fields linked to your Sheet Set Template, as shown. We have highlighted the Client Names and Project names to illustrate the connection.
- You have now connected the data.
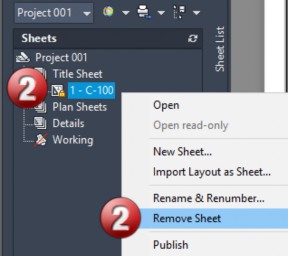
- Right-click sheet C-100 and select Remove Sheet.
- You have now created a dwg file and a dst file that you will save to your default template folders and use for upcoming projects.
Task 2: Saving the templates
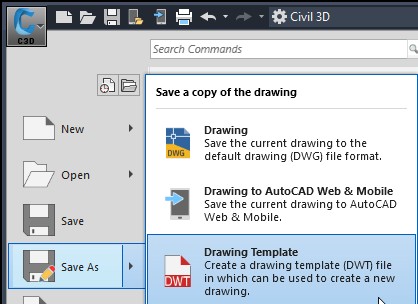
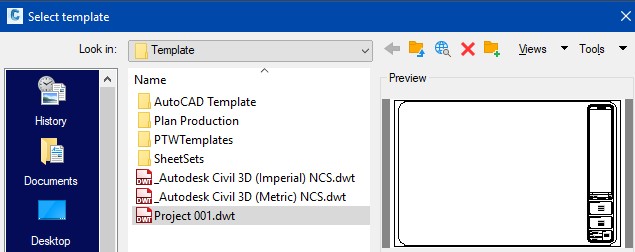
- Save your drawing file, then select Save As a Drawing Template. Civil 3D will take you out to your default template location.
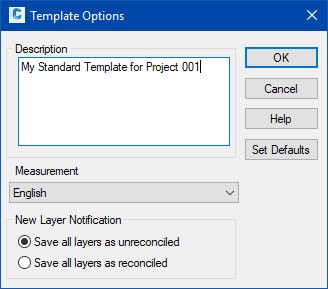
- Save your template name to Project_001.dwt and give it a description.
- You will now save your Project 001.dst file to the Sheet Set template location, which can be found in the options menu under templates.
- Open you drawing C-100.
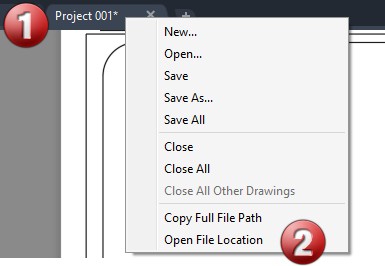
- Right-click on the drawing tab and open the file location.
- Right click on your Project 001.dst file and select Copy and hold.
- Move back to Civil 3D and open the Options menu and expand the templates section under the files tab, as shown.
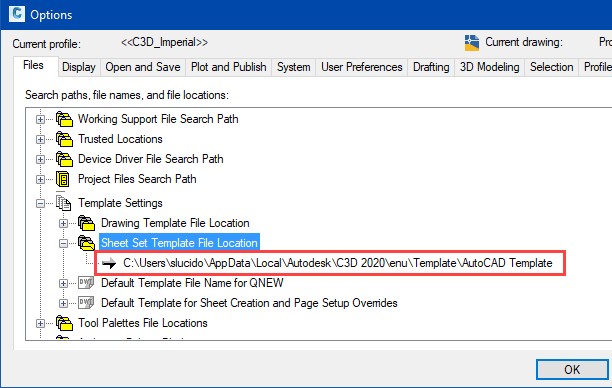
- Click on that path twice to highlight the entire path.
- Open Windows Explorer and paste that path into the window.
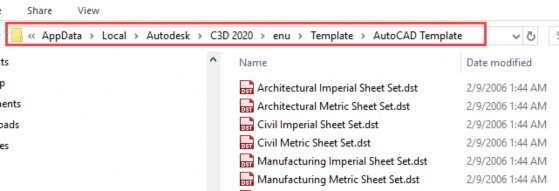
- Copy your Project 001.dst to this folder.
- Close the Sheet Set Manger and close your drawing.
- Test this out by starting a New Sheet Set and selecting your Template.
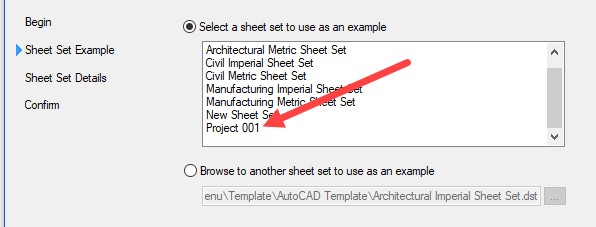
- Select Project 001 and save to a project folder.
- Start a new drawing, select Project 001.dwt, and save to the same project folder.
- Import the layout as a sheet and change your properties. You now have a Sheet Set template and a Project template for your design projects!