BIM as a database configuring project information
Any referenced datasets can be downloaded from "Module downloads" in the module overview.
Configure Project Information
Revit stores the information of the entire project in a relational database. This quick exercise will look at the project information that Revit keeps track of.
To configure the project information in Revit, follow these steps:
- Open Revit.
- Open Small Medical Center.rvt from your project files.
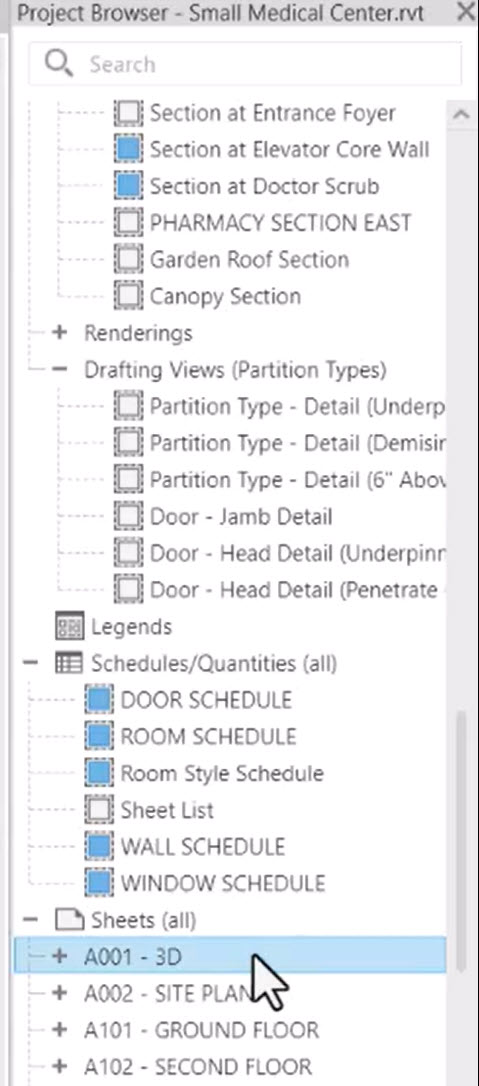
- In the Project Browser, in the Sheets (all) section, find A001 - 3D and open the sheet by double-clicking on it.
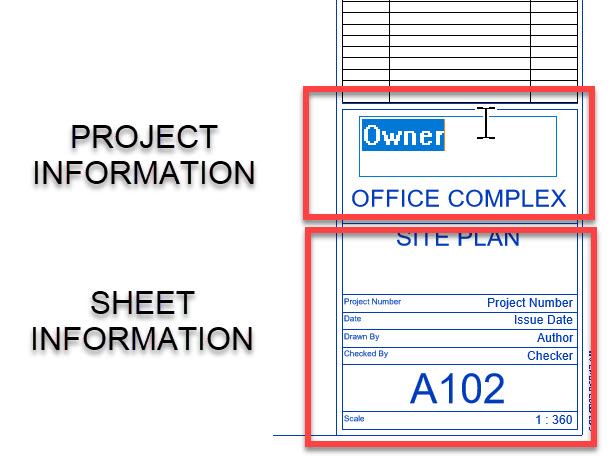
- On the sheet, note the Project Name in the upper-left corner, as shown below.

- Open the A002 - SITE PLAN sheet and note all the project information and sheet information in the titleblock. An example is shown below.
- Select the titleblock.
- In Properties, note that you can only change the sheet information, as shown below.
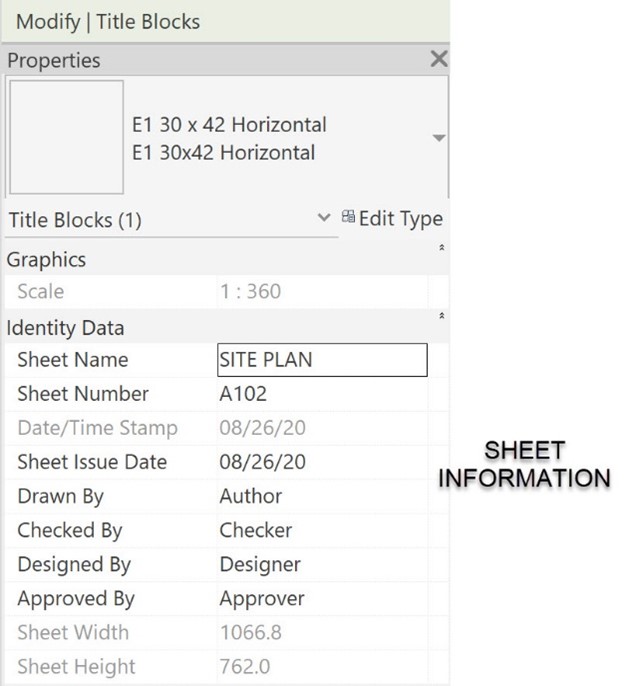
- Change the Sheet Name to SITE VIEW.
- To change the project information, go to the Manage tab>Settings panel and select Project Information.
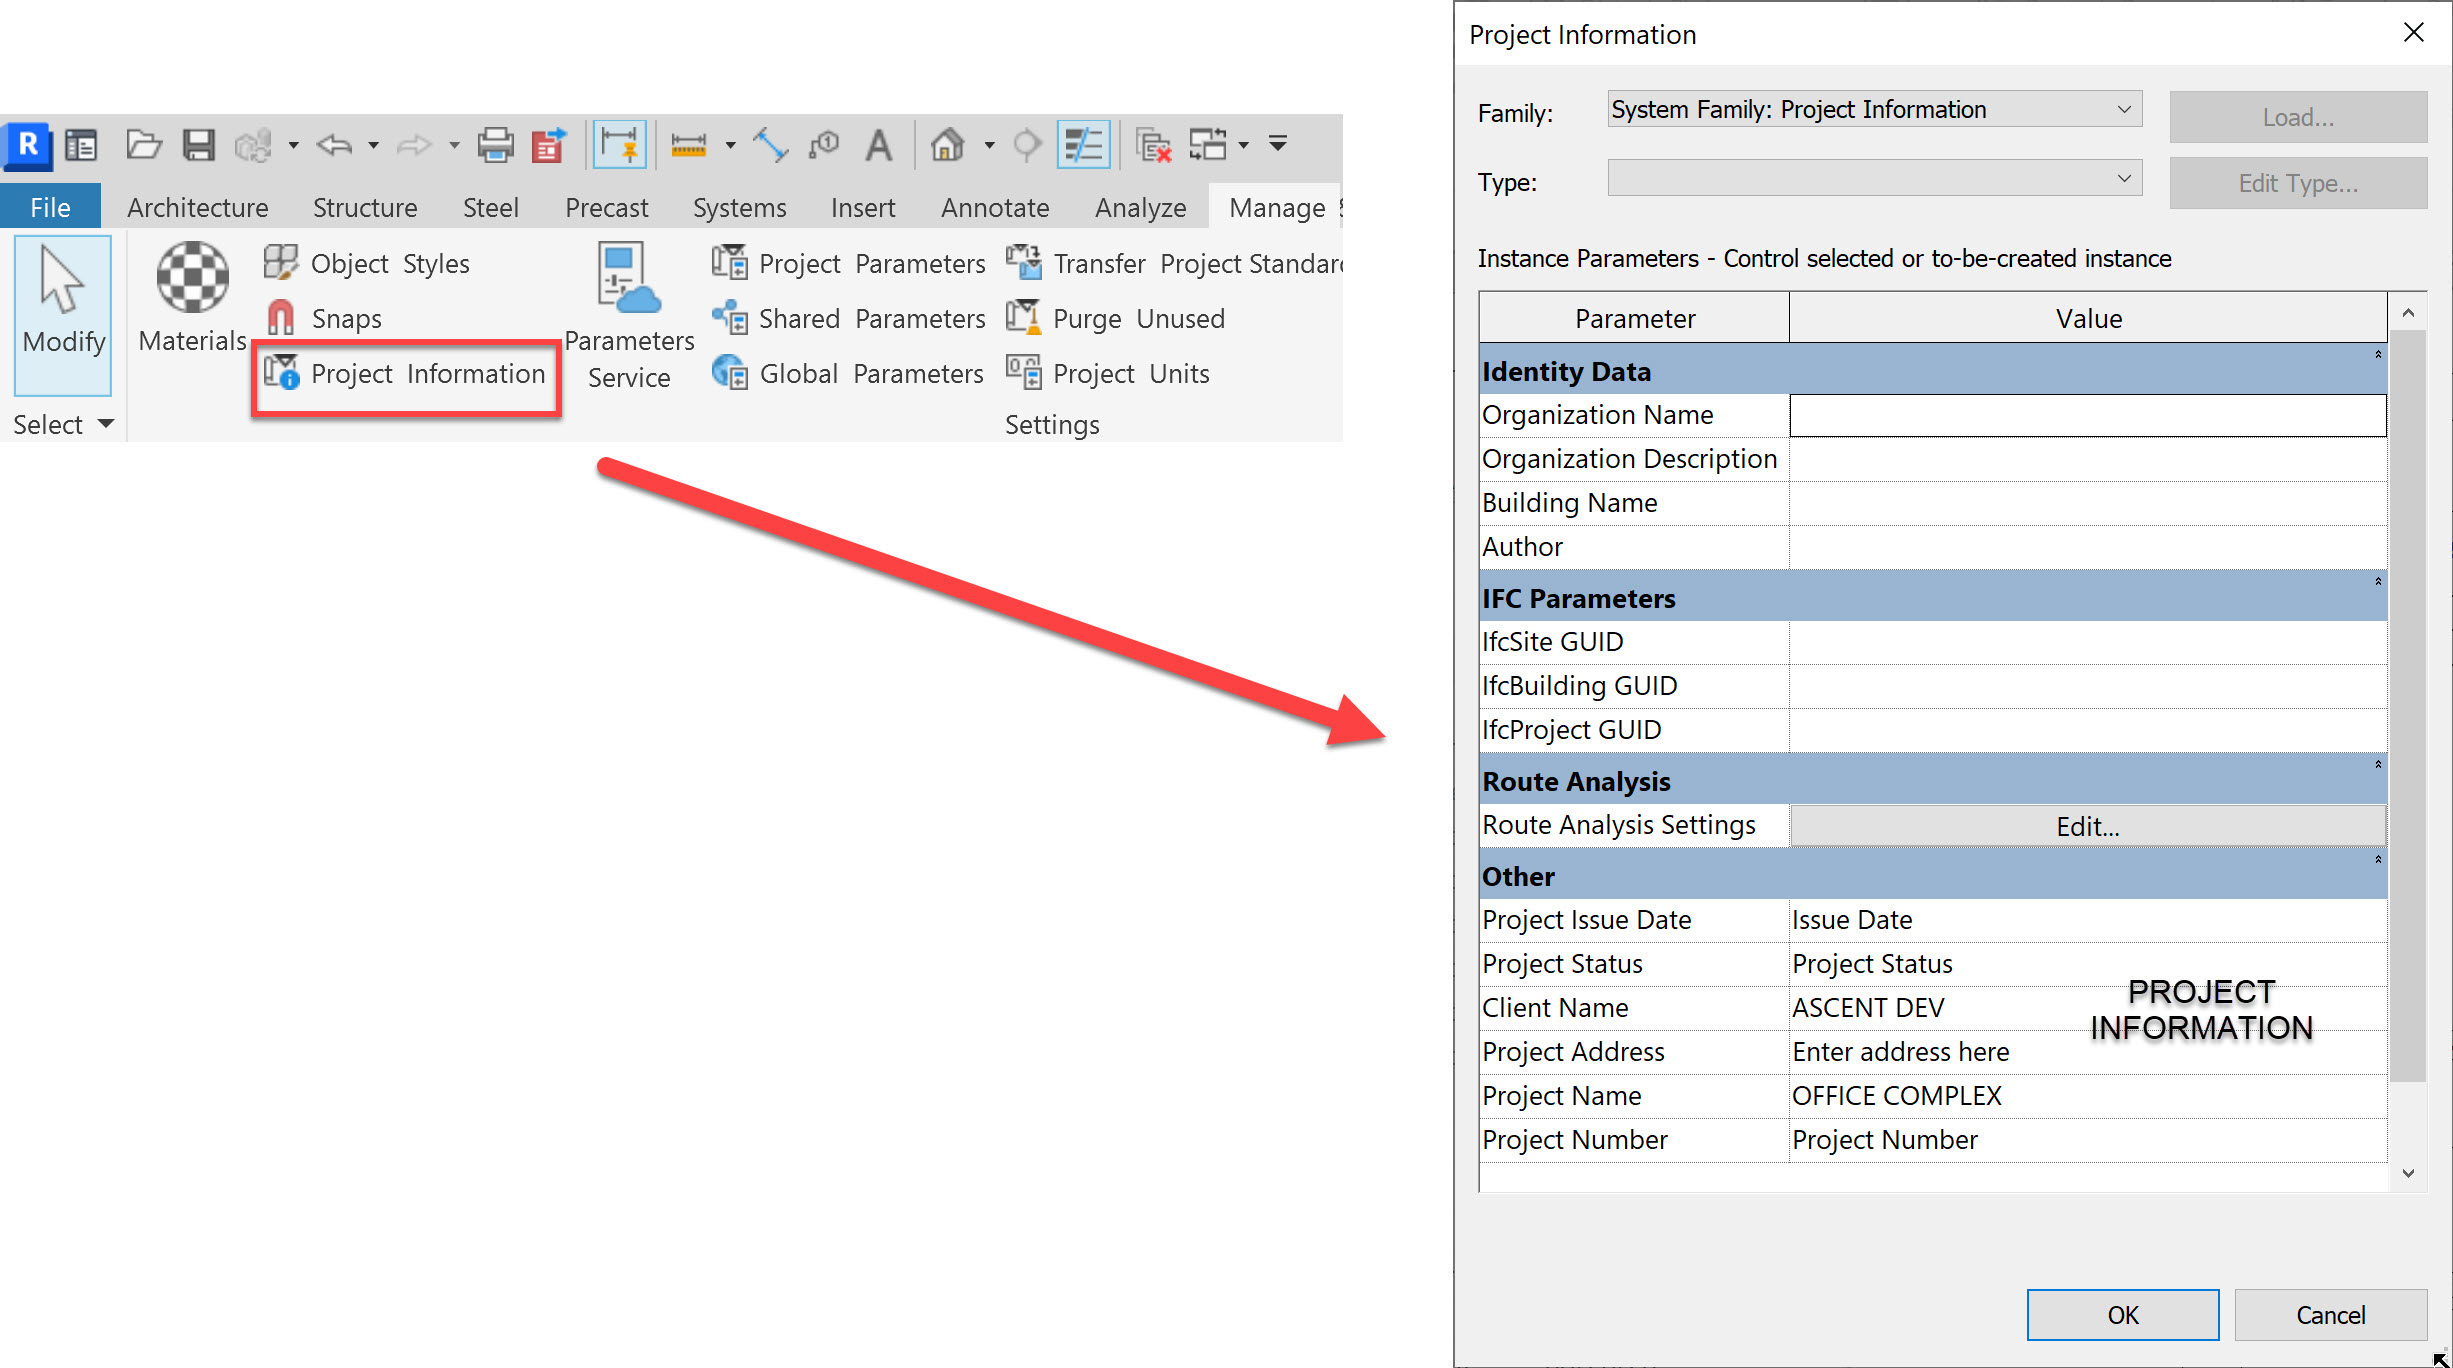
- In the Project Information dialog box, change the following:
- Client Name: AUTODESK
- Project Status: NOT FOR CONSTRUCTION
- Project Number: 23-4512
- Click OK to close the Project Information dialog box. Note that the project information in the titleblock has changed accordingly.
- Click on the Project Name field to edit it. Change the name to AUTODESK A-TOWN.
- To see how the titleblock harvests that information, select the titleblock and in the Modify | Title Blocks contextual tab, select Edit Family.
- The titleblock opens in the Family Editor.
- Click on the Client Name text (which is actually a parameter, or tag) and in the Modify | Tag Label tab, select Edit Label.
- In the Edit Label dialog box, in the left panel, scroll down to find Project Number and select it.
- Click the Green Arrow to add this parameter to the Label Parameters panel, as shown below.
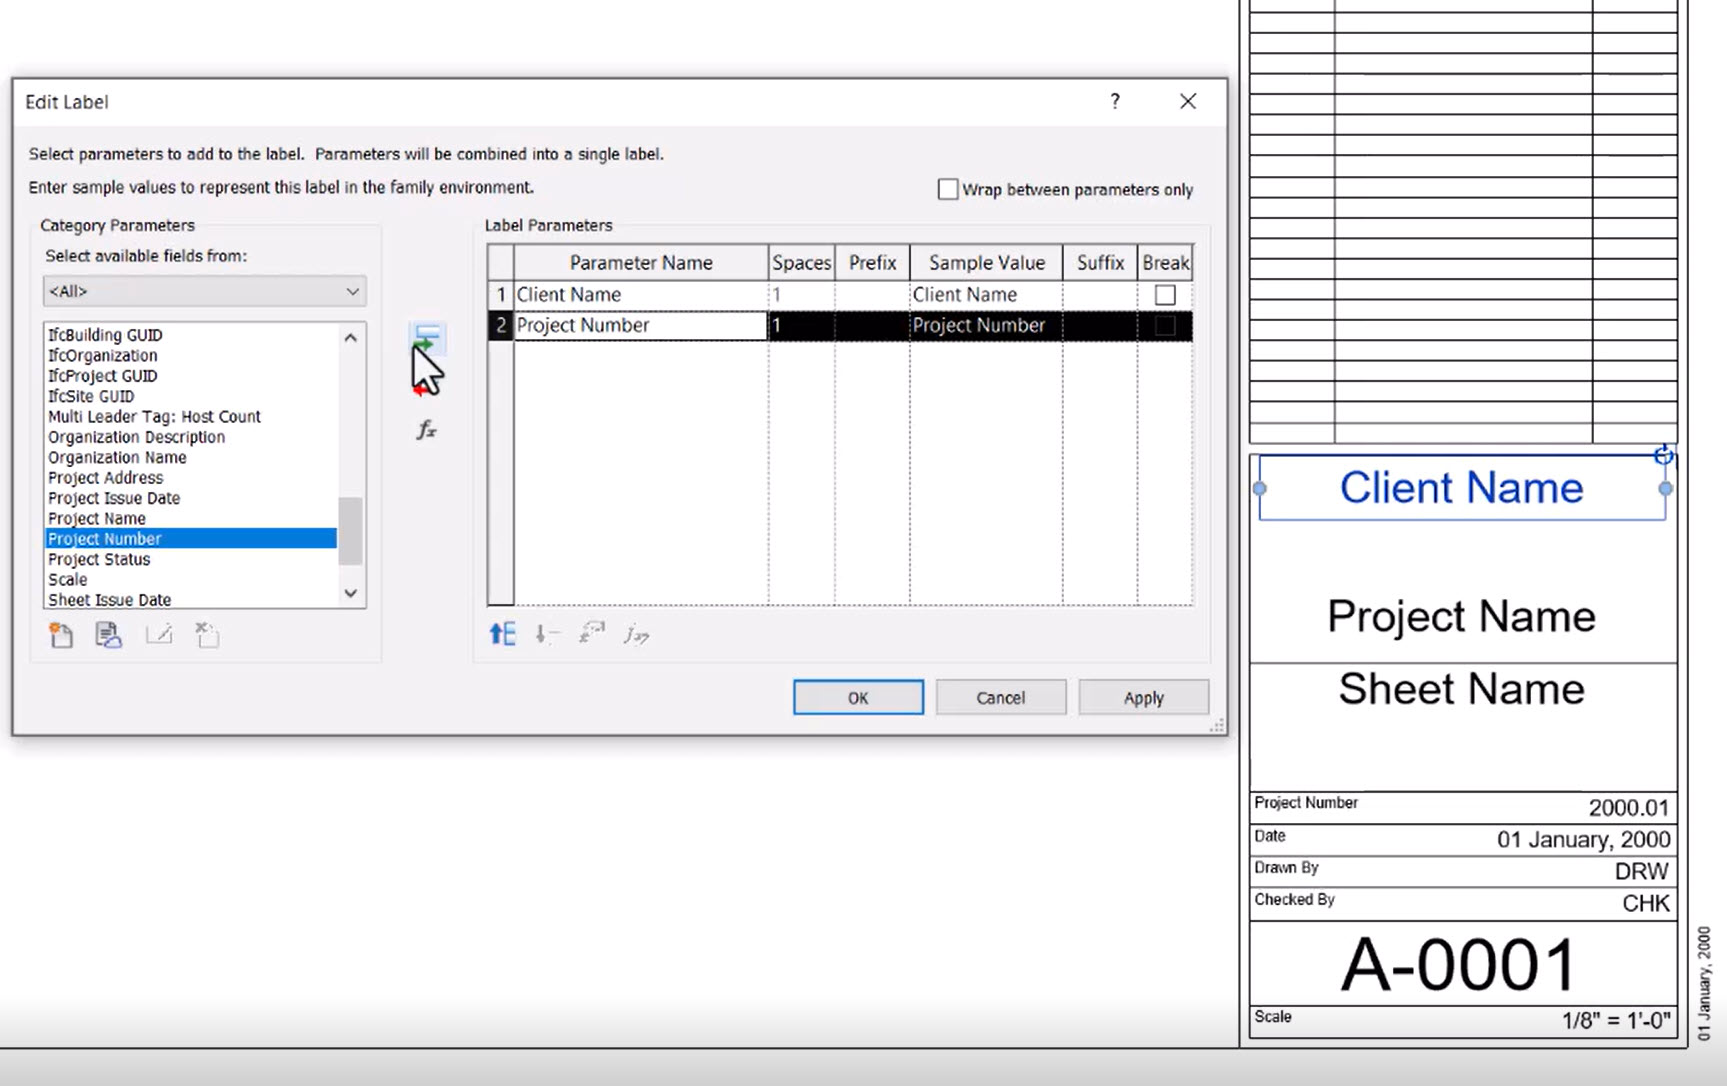
- In the Break column, check the toggle box in the Client Name row to force the Project Number to a new line in the titleblock.
- In the Modify | Tag Label contextual tab>Family Editor panel, select Load into Project to load the updated titleblock into the Revit model.

- When the warning message appears, click Overwrite the existing version.
- Note the updated titleblock that now displays the project number.
- Reopen the titleblock to edit the family, as done previously.
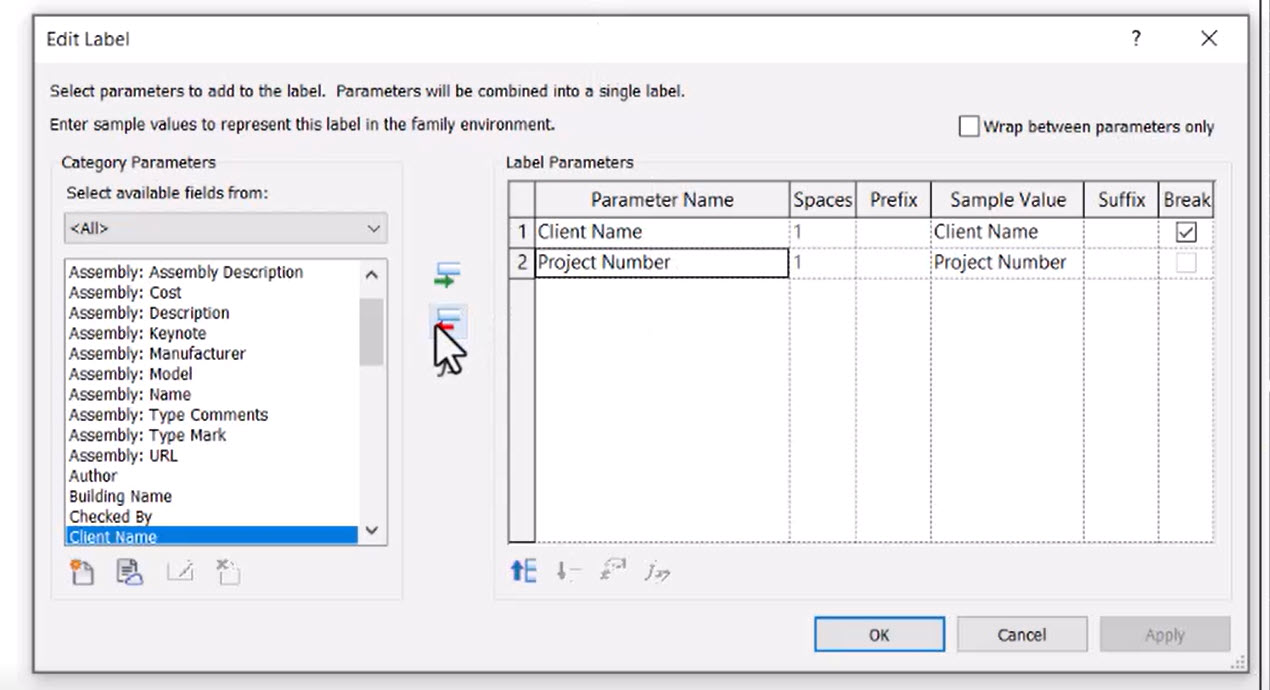
- Click on the Client Name tag and select Edit Label.
- In the Edit Label dialog box, select the Project Number parameter in the Label Parameters panel and click the Red Arrow to remove this parameter.
- In the Modify | Tag Label contextual tab>Family Editor panel, select Load into Project and Close to load the updated titleblock into the Revit model.
- Click No when prompted to save the family.
- When the warning message appears, click Overwrite the existing version. The updated titleblock now displays without the project number under the client name.
- Save and close the Revit model.